

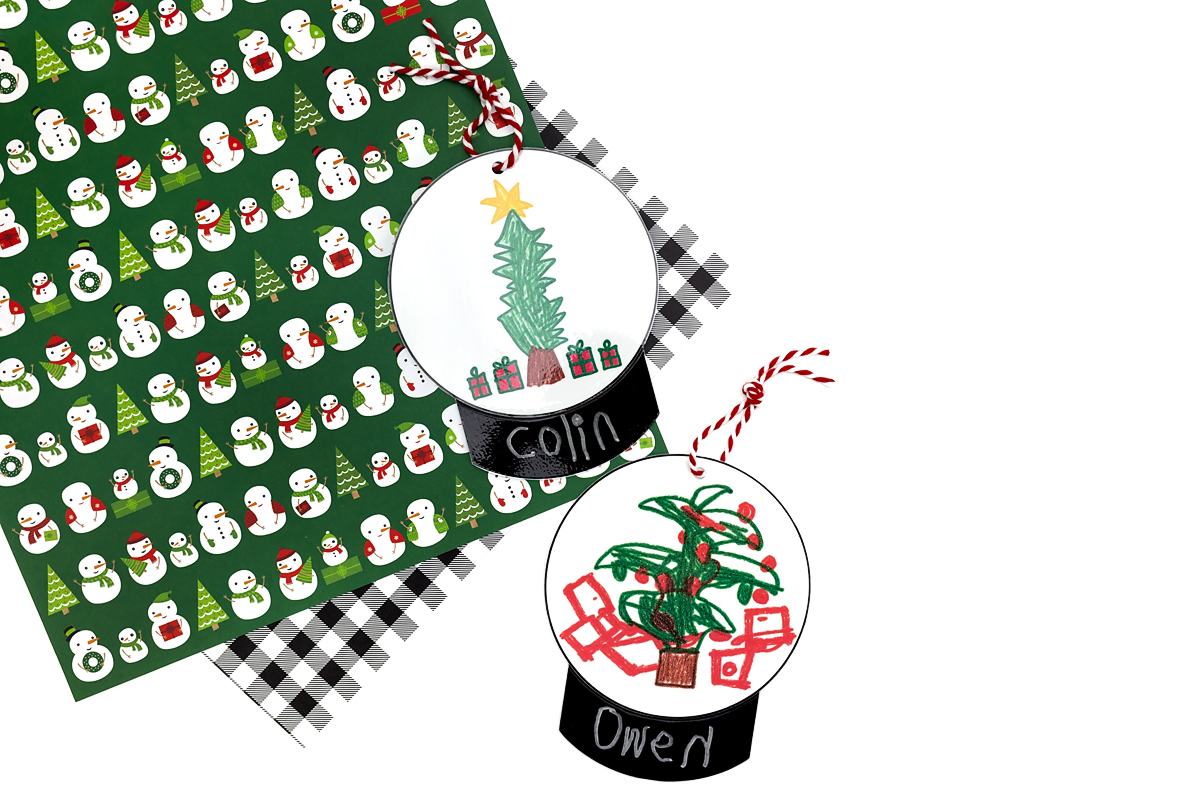
A laminated snow globe ornament is an easy and inexpensive Christmas craft that preserves your child’s artwork and handwriting. With our free printable template, kids can draw a favorite holiday scene, personalize the base, and create a keepsake to hang on the Christmas tree. These handmade ornaments make wonderful gifts for parents and grandparents and are perfect for home or the classroom.
Why You’ll Love This Snow Globe Ornament
This craft turns a few sheets of cardstock into a keepsake that families hold onto for years.
- Budget-friendly. The simple supplies make this an affordable Christmas craft for families and teachers.
- Builds fine motor skills. Cutting out the circle and gluing on the base strengthen hand muscles and hand-eye coordination.
- Develops handwriting skills. Printing a name on the base gives young writers meaningful practice with letter formation.
- Encourages creativity. Drawing a favorite thing about Christmas lets each child tell their own story, so no two ornaments look alike.
- Lasts for years. Laminating protects the drawing and handwriting, so the ornament can hang on the tree every December.
- Perfect for classrooms. Each student can make one, and every child goes home with a gift for their family.
What You Will Need
Gather these supplies before you begin. Most of them are classroom staples, so you may already have them on hand.
- Free snow globe template
- Black cardstock
- White cardstock
- Markers or colored pencils
- Scissors
- Silver marker
- Ribbon
- Single-hole punch
- Glue stick
- Laminator and laminating pouches or self-seal laminating sheets
Step-by-Step Instructions
Follow these steps to make each ornament, and invite your child to do as much of the cutting, gluing, and drawing as possible.
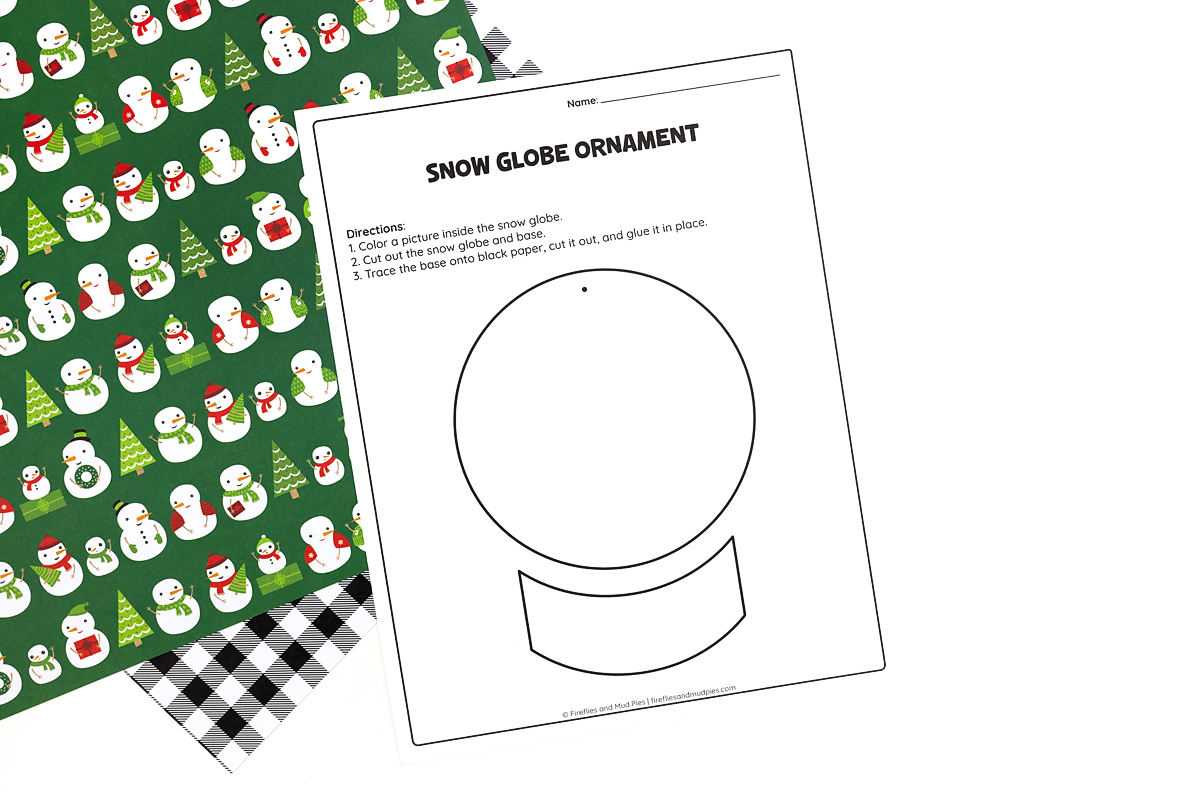
STEP 1: Download and print the template. Download the free snow globe template and print it on white cardstock.
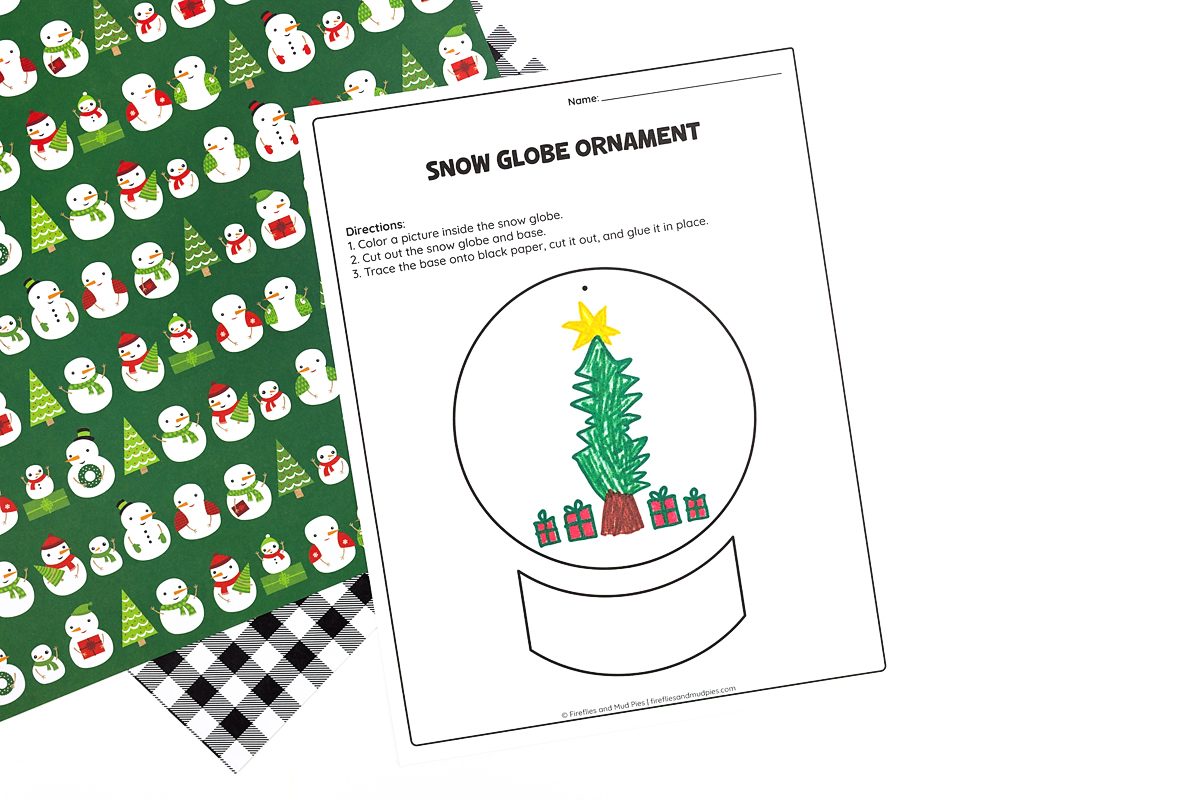
STEP 2: Draw a picture. Invite your child to draw their favorite thing about Christmas on the snow globe. There is room for another drawing on the back, too!
STEP 3: Cut out the snow globe pieces. Use scissors to cut out the snow globe circle and base from the template. Trace the base onto black cardstock, then cut it out.
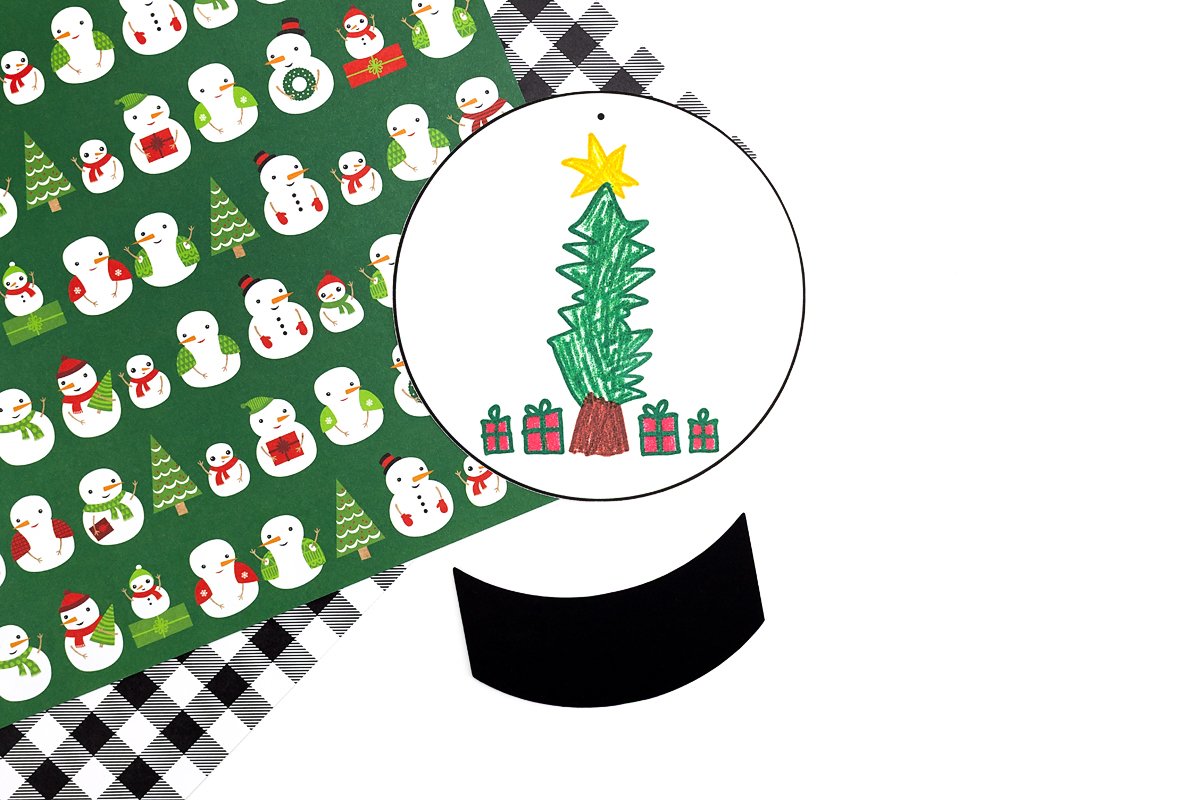
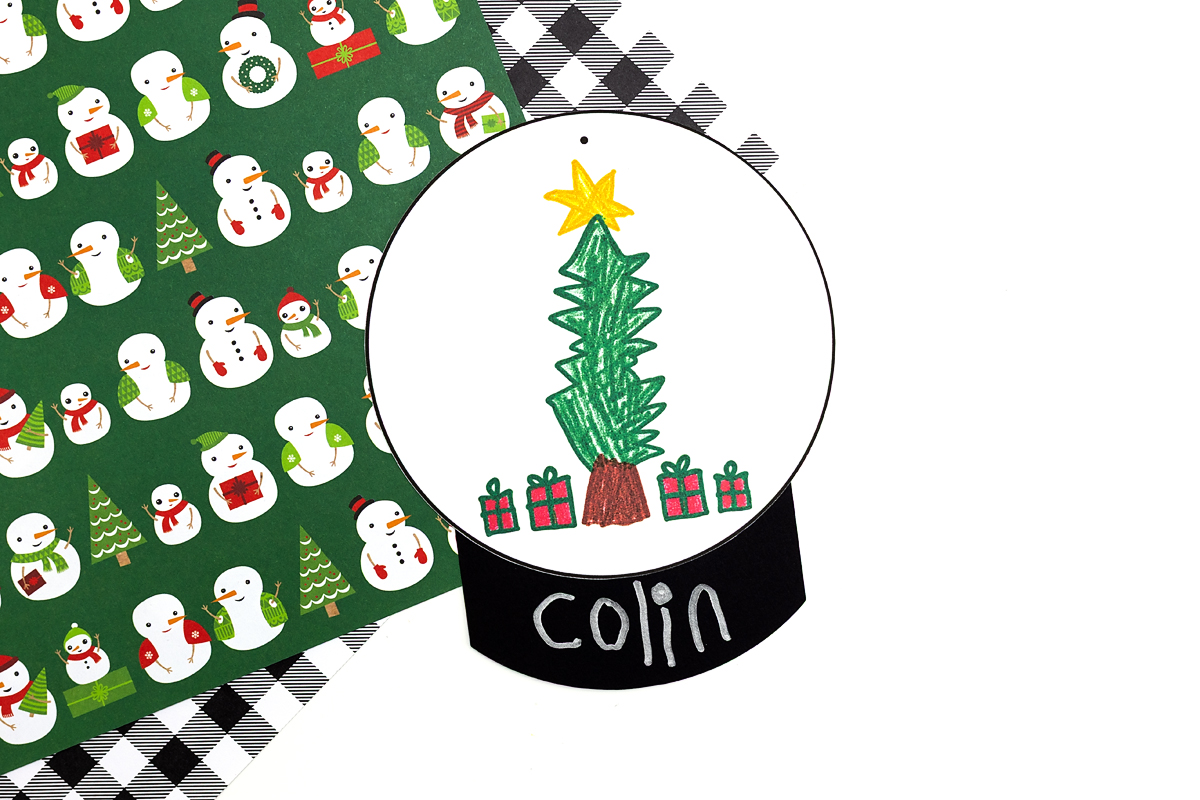
STEP 4: Glue on the base. Use the glue stick to attach the base to the front of the white circle, then allow the ornament to dry completely. Ask your child to print their name on the snow globe base with the silver or white marker. If you wish, write the year on the back of the ornament.
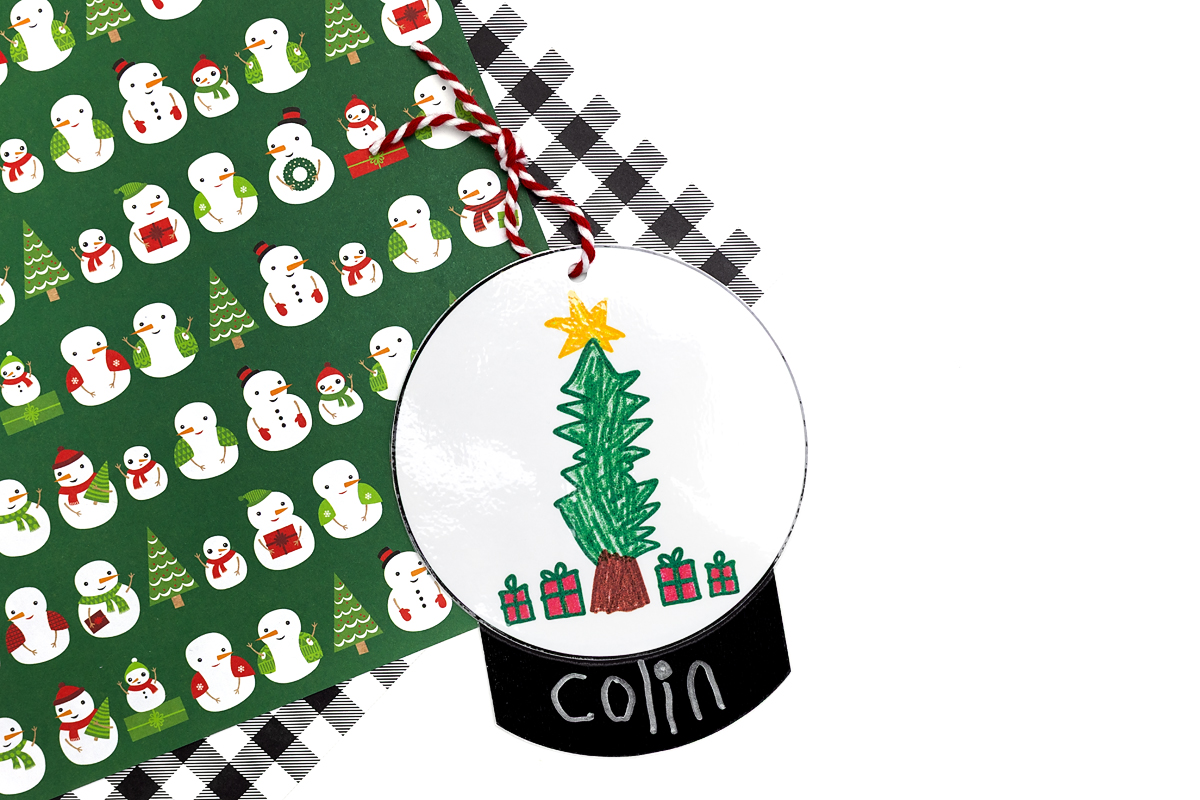
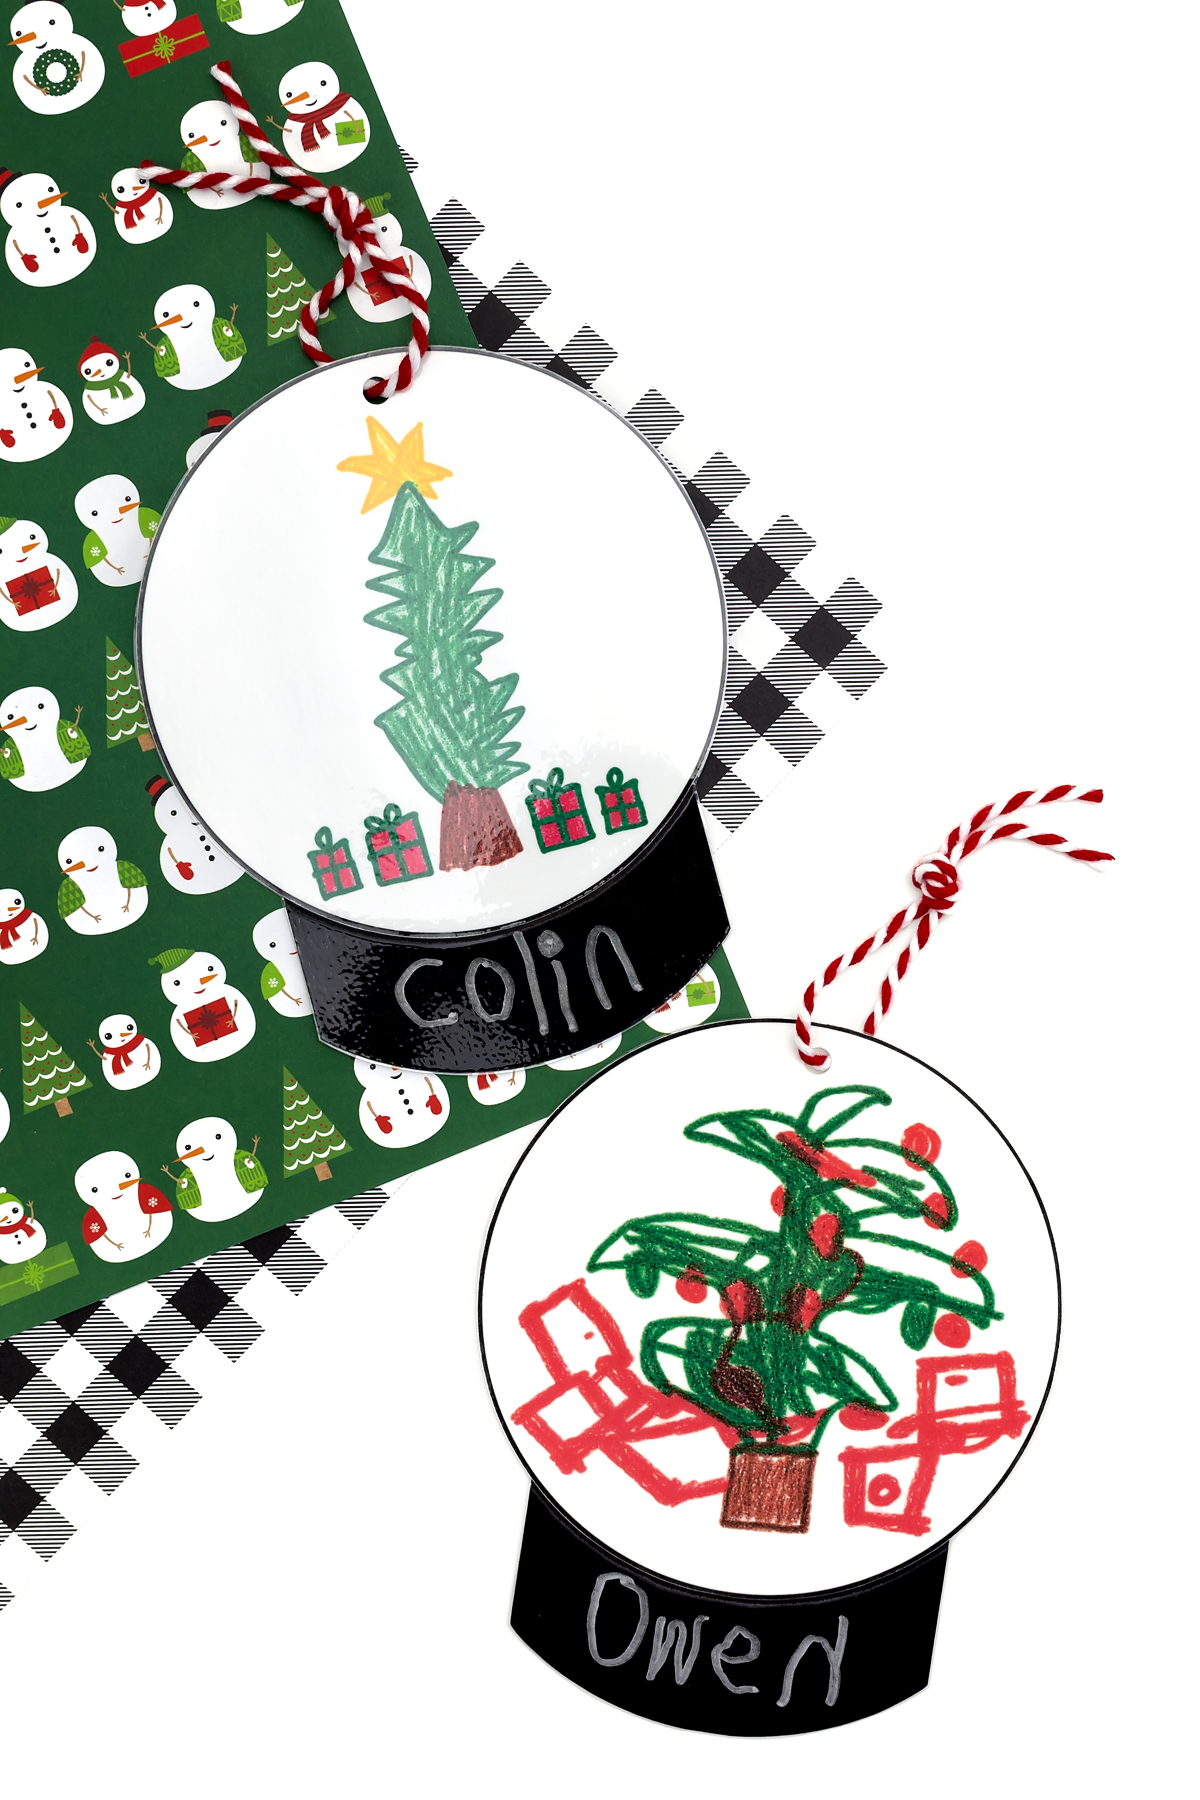
STEP 5: Laminate the ornament. Laminating protects the artwork and gives the ornament a shiny finish, just like a real snow globe. If you do not own a laminator, use self-seal laminating sheets or clear contact paper instead. Trim the excess laminate, leaving a small border around the ornament. Punch a hole in the top, then thread the ribbon through and tie it in a loop for hanging.
Tips for Making a Laminated Snow Globe Ornament
A few small details help each ornament look polished and last for years.
- Let the glue dry. Allow the glue to dry completely before laminating to help prevent wrinkles and bubbles.
- Leave a border. Trim around the ornament, leaving a small border of clear laminate or contact paper to keep the edges sealed.
- Choose the right marker. A white or silver marker shows up best on the black base.
- Sketch lightly first. A light pencil drawing helps younger children plan their picture before using markers.
Extension Ideas
Once your child has made one snow globe, try these ideas to extend the activity and start a holiday tradition.
- Make one every year. Comparing each year’s drawings and handwriting shows how much your child has grown.
- Add a photo. Glue a small photo onto the snow globe circle instead of drawing a picture to create a photo ornament.
- Make a gift. Children can make an extra ornament for a grandparent, which builds generosity and pride in their work.
- Write a message. Older children can add the year or a short holiday message, which strengthens writing skills.
- Pair it with a book. Read The Snow Globe Family by Jane O’Connor before making this craft. Invite children to imagine what life would be like inside a snow globe, then draw their own tiny world.
Frequently Asked Questions
Here are answers to the questions parents and teachers ask most about this ornament.
Print the snow globe template on white cardstock and invite your child to draw a Christmas scene. Cut out the circle, attach a black cardstock base, and personalize it with your child’s name. Laminate the ornament, punch a hole in the top, and add ribbon for hanging.
Self-seal laminating sheets or clear contact paper work well. Cover both sides of the ornament, smooth out any air bubbles, and trim around the edge, leaving a small border to keep the edges sealed.
Preschoolers through elementary students can make it. Younger children may need help cutting the circle and punching the hole, while older children can add more detail and write their own names.
Invite them to draw their favorite thing about Christmas, such as a Christmas tree, their family, or an elf.
Yes, it is an inexpensive project for a whole class. Cut the black bases ahead of time for younger students, then let each child cut, glue, draw, and print their name before you laminate the ornaments.
More Christmas Ornaments to Try
Looking for more keepsake ornaments for kids? These sweet ideas are great places to start.
- Easy Keepsake Chalkboard Ornaments
- Snow Globe Coloring Page
- Baby’s First Christmas Ornament
- The Most Beautiful Baby’s First Christmas Memory Ornament
- Paper Christmas Tree Craft for Kids
Save This Craft
Pin this snow globe keepsake ornament to your favorite Christmas board, and follow Fireflies and Mud Pies on Pinterest for more kids’ crafts.


Want even more?
Make sure to follow on Facebook, Pinterest, and Instagram for more easy crafts, activities, recipes, and parenting tips. And don’t forget to subscribe to our emails.