

Learning how to make a glitter jar takes about ten minutes and a handful of simple supplies. This calming tool can help kids slow down, relax, and work through big feelings. Below, you’ll find our favorite glitter jar recipe, easy step-by-step directions, tips for using a glitter jar to help a child calm down, and answers to frequently asked questions. Whether you’re a parent, teacher, counselor, or librarian, this guide will help you make a glitter jar that lasts.
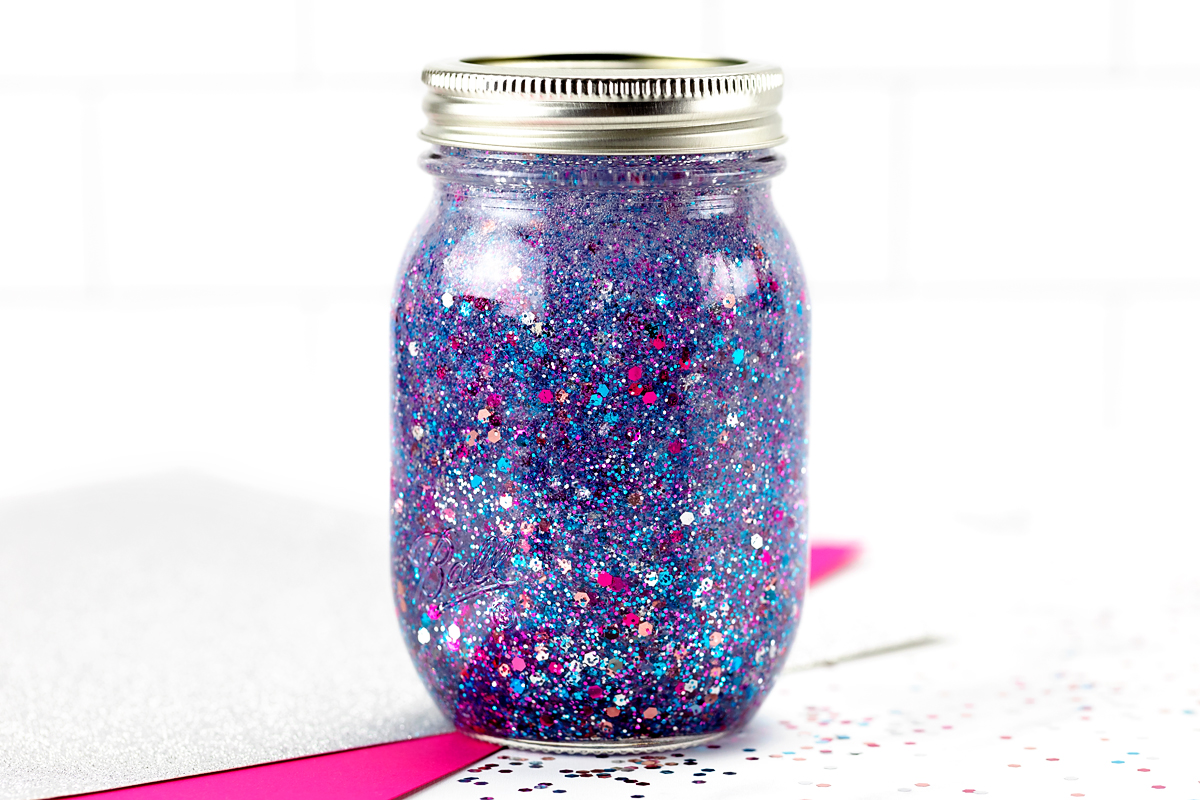
What is a Glitter Jar?
A glitter jar is a sealed jar or bottle filled with water, glitter, and an ingredient that slows the glitter as it falls. Clear glue and liquid glycerin are two popular options. Glitter jars are also called calm down jars, calming jars, mind jars, stress relief jars, and sensory bottles.
When a child shakes the jar and watches the glitter drift to the bottom, it gives them something predictable to focus on while they begin to settle. Glitter jars can also work as visual timers, much like an hourglass.
Why You’ll Love This Craft
Glitter jars are simple to make, easy to customize, and useful in a variety of settings. Here are a few reasons to give this calming craft a try.
- Quick and easy. It takes about ten minutes to make and uses inexpensive supplies.
- Easy to personalize. Kids can choose their own colors, glitter, and sequins to make a jar that feels special to them.
- Supports coping skills. A glitter jar can give kids a simple way to practice calming strategies at home, in the classroom, or on the go.
- Suitable for a range of ages. Preschoolers, school-age children, and teens can all use glitter jars.
- Great for groups. One batch of supplies can make several jars, making this a practical activity for classrooms, counseling sessions, and library programs.
Why Glitter Jars Help Kids Calm Down
When kids experience strong emotions like anger or fear, the amygdala, a part of the brain that helps detect threats, activates the body’s fight, flight, or freeze response. During these moments, it can be harder to think clearly, solve problems, and make decisions. A glitter jar gives kids something calm and predictable to focus on while they take slow breaths. This pause can help kids feel calmer, making it easier for the prefrontal cortex, the part of the brain involved in reasoning and decision-making, to do its job.
As the glitter slowly settles, kids have an opportunity to pause, regain their composure, and work through their feelings. Once they feel calmer, they may also find it easier to talk about what happened and what they need.
A glitter jar is a simple mindfulness tool. It is not a treatment for anxiety or a replacement for support from a doctor or counselor, but it can be a gentle, hands-on way to practice calming strategies. Want to learn more? Read our post on how a glitter jar can help kids manage their feelings.
What You Will Need
These supplies are enough to make one 16-ounce glitter jar.
- One 16-ounce glass jar or plastic bottle with a lid
- ½ cup clear glue
- Distilled water
- 1–2 teaspoons glitter
- Plumber’s tape
- Food coloring (optional)
Video Tutorial: How to Make a Glitter Jar
Prefer to watch? Follow along with every step in the video below.
How to Make a Glitter Jar Step by Step
Follow these six simple steps to mix the glitter, water, and glue, then seal the jar so it’s ready to use.
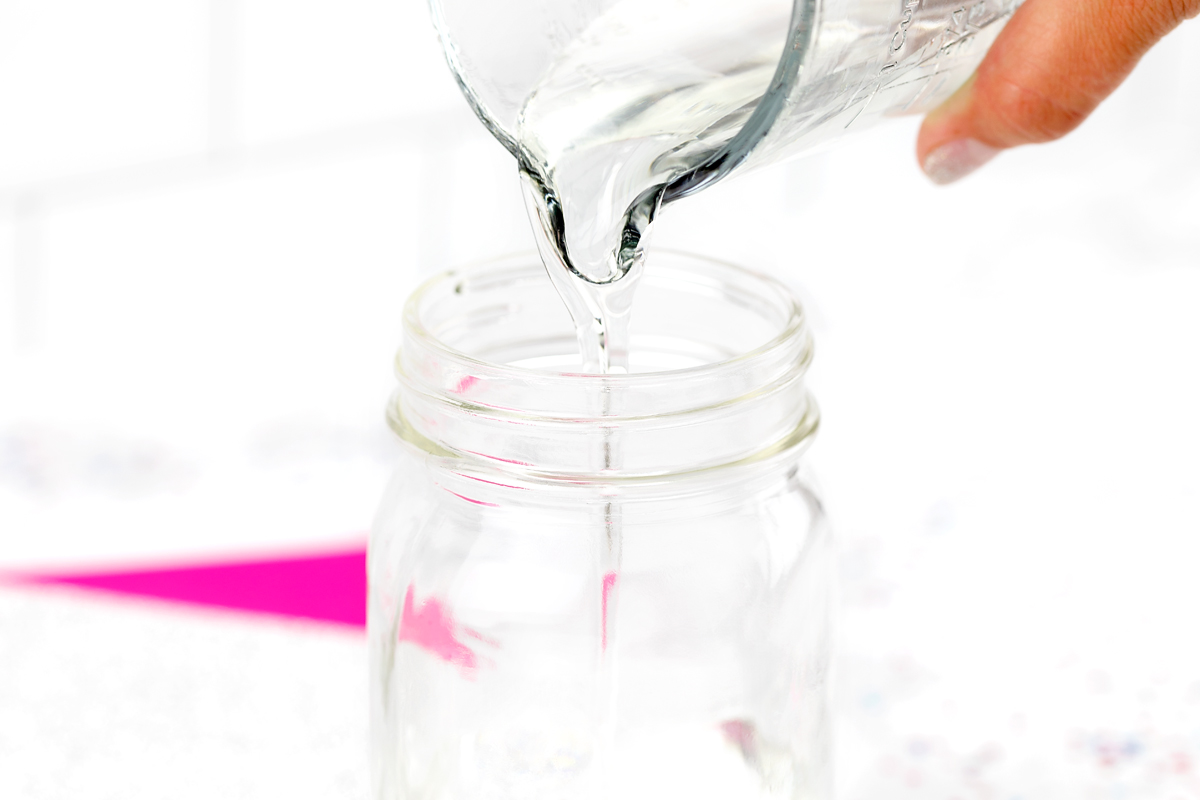
STEP 1: Pour the water. Pour ½ cup of distilled water into a clean jar. Distilled water helps keep the glitter jar clear by reducing the minerals and impurities that can be present in tap water.
STEP 2: Add the glue. Pour ½ cup of clear glue into the jar and stir gently with a spoon until it mixes with the water. If you like, add 1–3 drops of food coloring. Translucent colored glue also creates a beautiful, soft tint.
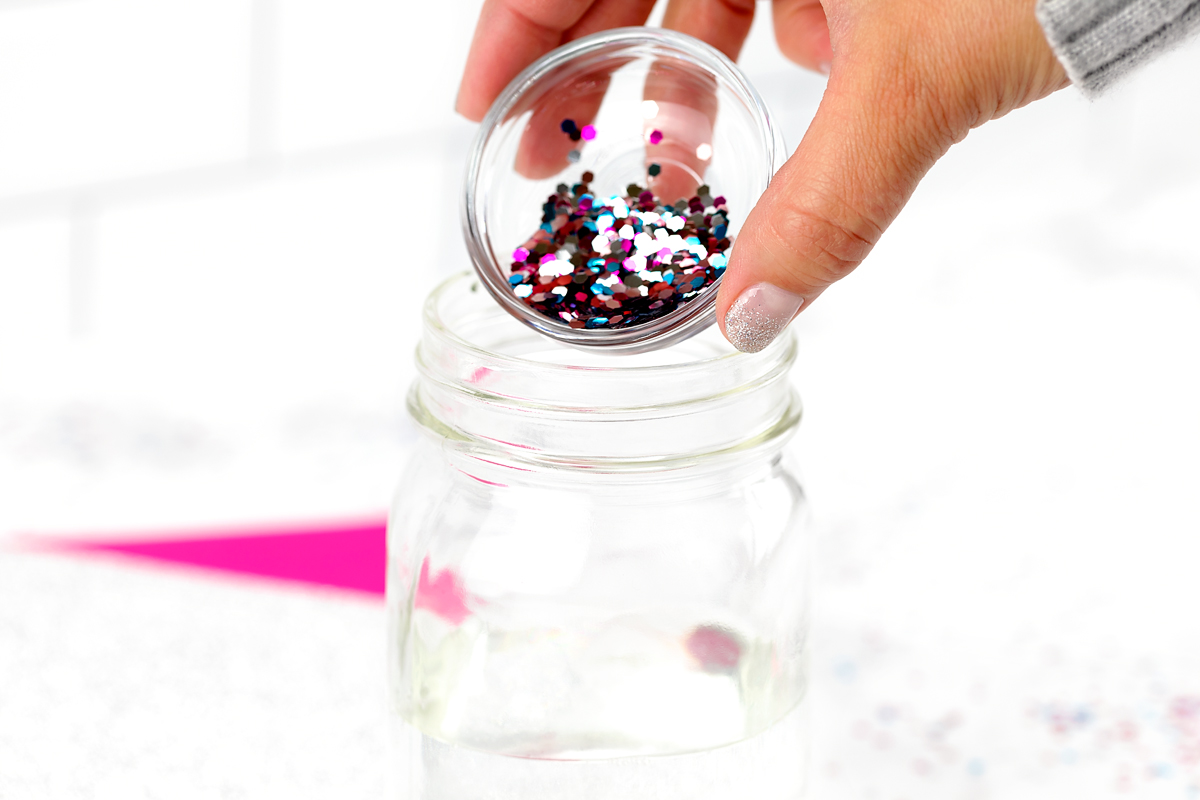
STEP 3: Add the glitter. Add 1–2 teaspoons of craft glitter. We like mixing fine, medium, and chunky glitter because each size settles at a different speed. Shaped sequins, such as hearts and stars, are a fun addition.
STEP 4: Top off the jar. Fill the rest of the jar with distilled water, leaving enough room for the lid. Wipe the rim dry with a paper towel so the lid can seal securely.
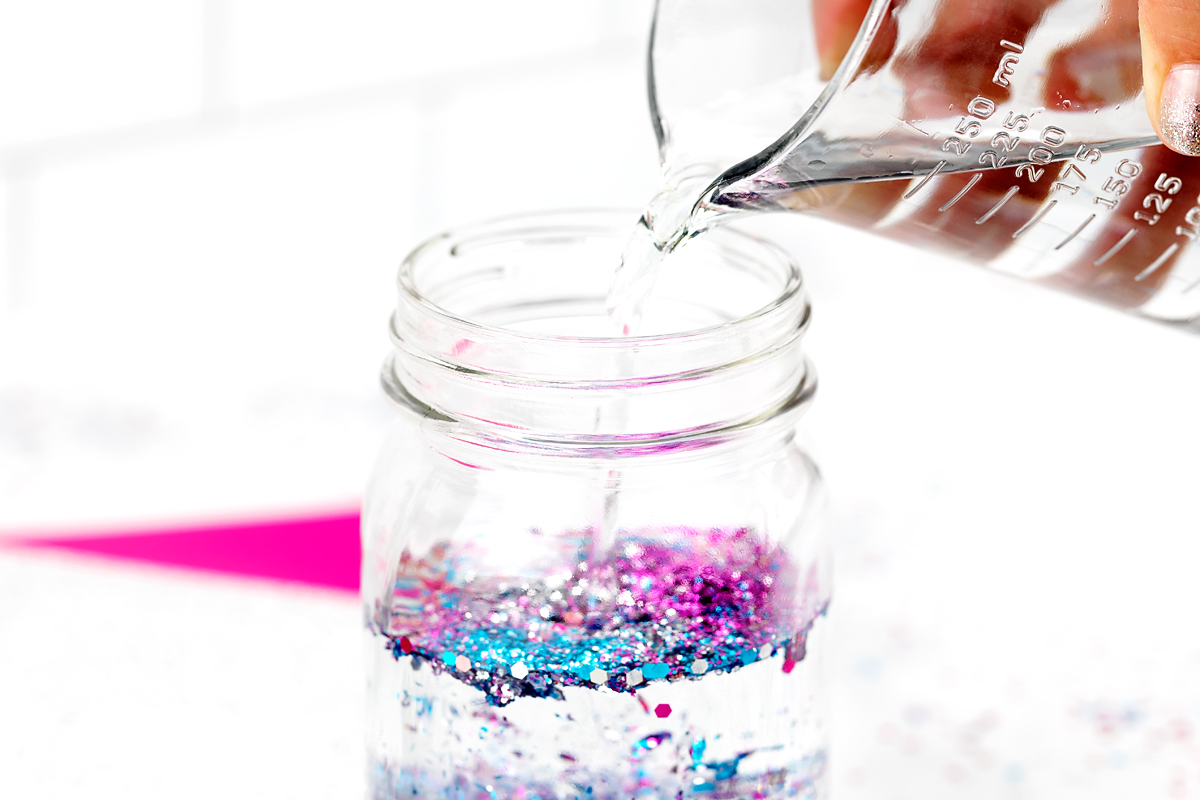
STEP 5: Seal the jar. Wrap plumber’s tape around the threads at the top of the jar two or three times, following the direction the lids turn to tighten. Press the tape gently against the threads, then screw the lid on as tightly as possible.
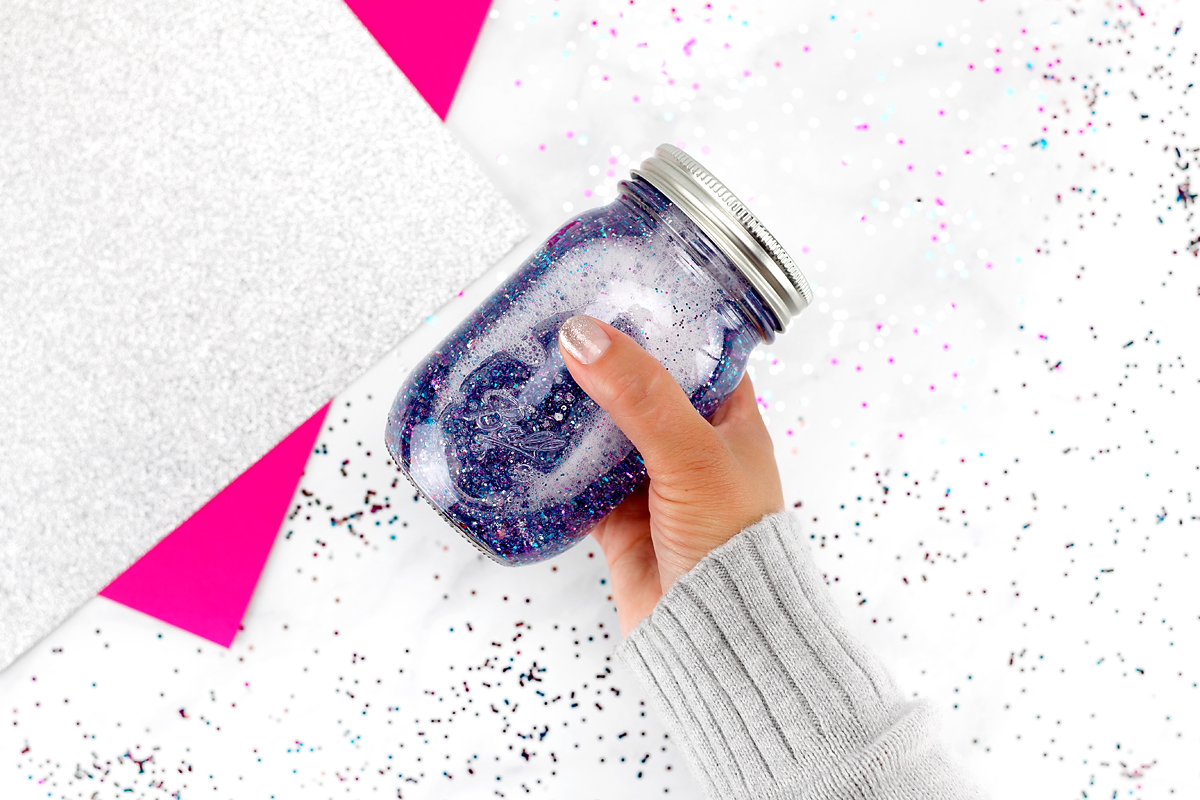
STEP 6: Shake and enjoy. Shake the jar to mix the contents, then set it down and watch the glitter swirl and settle. Your glitter jar is ready to use!
How to Use a Glitter Jar
Like any tool, a glitter jar works best when kids are taught how to use it. Practice when your child is already calm so it is familiar when they need it.
- Ask your child to sit down, hold the jar, and gently shake it.
- Invite them to watch the glitter fall while taking slow belly breaths, with long, gentle exhales.
- When the glitter has settled, calmly ask how they are feeling. Some kids will talk, and some will want to draw or write instead.
A glitter jar is a calming tool, not a toy. Keep it in a designated spot where children can use it when needed, rather than placing it in the toy box. Teach children to handle it gently and avoid throwing or tossing it.
Tips for the Best Glitter Jar
These simple tips can help you make a glitter jar that works well and holds up to repeated use.
- Adjust the settling time. Use more glue to make the glitter fall more slowly and less glue to make it fall faster. Adjust the amount a little at a time until you like the result.
- Choose the right container. Plastic jars and bottles are a good choice for younger children, classrooms, and settings where breakage is a concern.
- Mix before adding glitter. Stir the glue into the water first to help prevent clumps and gooey strings.
- Let kids choose the colors. A jar a child helps design may feel more personal and encourage them to use it.
- Consider biodegradable glitter. Choose it if you want a more eco-friendly option.
- Secure the lid. Plumber’s tape can help create a tighter seal while allowing you to reopen the jar if needed. Children under 3 should use a glitter jar only with an adult right beside them.
Glitter Jar Extension Ideas
Once kids have made a glitter jar, try these activities to explore feelings, practice calming strategies, and use the jar in new ways.
- Use it as a timer. Choose a jar that takes about two minutes for the glitter to settle. Use it to help with quiet time, transitions, or short breaks.
- Connect colors with feelings. Choose a glitter color to represent different emotions, such as red for anger or blue for sadness. Talk about feelings while making the jar.
- Create a calm-down corner. Pair a glitter jar with feelings cards, a cozy pillow, and a few other calming activities.
- Make seasonal jars. Create glitter jars for spring, fall, Halloween, and Christmas, or turn a small jar into a glitter jar ornament.
- Add a feelings journal. Invite kids to draw or write about their feelings after using the jar.
More Glitter Jar and Sensory Bottle Ideas to Try
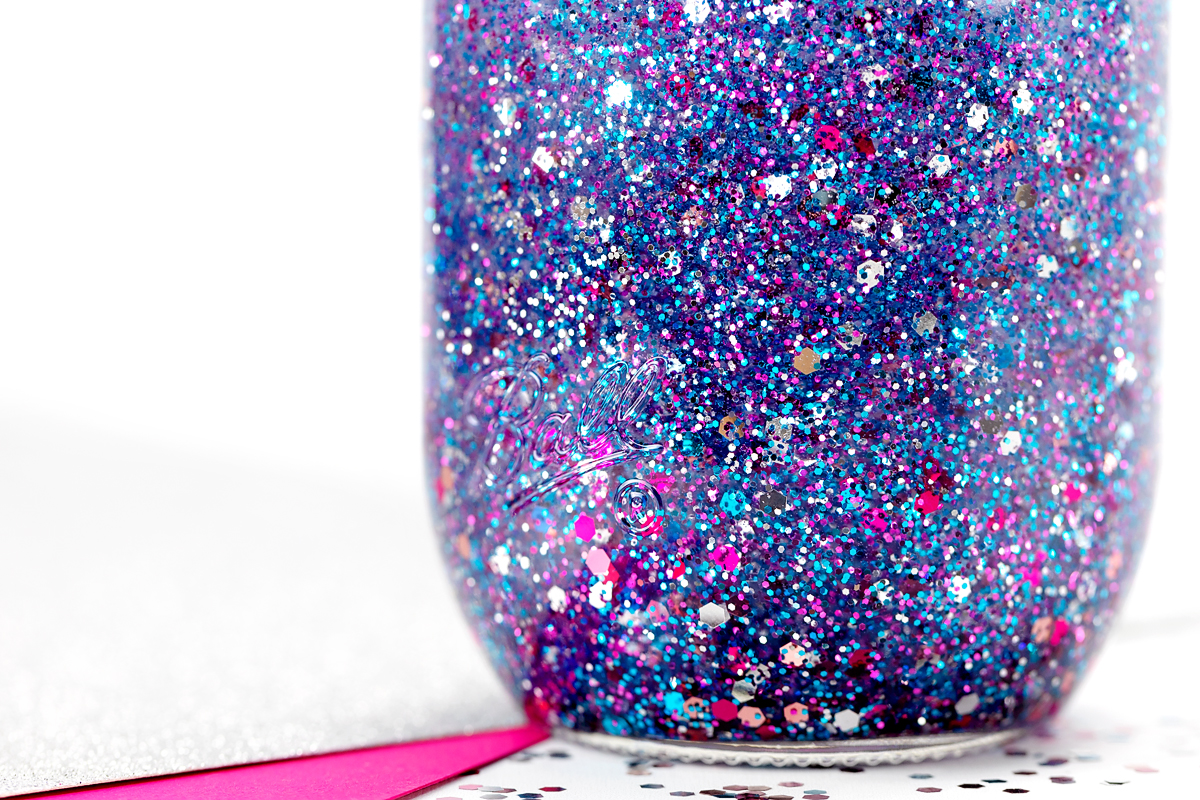
If your kids enjoy making glitter jars, try these other glitter jar and sensory bottle projects.
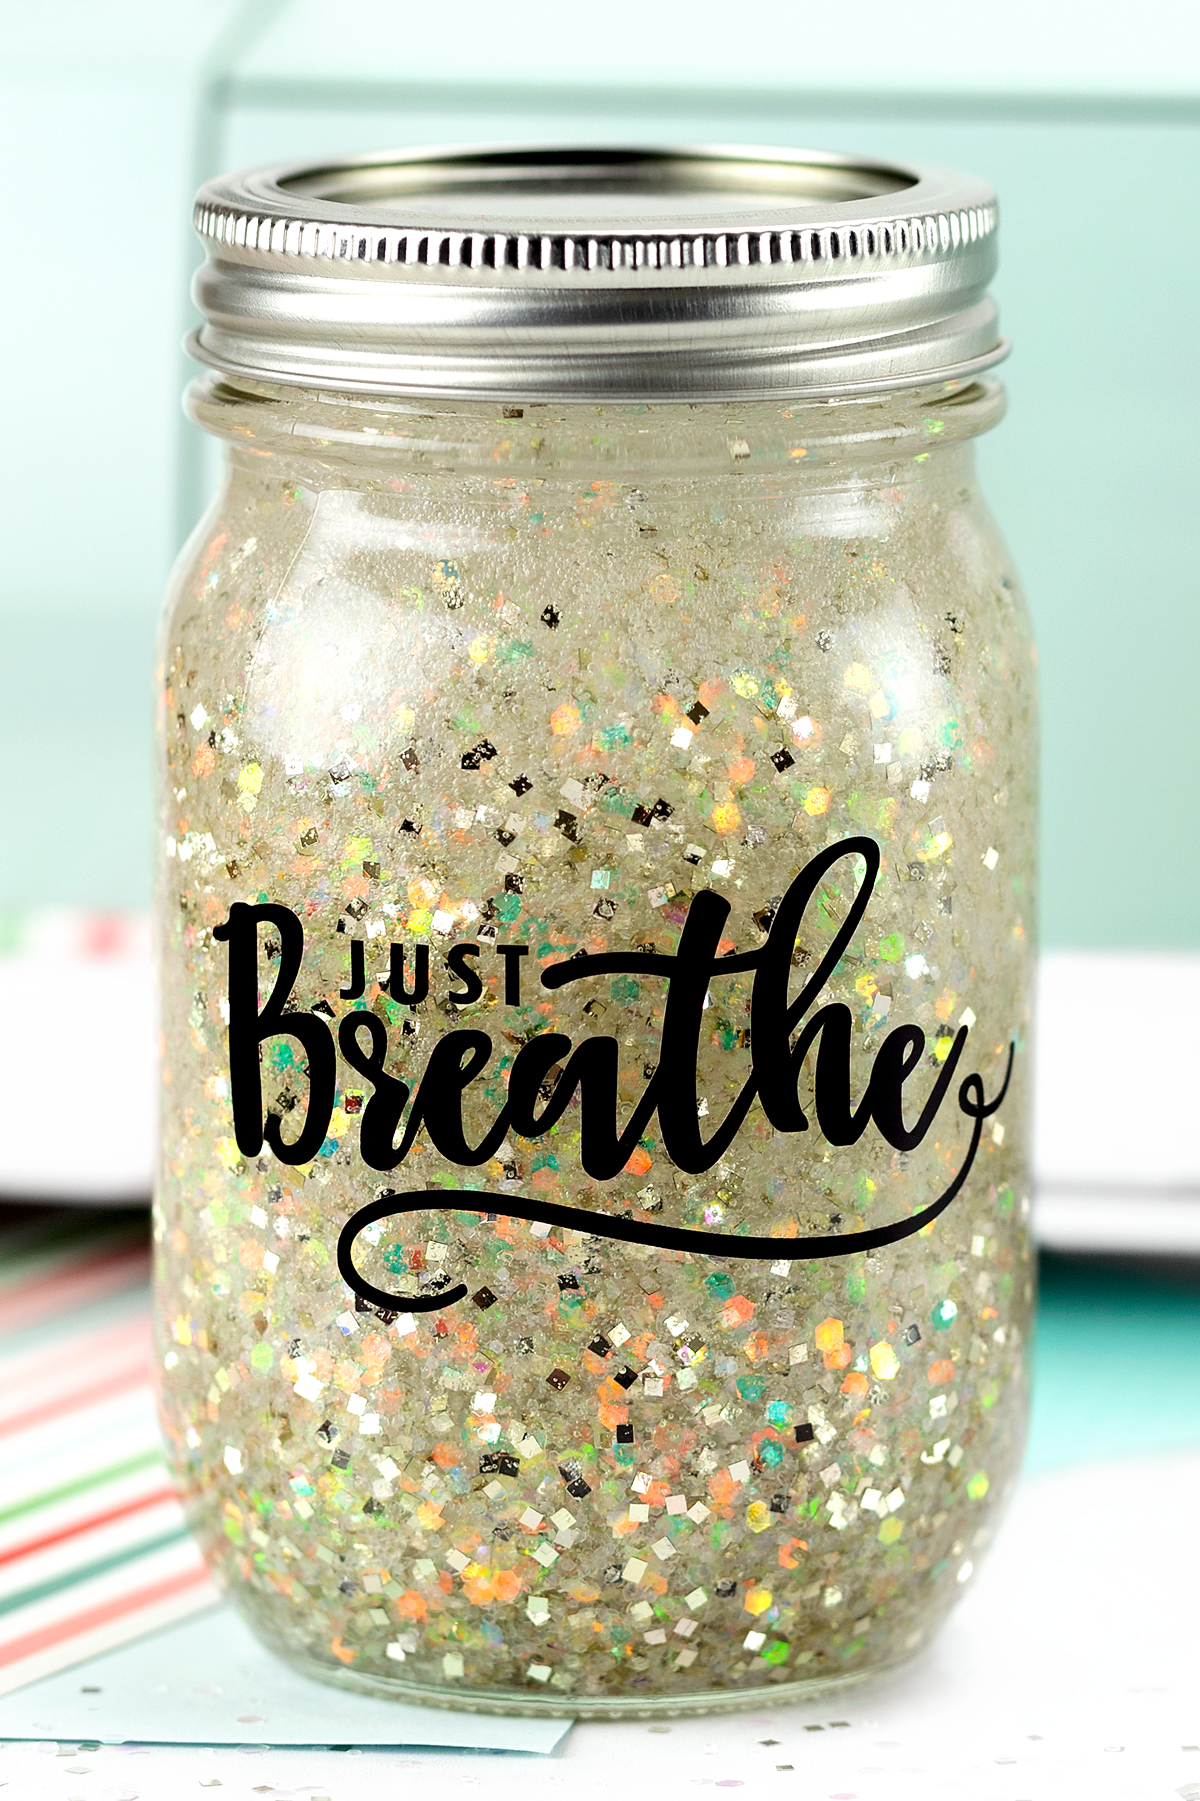
How to Make a Calming Jar
Learn how to use a Cricut to make labels for your glitter jars.
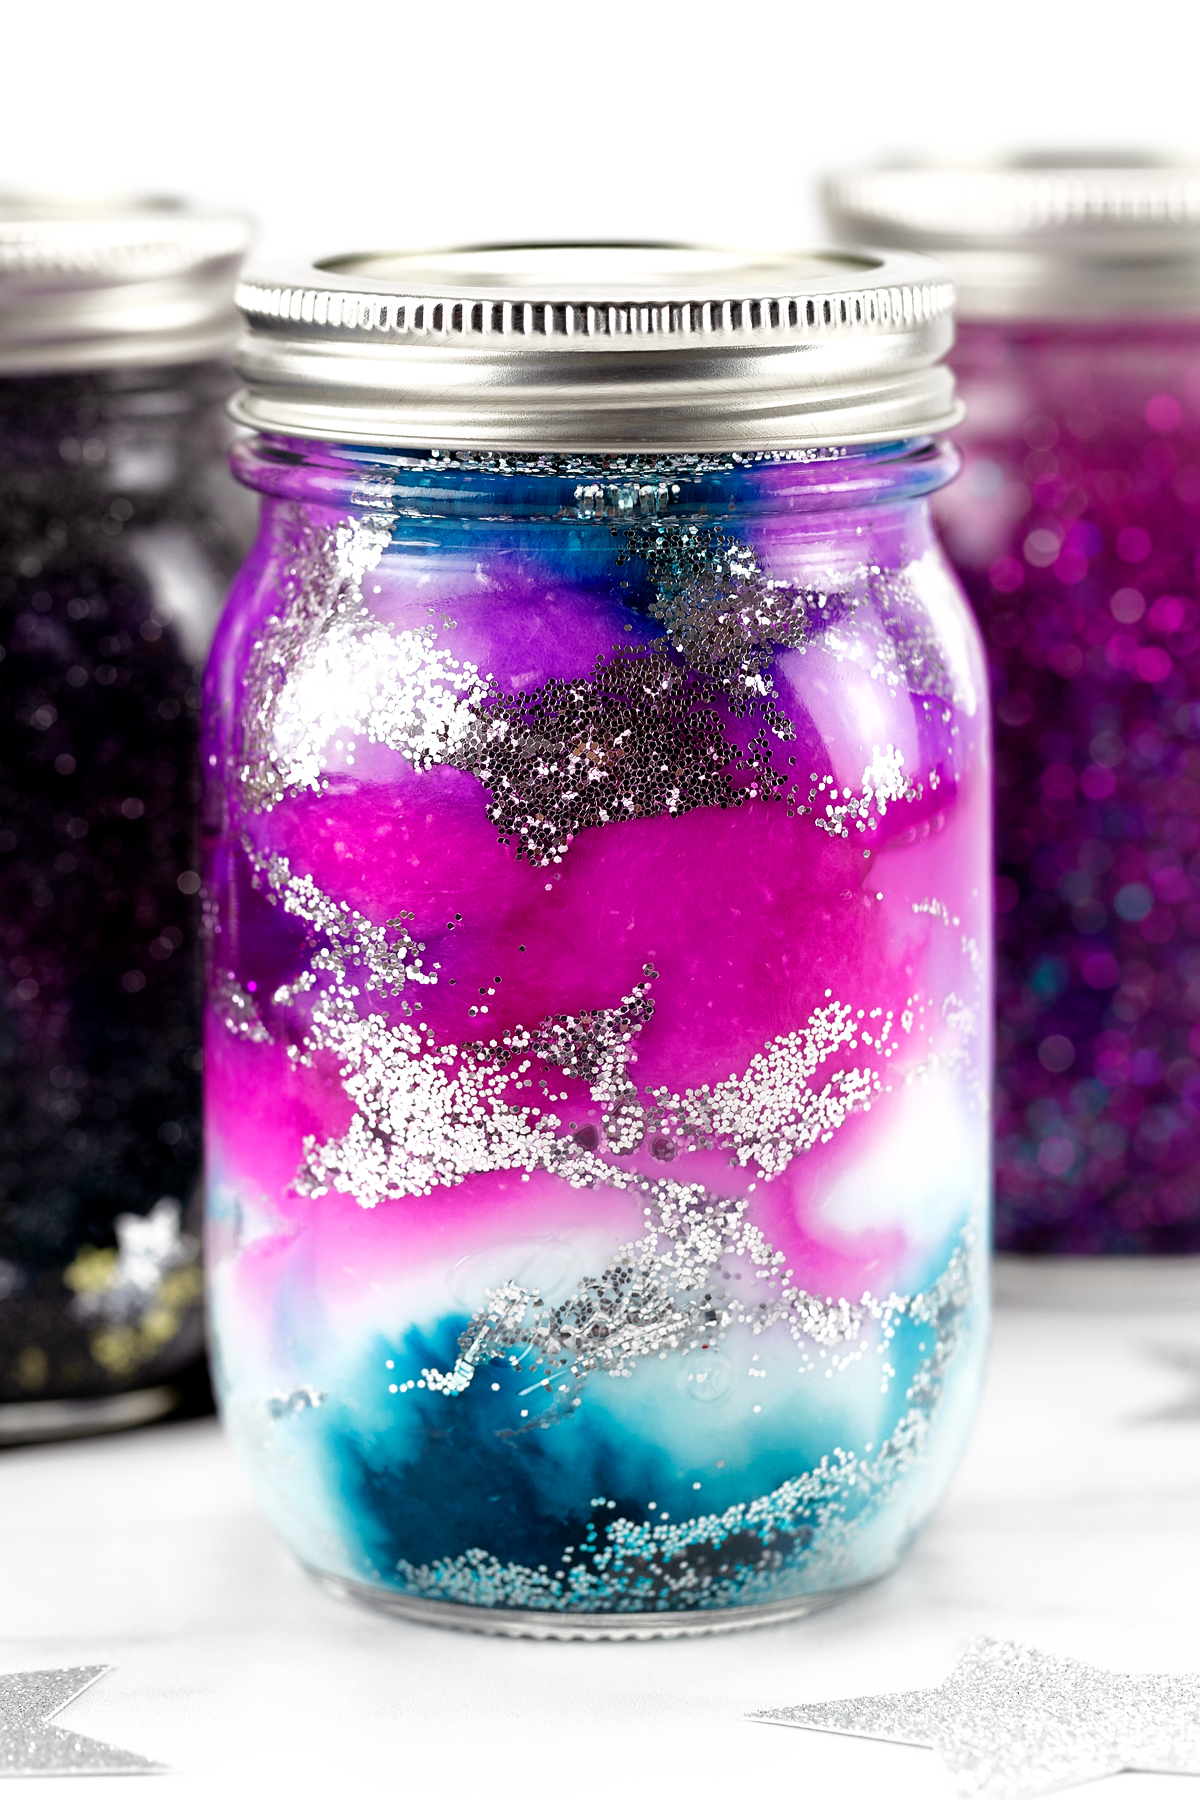
Galaxy Glitter Jars
Create a galaxy-inspired jar with glitter and colors reminiscent of outer space. This is a fun option for kids who love stars, planets, and all things cosmic.
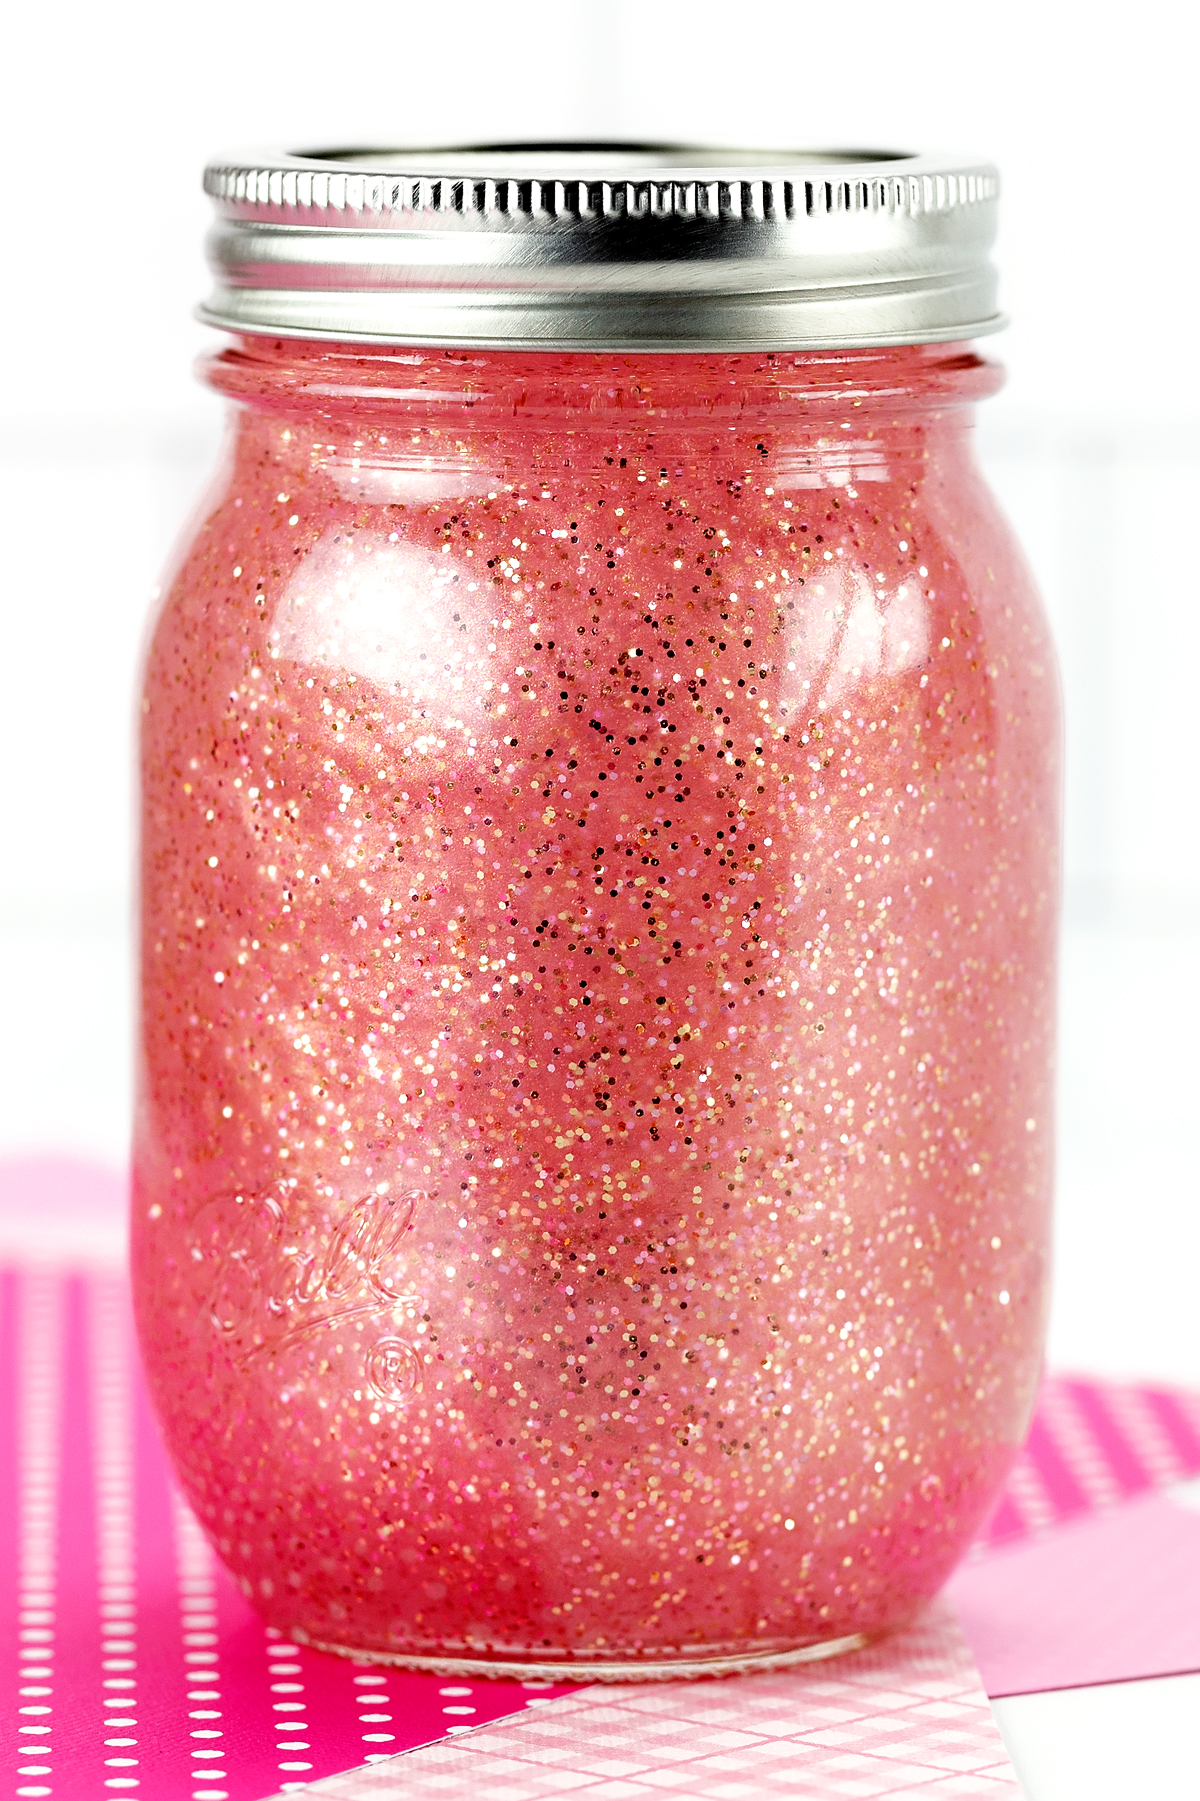
Pink Glitter Jar
Make 3 pink glitter jars for kids who love pink and sparkly sensory activities. These are perfect for Valentine’s Day!
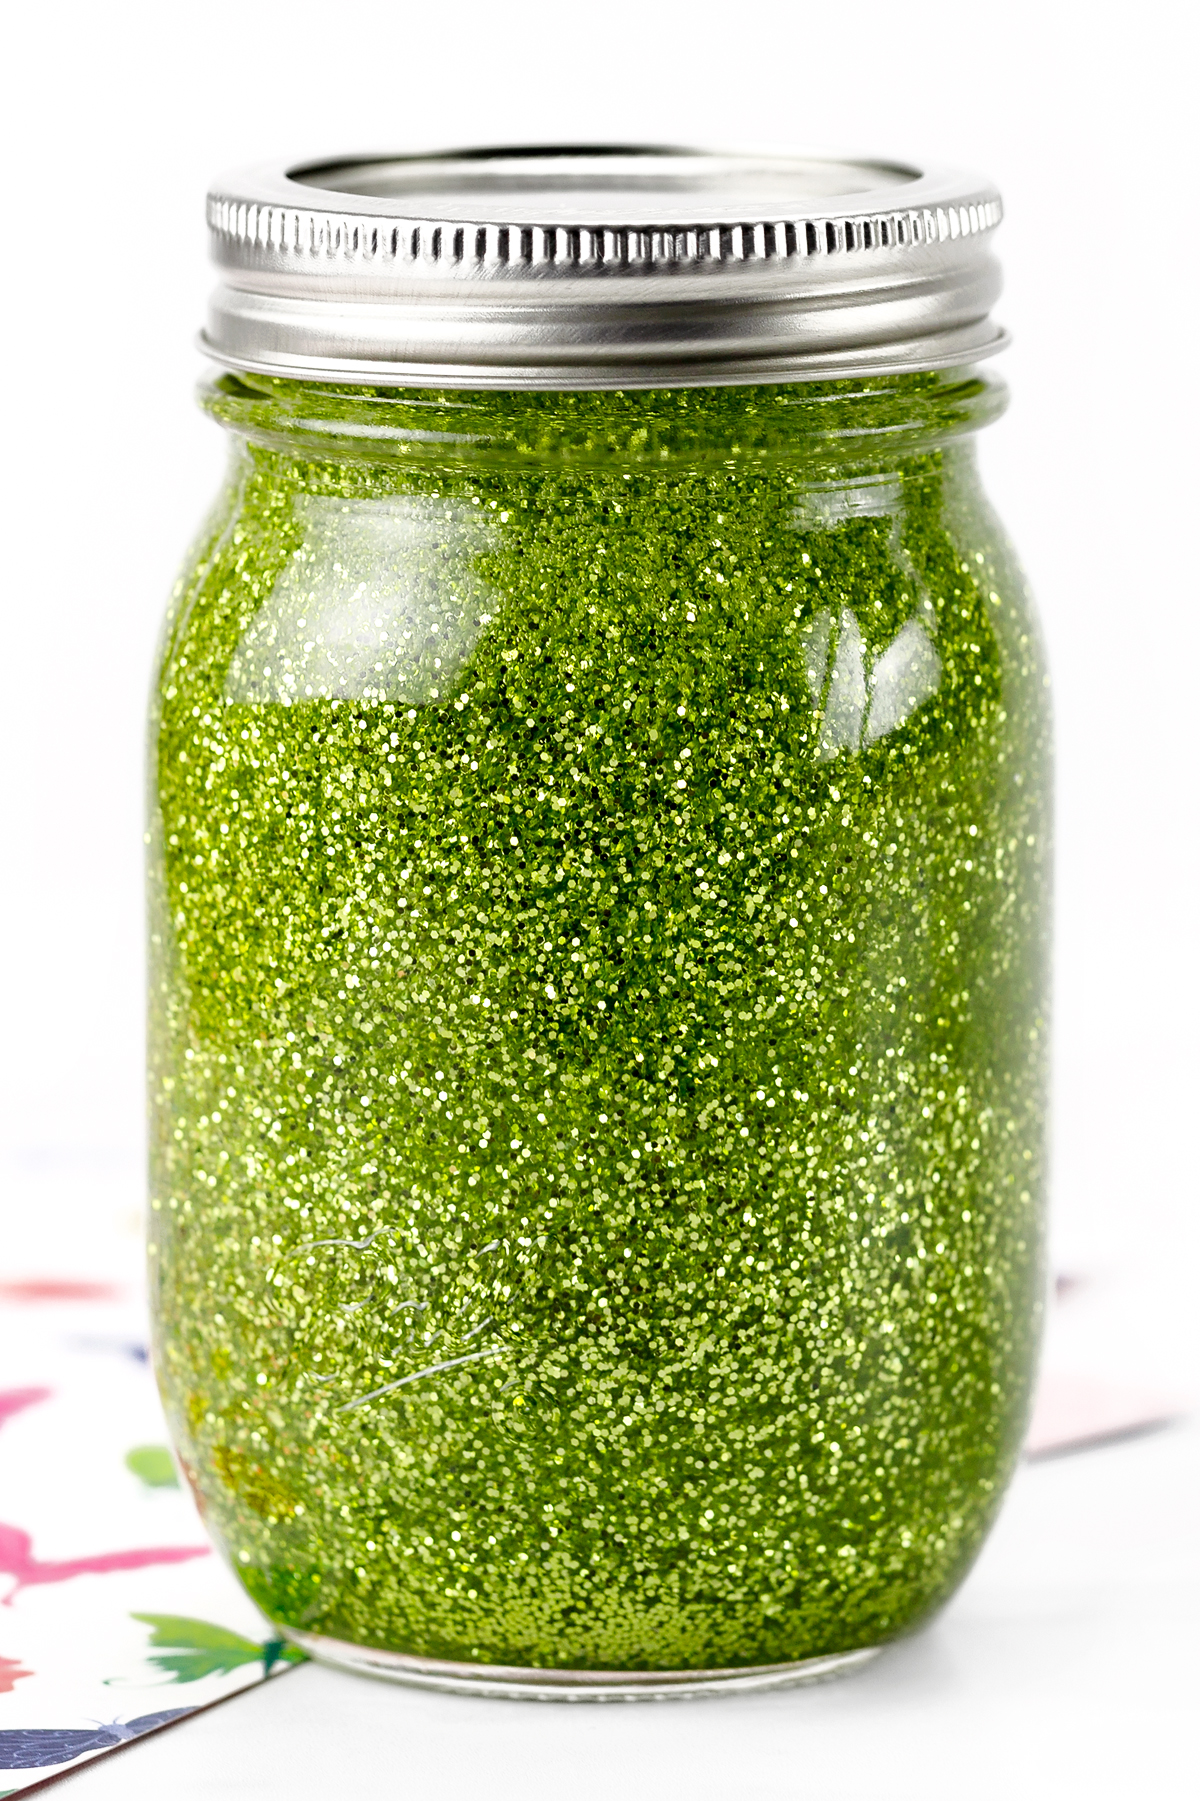
Spring Glitter Jars
Celebrate spring with a colorful glitter jar inspired by the season. This is a fun craft to make as the weather warms up.
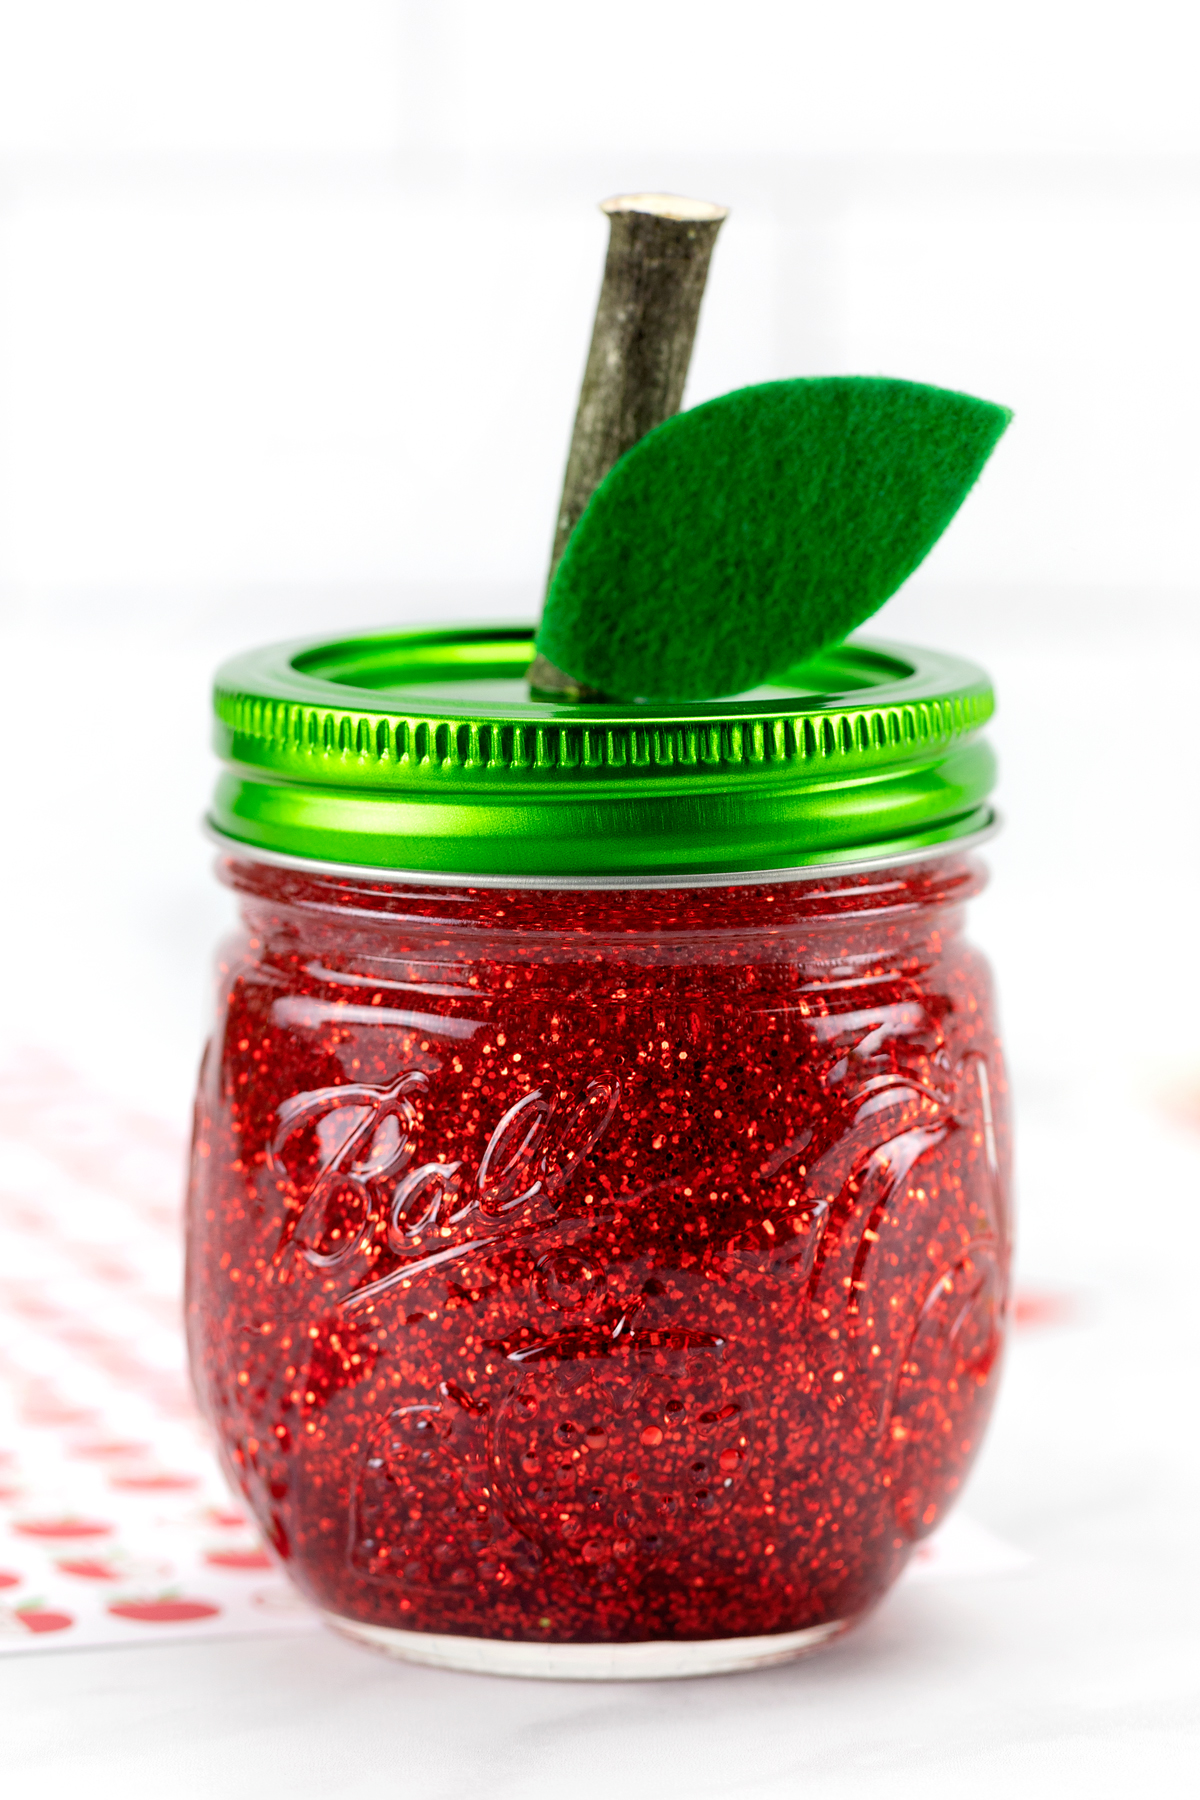
Apple Glitter Jars
Make an apple-themed glitter jar for fall, back-to-school activities, or an apple unit in the classroom.
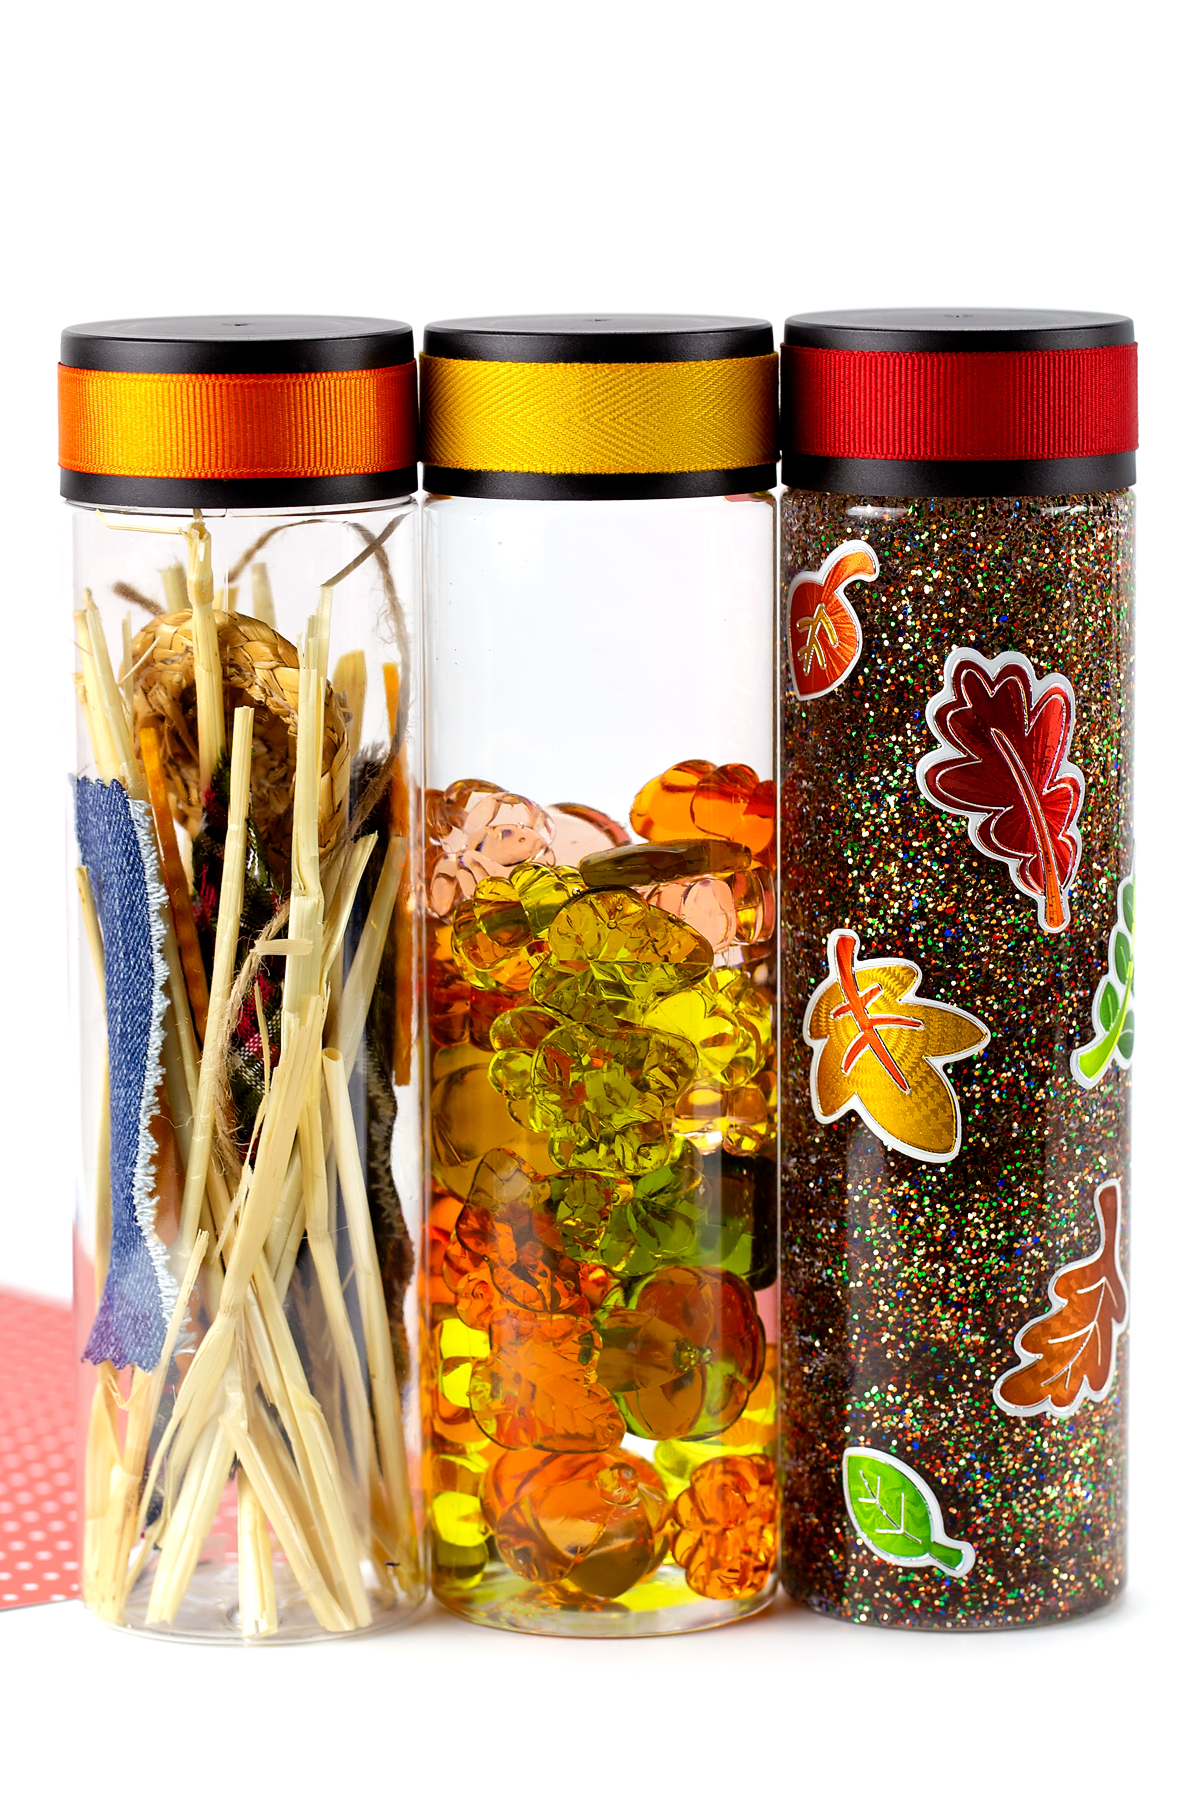
Fall Sensory Bottles
Explore autumn colors and seasonal sensory play with fall-themed sensory bottles.
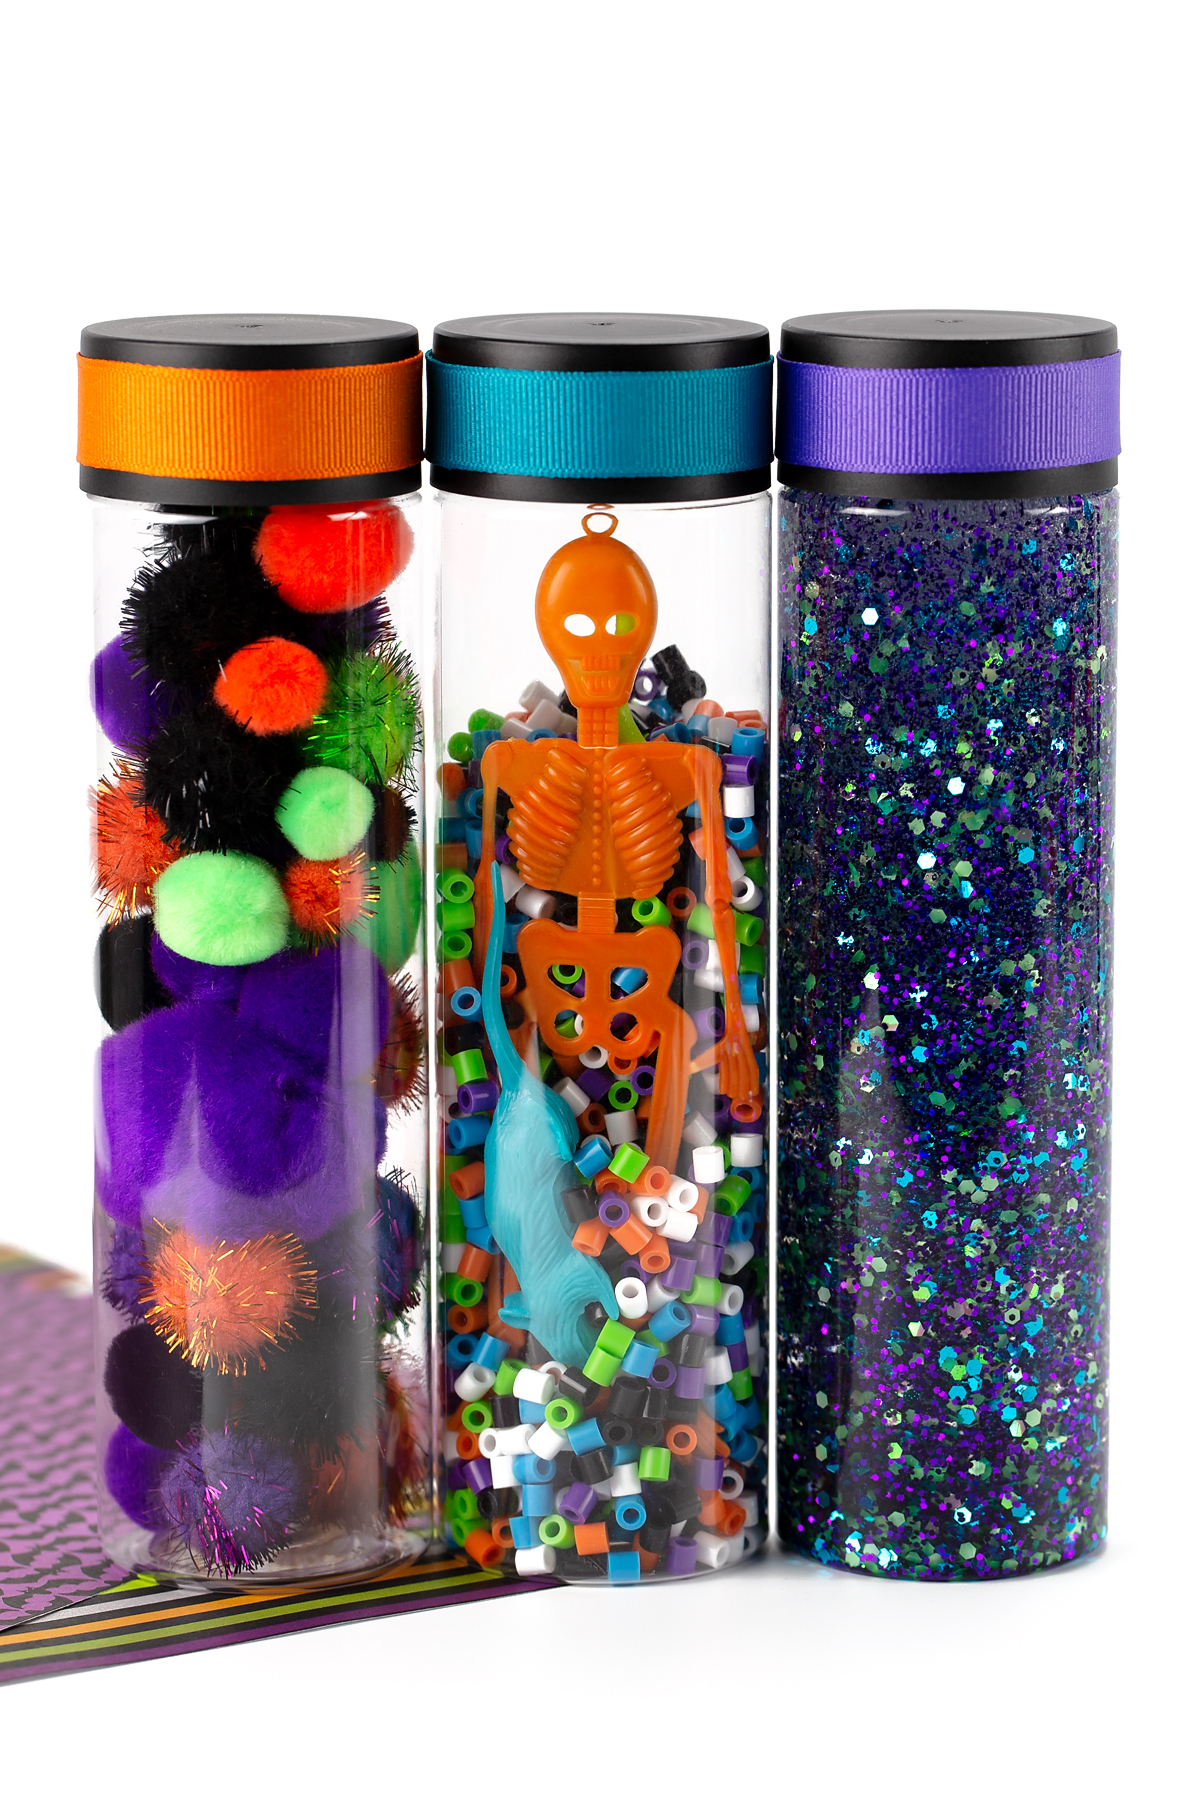
Halloween Sensory Bottles
Make Halloween-inspired sensory bottles for a seasonal activity. These can be a fun alternative to spooky decorations for younger children.
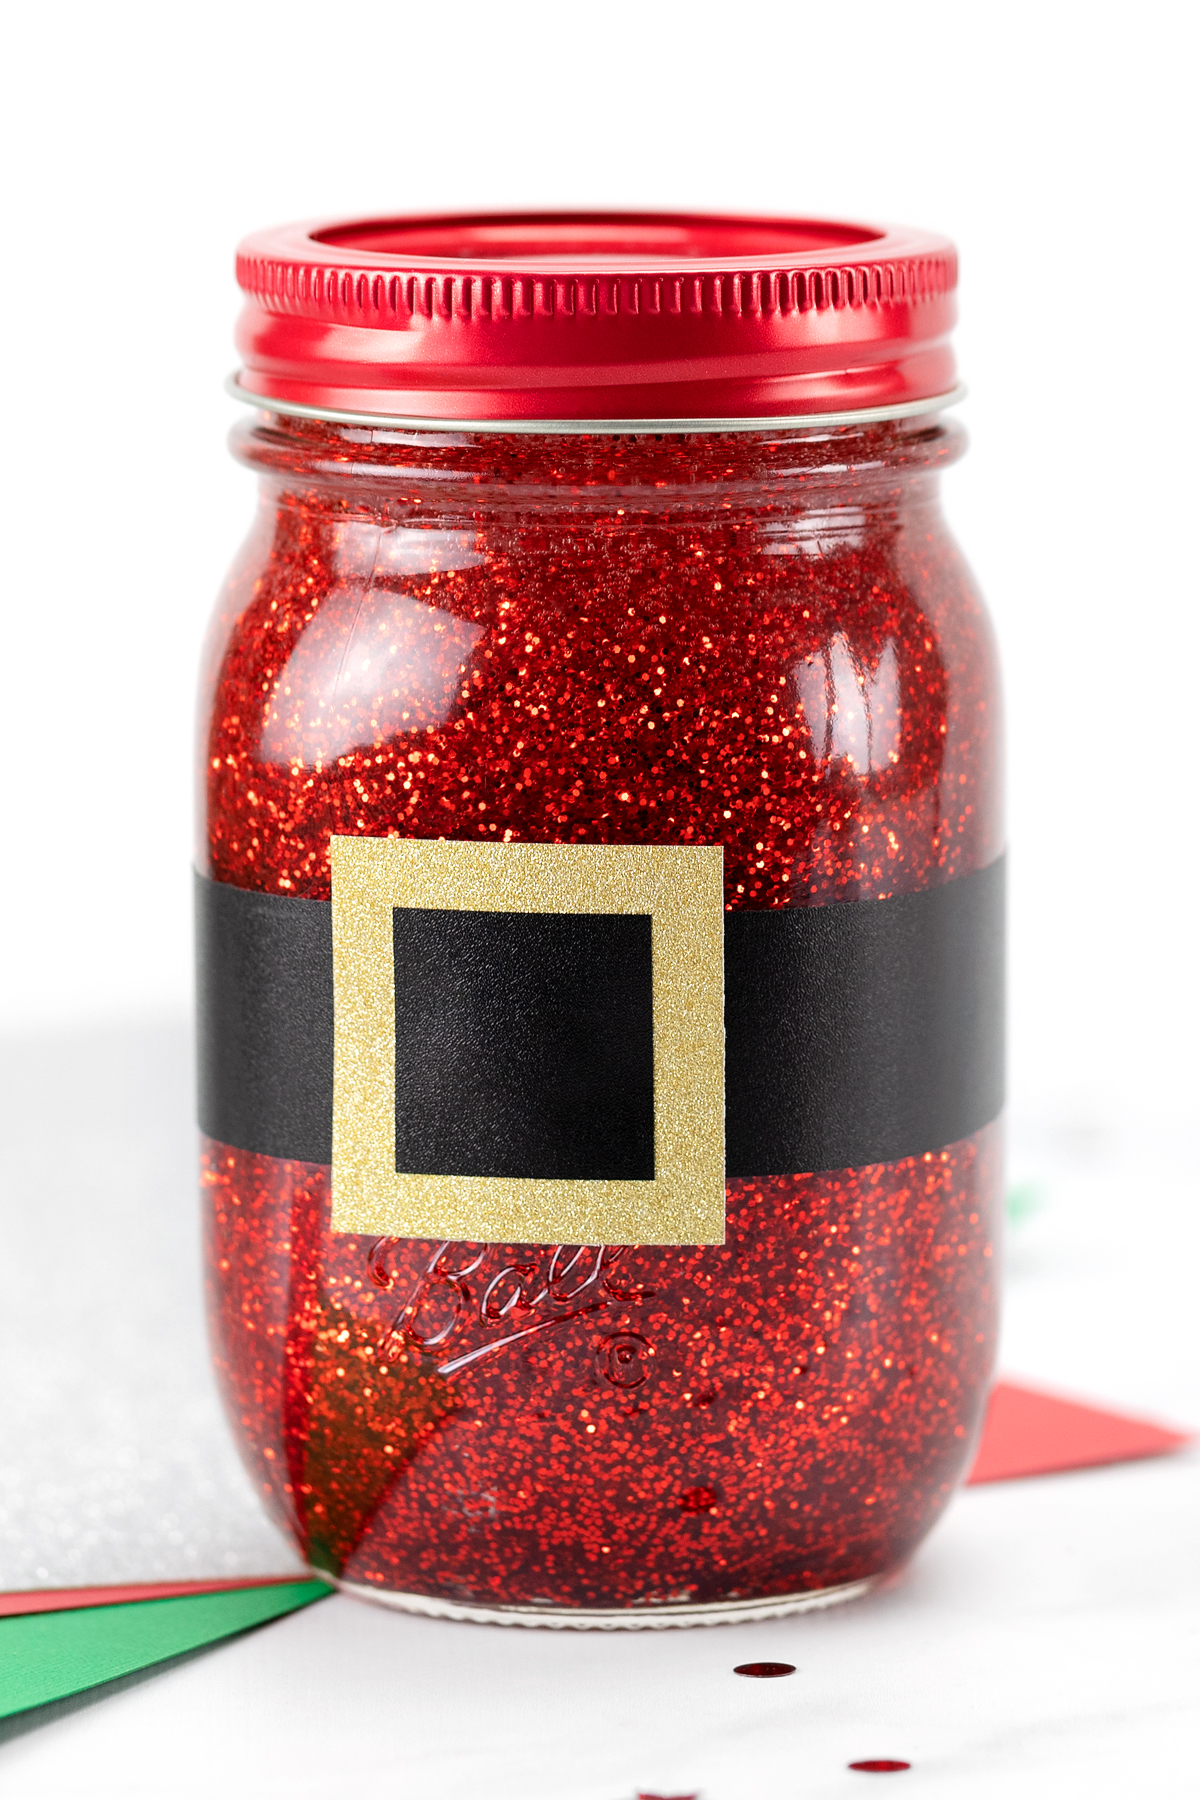
Christmas Glitter Jars
Create glitter jars in Christmas colors for a seasonal sensory activity or a handmade gift.
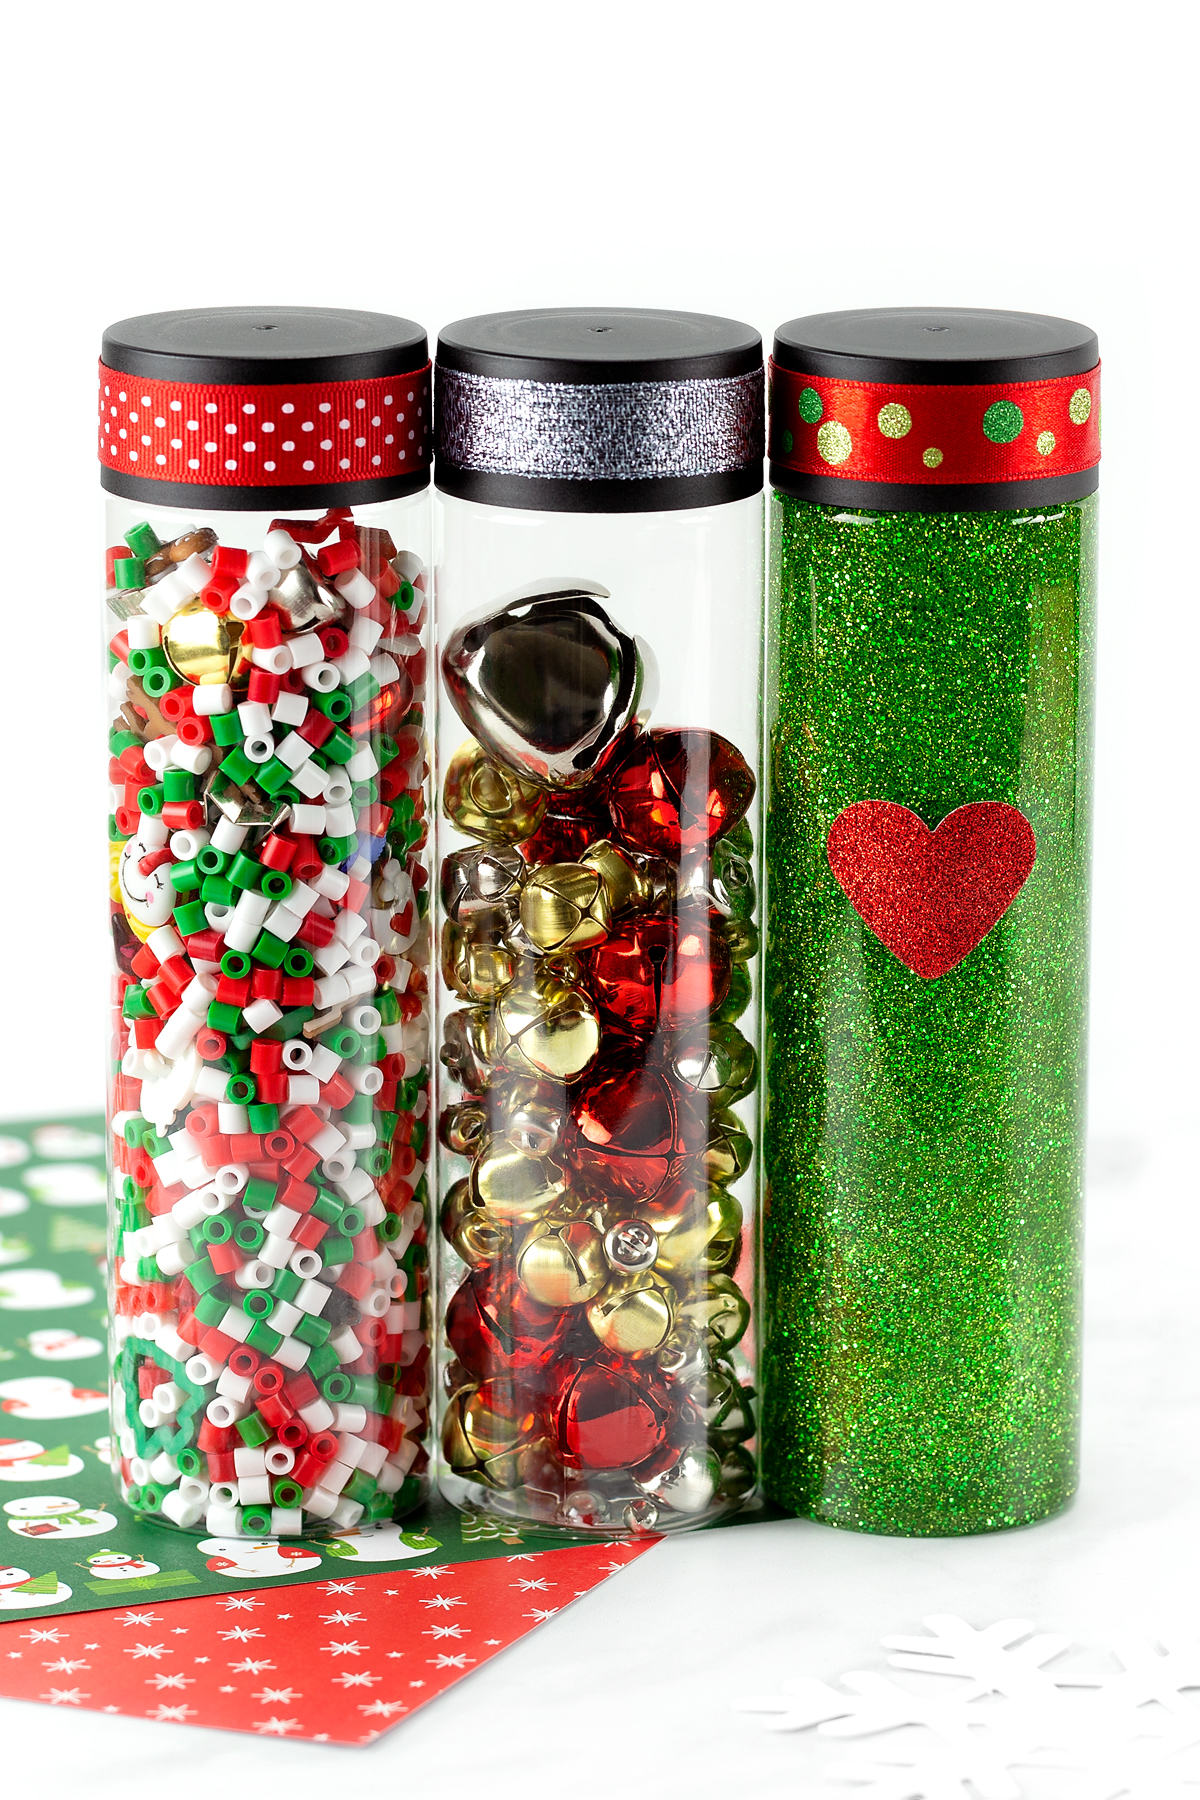
Christmas Sensory Bottles
Try Christmas-themed sensory bottles filled with seasonal colors and decorative materials for a festive sensory activity.
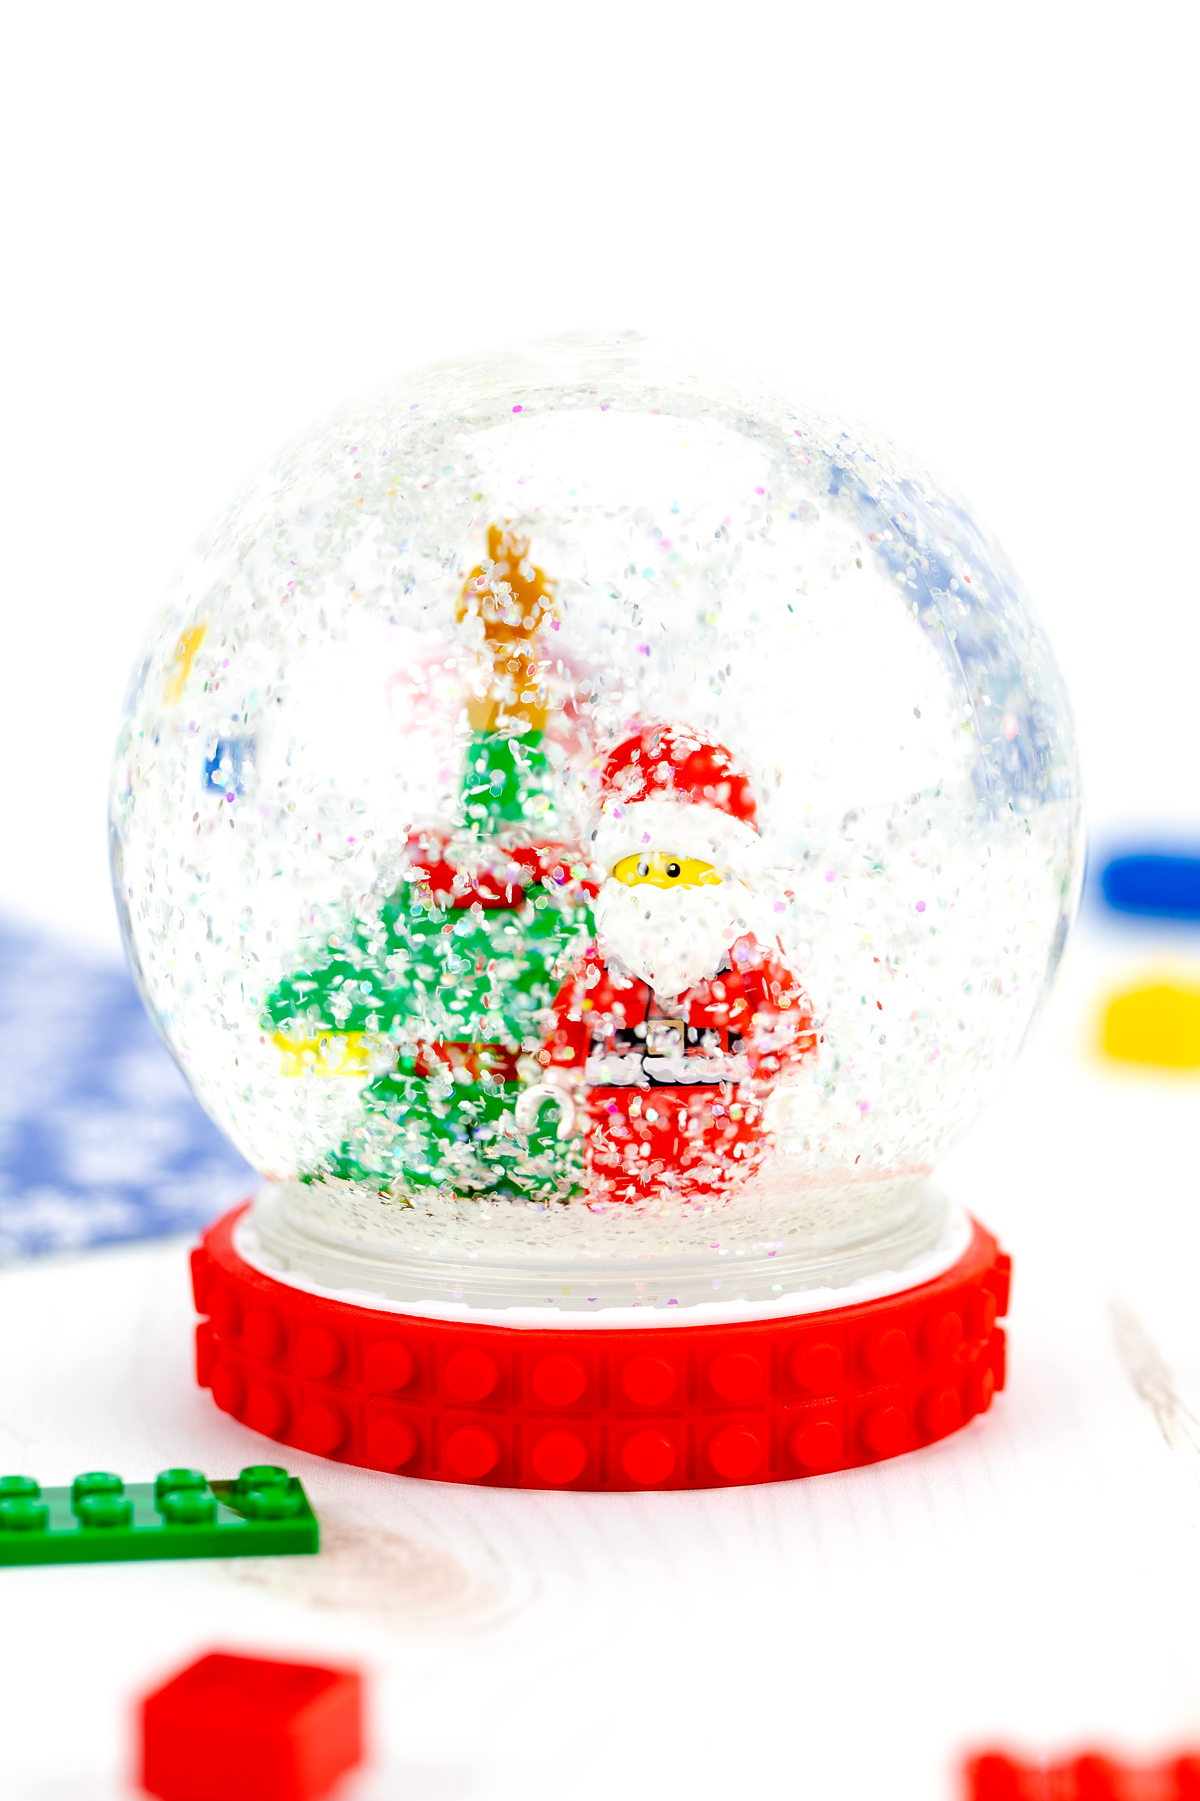
How to Make a Snow Globe for Christmas
Make a homemade Christmas snow globe as a winter craft for holiday decoration.
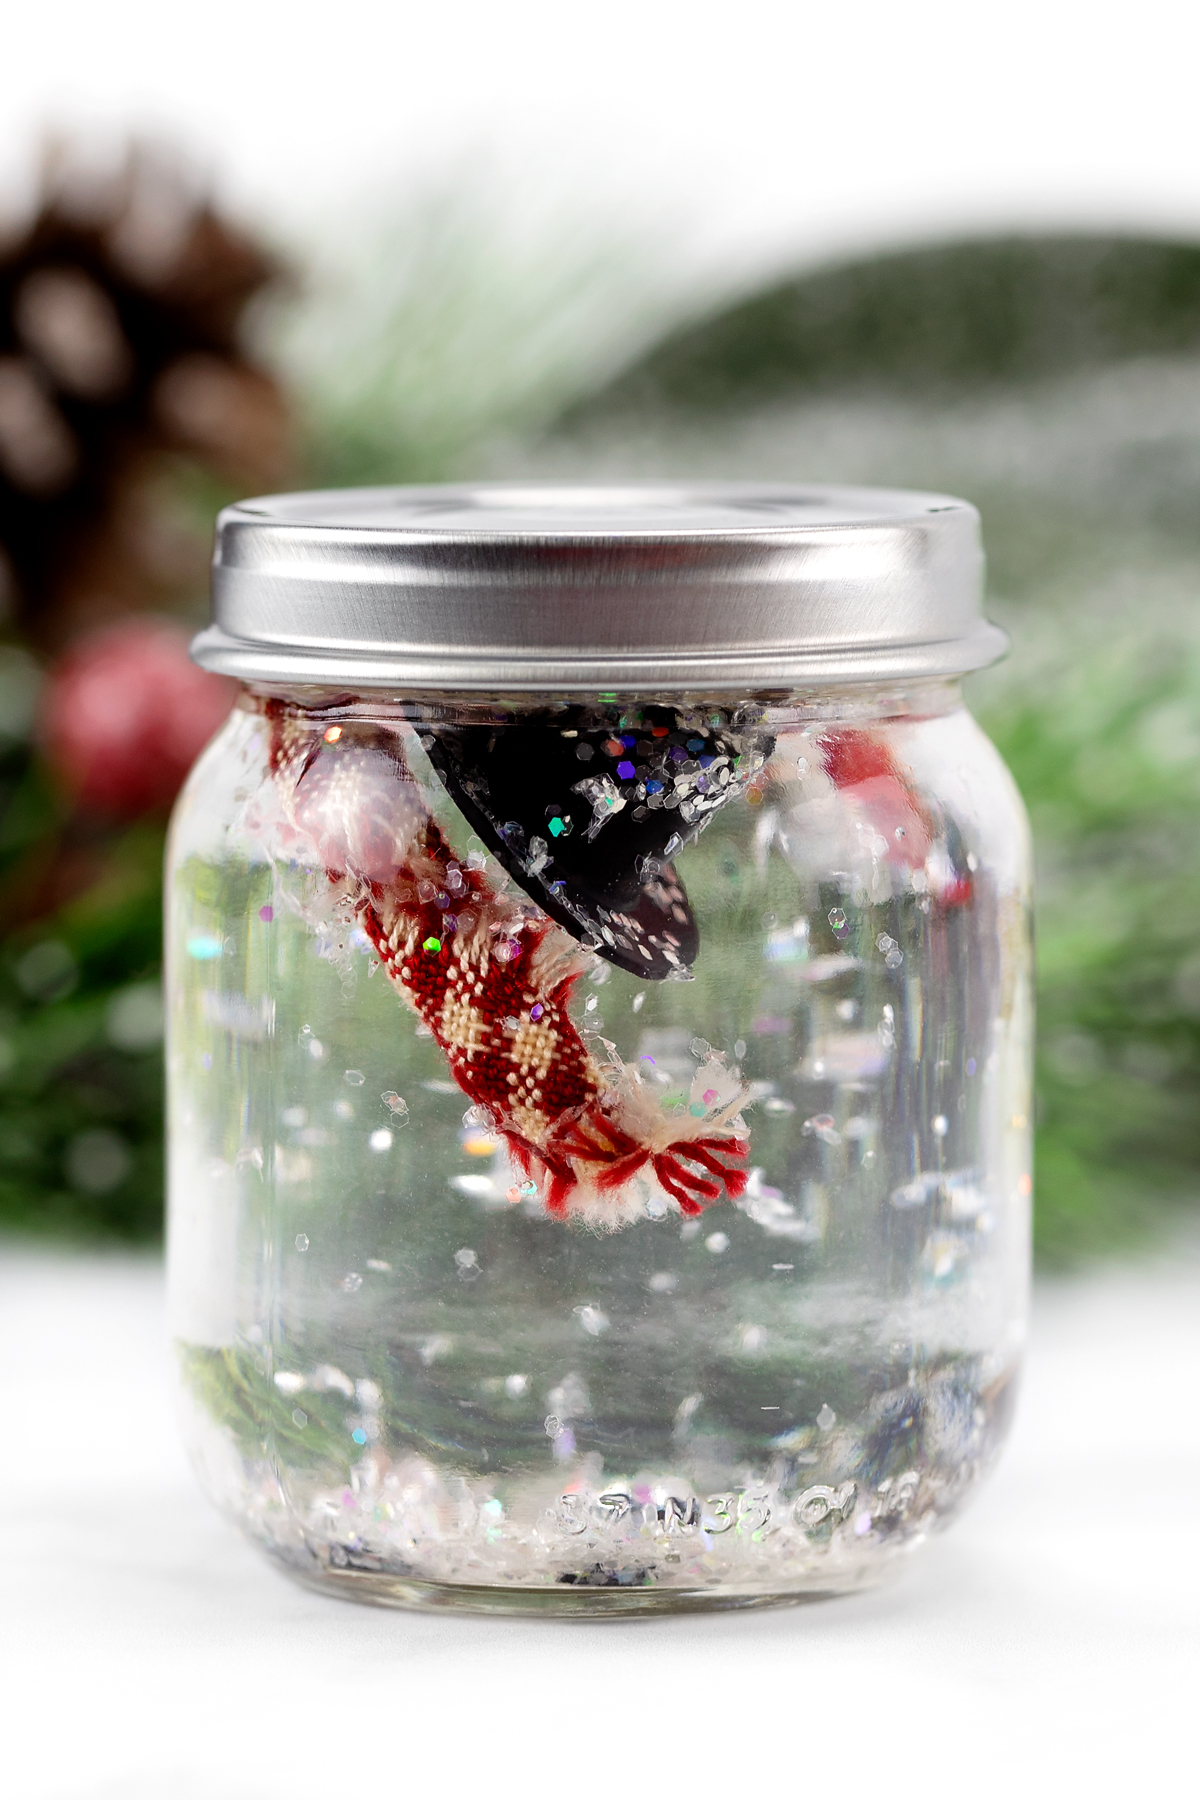
Melted Snowman in a Jar
Create a playful melted snowman craft in a jar for a fun winter activity.
Frequently Asked Questions
Have questions about making or using a glitter jar? These answers cover common ingredients, troubleshooting tips, sealing methods, and ways to use glitter jars safely with kids.
A glitter jar contains distilled water, glitter, and clear glue or liquid glycerin to slow the glitter as it falls. Food coloring and sequins are optional.
Watching glitter settle gives kids something calming to focus on while taking slow breaths. This pause may help them manage big feelings.
Stir the glue and water together thoroughly before adding glitter. Experimenting with different glitter sizes may also help.
Yes, but distilled water contains fewer minerals and impurities, which can help keep the jar clear. Neither type of water prevents mold completely.
A well-sealed glitter jar may last for months or longer. Discard it if the water becomes cloudy, develops an unusual odor, or shows signs of mold.
Use an age-appropriate container and secure the lid tightly. Plumber’s tape around the jar threads can help prevent leaks. Supervise young children, choose plastic containers when breakage is a concern, and check the jar regularly for damage.
Save This Craft
Save this glitter jar craft to Pinterest so you can find the instructions when you’re ready to make one with your kids.


Want even more?
Make sure to follow on Facebook, Pinterest, and Instagram for more easy crafts, activities, recipes, and parenting tips. And don’t forget to subscribe to our emails.