

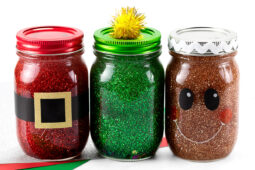
Christmas glitter jars are an easy, hands-on way for kids to find a little calm during a busy December. Making a glitter jar is a simple mindfulness activity for kids of all ages, and these three holiday versions need only mason jars, clear glue, and a few basic craft supplies.
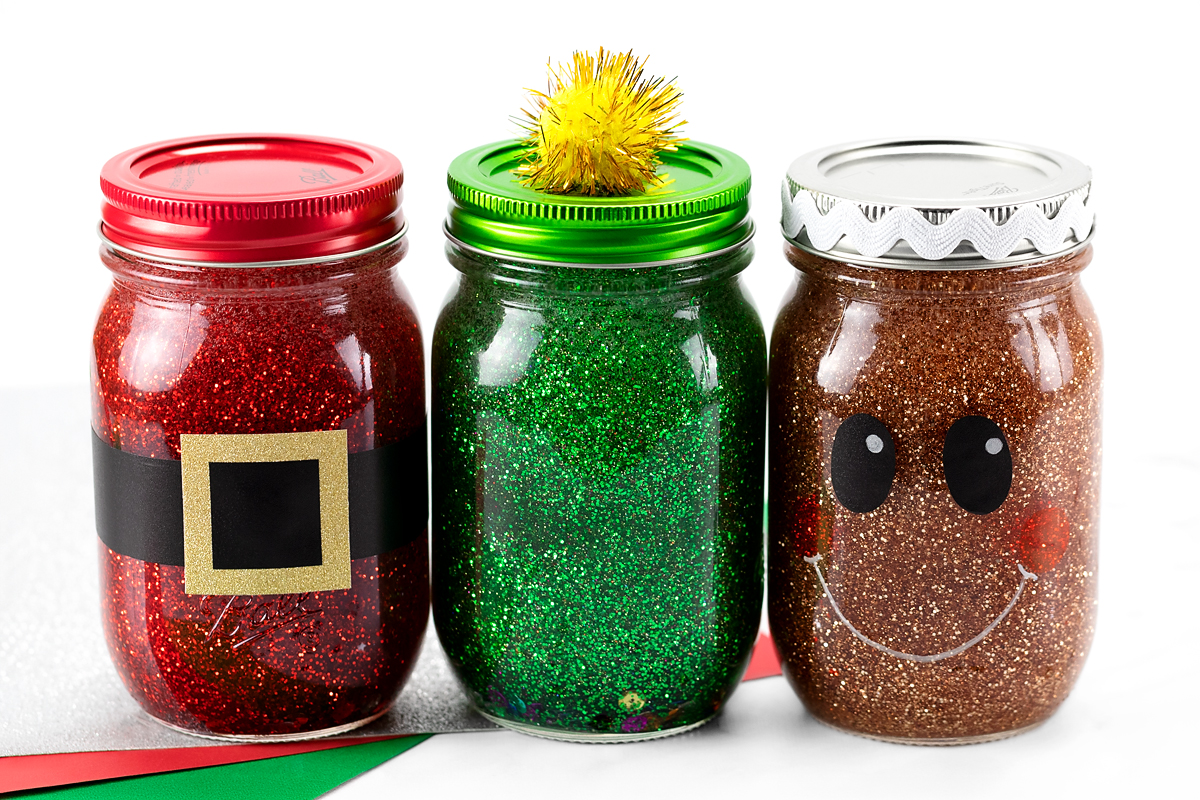
When I worked as an elementary school counselor, I rotated my books, sensory bins, glitter jars, and homemade playdough with the seasons and holidays. In the fall, I kept apple glitter jars and Halloween glitter jars on the shelf. In December, I put out Christmas glitter jars, like the Santa, Christmas tree, and gingerbread man jars pictured below.
Follow along with the step-by-step directions and video tutorial to make your own. They also make a sweet stocking stuffer or Secret Santa gift.
Why You’ll Love These Christmas Glitter Jars
Kids practice several useful skills while they make these jars, and they get a calming tool to keep when they finish.
- Builds fine motor skills. Scooping glitter, twisting lids, and pressing vinyl onto glass strengthen small hand muscles and hand-eye coordination.
- Practices measuring. Measuring a half cup of water and counting out teaspoons of glitter gives kids real-life math practice.
- Encourages following directions. Working through five clear steps in order builds sequencing and focus.
- Supports self-regulation. Watching the glitter drift to the bottom gives kids a visual cue to slow down and focus.
- Sparks creativity. Choosing glitter colors and decorating the outside lets every child make a jar that feels like their own.
- Works almost anywhere. The supplies are easy to find, so you can make these at home, in a classroom, or at a library program.
What You Will Need
Gather these basic supplies for any of the jars, and then look at the decorating supplies listed with each idea below.
- 16-ounce glass mason jar with a lid and metal ring (plastic jars or bottles work too)
- 1/2 cup of distilled water, plus more to fill the jar
- 1/2 cup of Elmer’s Clear Liquid School Glue
- 2–4 teaspoons of shimmering craft glitter and/or confetti
- Hot glue or water-resistant super glue
- Paper towel
Watch the Christmas Glitter Jars Video Tutorial
If you would like to see each step in action, press play on the video before you start.
How to Make Christmas Glitter Jars
These five steps create the basic jar, and the decorating ideas in the next section turn it into Santa, a Christmas tree, or a gingerbread man.
STEP 1: Pour water into the jar. Measure 1/2 cup of distilled water into the 16-ounce mason jar. I almost always choose glass for my stress relief jars, but plastic jars or bottles work well too.
STEP 2: Add the clear glue. Pour 1/2 cup of clear school glue into the jar.
STEP 3: Add the glitter and confetti. Sprinkle in 2–4 teaspoons of glitter and/or confetti. A small funnel keeps the glitter off the table.
STEP 4: Top off the jar with water. Fill the rest of the jar with distilled water, leave about 1/2 inch of space at the top, and wipe any drips from the rim with a paper towel.
STEP 5: Seal the jar and shake. Squeeze a ring of hot glue or super glue around the lid, press the lid onto the jar, and secure it with the metal ring. After the glue has cured, shake the jar and enjoy watching the glitter swirl to the bottom. Adults should handle the hot glue.
Three Christmas Glitter Jar Ideas
Use the basic directions above along with the supplies listed under each idea to create the jars pictured here.
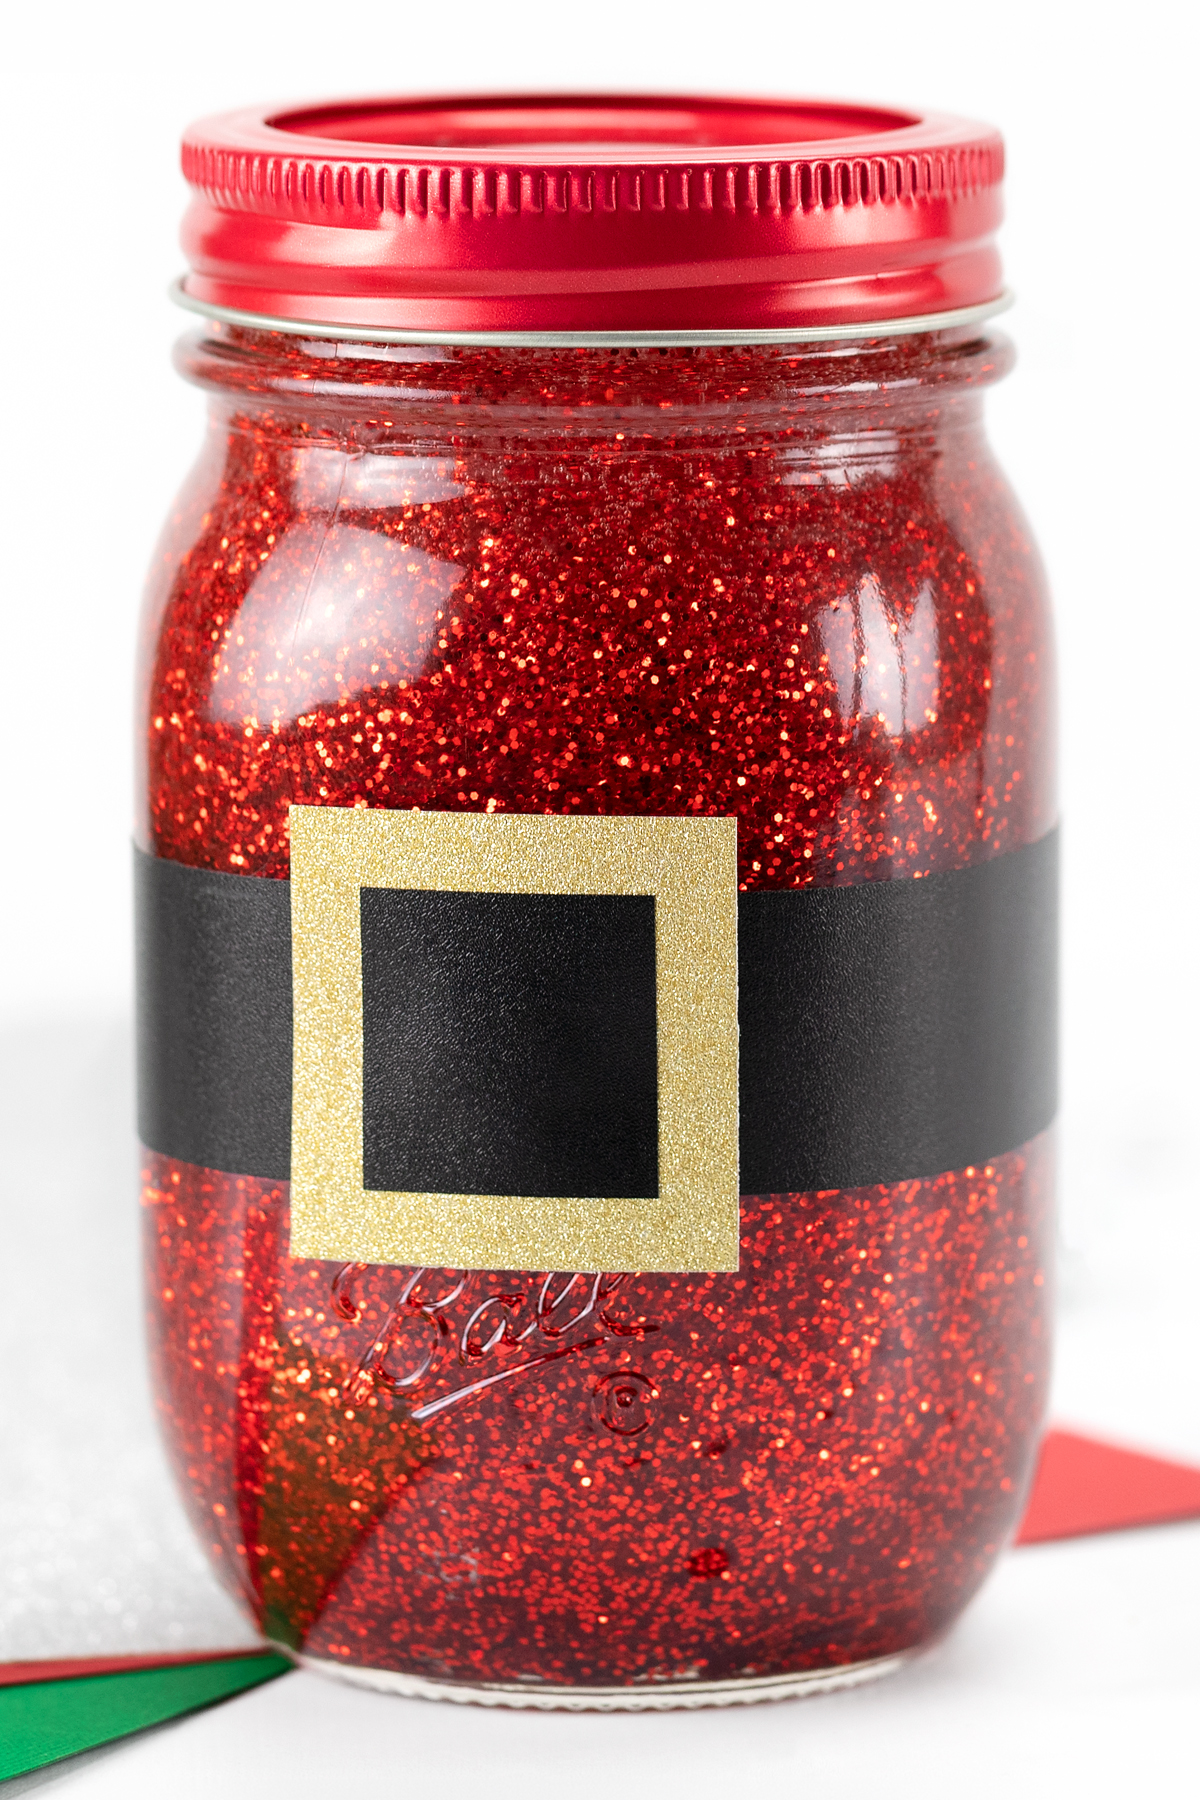
Santa Glitter Jar
Red glitter and a shiny gold buckle give this jar Santa’s most recognizable look.
- Distilled water
- 1/2 cup Elmer’s Clear Glue
- 2 1/2 teaspoons red glitter
- 1 teaspoon red and gold confetti
- Red mason jar lids
- Gold glitter scrapbook paper, cut into a 1 1/2-inch square
- Black self-adhesive vinyl, cut into a 1-inch strip that will fit around the jar and a 1-inch square
- Hot glue gun
Make and seal the glitter jar using the steps above. Press the 1-inch square of self-adhesive vinyl onto the 1 1/2-inch square of gold glitter paper to make a buckle. Wrap the 1-inch strip of self-adhesive vinyl around the jar for a belt, then hot glue the buckle to the center.
Christmas Tree Glitter Jar
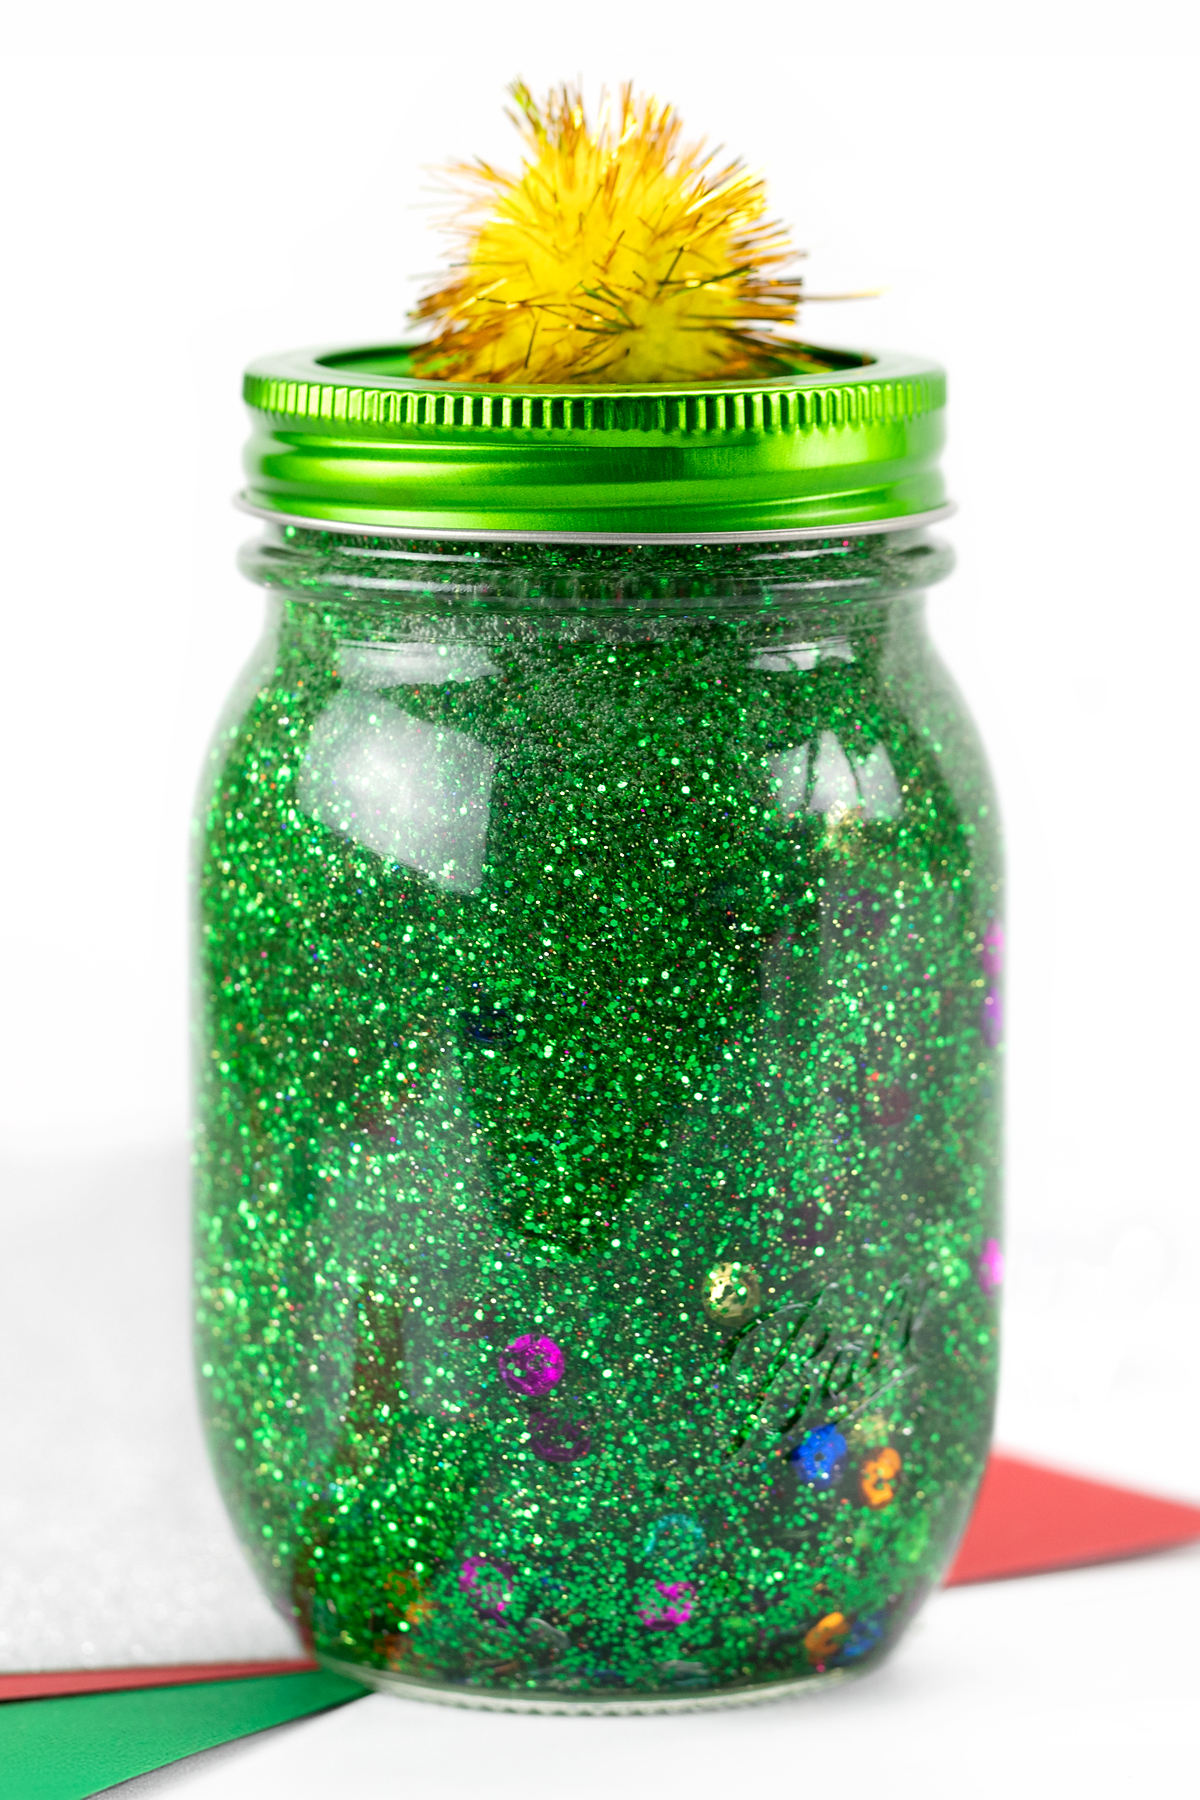
A mix of green glitter, sequins, and tiny pops of color makes this jar look like a decorated tree.
- Distilled water
- 1/2 cup Elmer’s Clear Glue
- 2 teaspoons green glitter
- 1 teaspoon fine green glitter
- 2 teaspoons multicolored sequins
- 1 teaspoon red and silver confetti
- 1/8 teaspoon blue fine glitter
- 1/8 teaspoon silver fine glitter
- 1/8 teaspoon red fine glitter
- 1/8 teaspoon gold fine glitter
- 1/8 teaspoon pink fine glitter
- Green mason jar lids
- Yellow tinsel pom-poms (1.5 to 2 inches)
- Hot glue gun
- Gold glitter scrapbook paper (optional)
Follow the steps above to make and seal the jar. Hot glue a large yellow tinsel pom-pom or a gold glitter scrapbook paper star to the top of the jar.
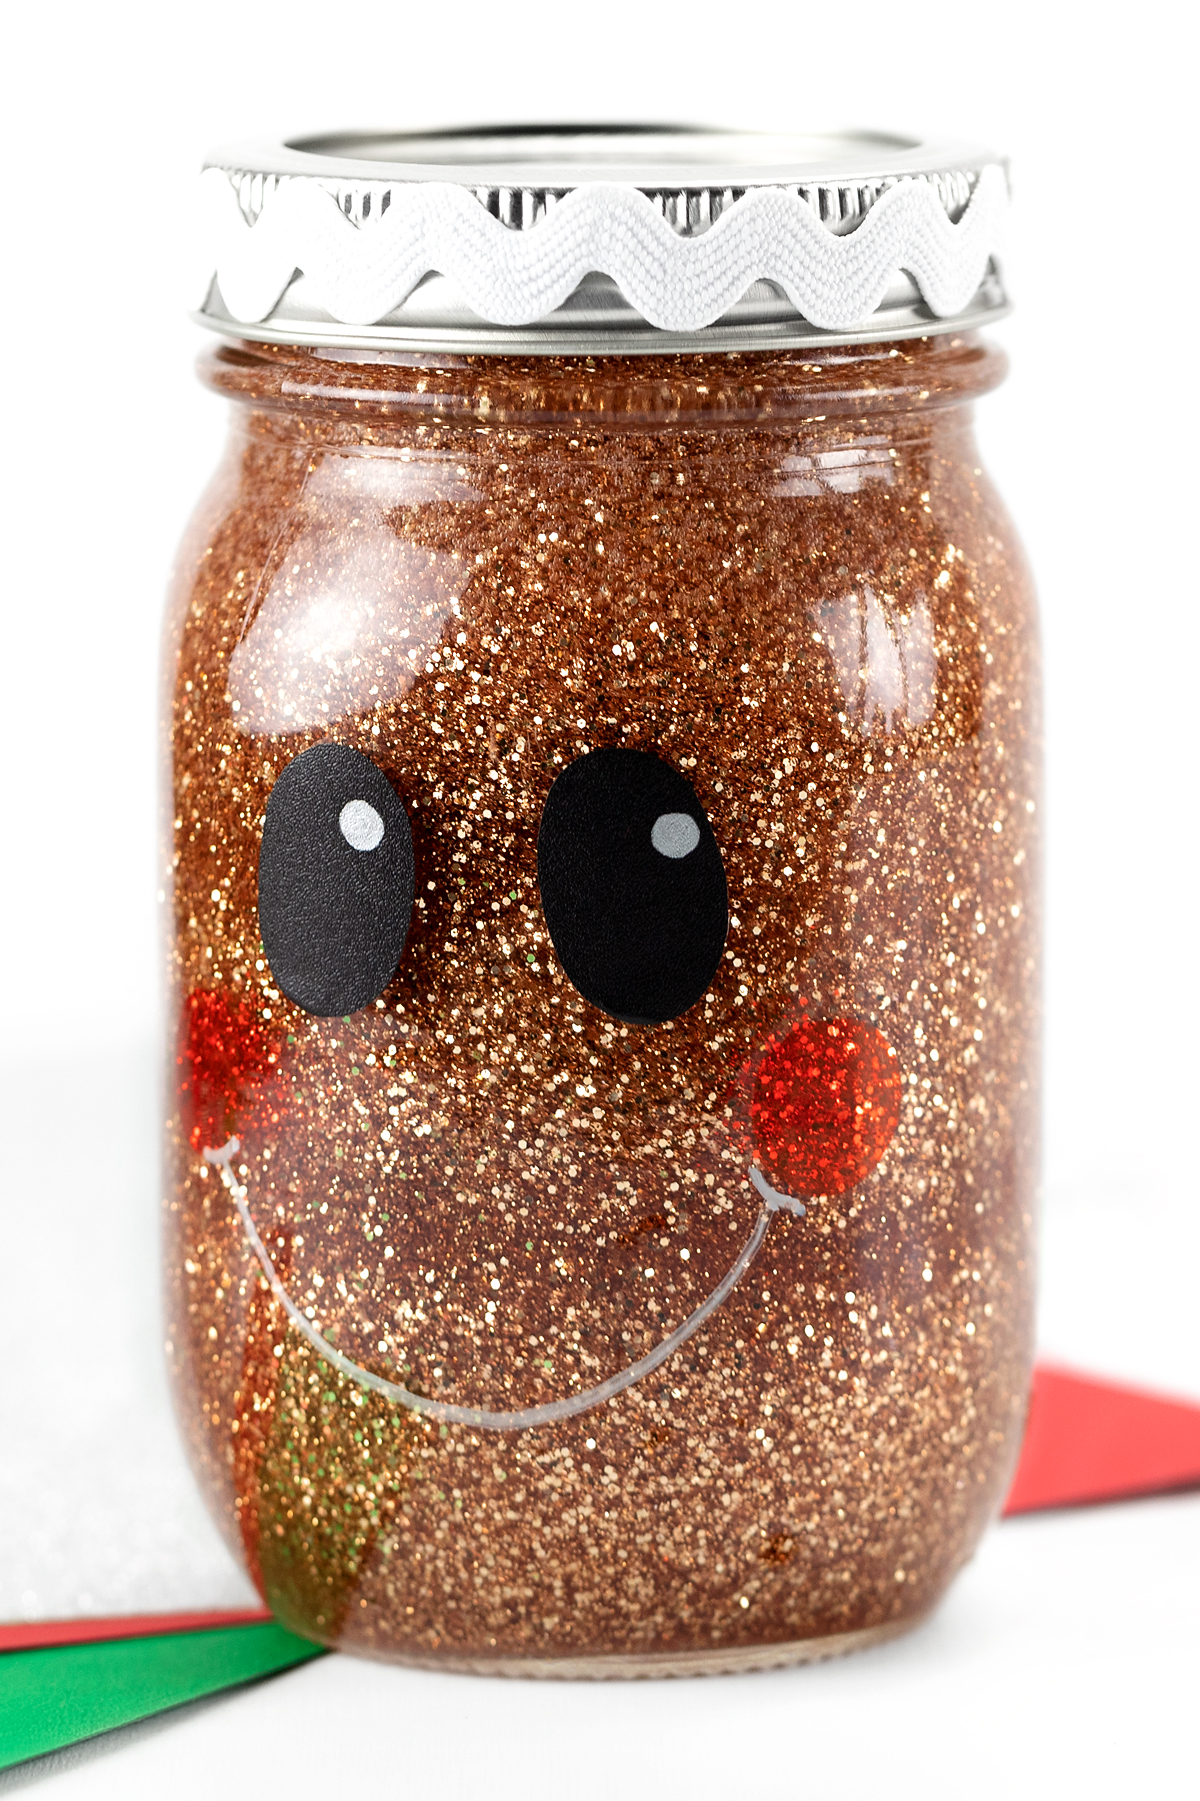
Gingerbread Man Glitter Jar
Brown liquid watercolor gives the jar a gingerbread-inspired color, while a rickrack collar looks like icing.
- Distilled water
- 1/2 cup Elmer’s Clear Glue
- 1–2 teaspoons brown liquid watercolor
- 2 teaspoons gold glitter
- 2 teaspoons copper fine glitter
- Silver and red Sharpie markers
- Black self-adhesive vinyl, cut into two ovals
- White rickrack trim
- Hot glue gun
Make and seal the jar, adding the brown watercolor along with the glue. Hot glue a strip of rickrack to the mason jar ring. Press the two vinyl ovals onto the jar, then draw the gingerbread man’s eyes, cheeks, and mouth with Sharpie markers.
Tips for Making Glitter Jars with Kids
A few small habits keep the jars neat and clear, whether you are crafting with one child or a whole class.
- Work on a tray. Setting the jars on a rimmed baking sheet keeps stray glitter in one place and makes cleanup easier.
- Mix glitter sizes. Combining chunky glitter, fine glitter, and confetti creates more movement as the pieces fall, and kids practice noticing differences in size.
- Prep for groups. Pre-measure the glue and water into small cups and set out each glitter color in a muffin tin, so every child can build a jar without waiting.
- Label each jar. Press a strip of masking tape on the bottom and write a name on it, because finished jars tend to look alike.
- Check for leaks. After the glue has cured, turn each jar upside down over a sink before it goes home or onto the shelf.
Extension Ideas for Christmas Glitter Jars
Once the jars are finished, these activities turn them into learning moments for home or school.
- Try a mindful minute. Invite kids to watch quietly as the glitter settles, taking slow breaths while they wait.
- Talk about feelings. Ask children to compare the swirling glitter to big feelings and the settled glitter to a calm mind, which builds emotional vocabulary.
- Build a calm-down corner. Place the jars on a shelf with a few books and soft seating, so kids have a quiet spot to reset during a busy day.
- Time the glitter. Challenge older kids to time how long the glitter takes to settle in each jar and compare the results, which practices measuring time and making predictions.
- Make Christmas sensory bottles. Our Christmas sensory bottles include Holiday I Spy-inspired, jingle bell, and Grinch-inspired versions, and they give kids more ways to practice focus and observation.
Frequently Asked Questions About Christmas Glitter Jars
Here are quick answers to the questions parents and teachers ask most often.
A Christmas glitter jar is a sealed jar filled with water, clear glue, and glitter that swirls when shaken and slowly settles. Kids watch the sparkles fall, which gives them a simple way to pause and breathe. Decorating the outside as Santa, a tree, or a gingerbread man makes it a holiday craft too.
Pour 1/2 cup of distilled water and 1/2 cup of clear school glue into a 16-ounce mason jar, then add 2 to 4 teaspoons of glitter. Fill the jar with more distilled water, seal the lid with hot glue, and let it cure before shaking.
Clear school glue works best. It thickens the water so the glitter floats down slowly instead of dropping straight to the bottom.
Kids shake the jar, then watch the glitter fall while they take slow, deep breaths. When the glitter has settled, they can check in with how their body feels. Offer the jar as a tool a child can choose, not as a consequence.
Yes, with adult supervision and a few precautions. Glass jars can break if dropped, so plastic jars or bottles are a better choice for younger children. An adult should handle the hot glue and seal each lid, and because glitter, confetti, and sequins are small, children who still put objects in their mouths should stay away from loose pieces while crafting.
More Christmas Crafts to Try
If your kids enjoyed these jars, they may like these calming and festive activities too.
- How to Make Glitter Jars
- How to Make a Snow Globe
- Melted Snowman Jar
- Christmas Sensory Bottles
- Christmas Activities for Kids
Save This Post
Pin this post to your favorite Christmas crafts or calm-down activities board so you can find these jars again, and follow Fireflies and Mud Pies on Pinterest for more ideas.


Terri says
Does it have to be Distilled water. Tap water is not good???
Melissa Lennig says
Distilled water is free of contaminants, which will make your glitter jars last longer.
Mary says
How long does it take the giue to cure?
Melissa Lennig says
It will say on the glue bottle! Usually for about 24 hours. Have fun!
Michelle says
This is such a cute idea!!
Melody Hall says
I really ejoy your site when it comes to crafts my grandson enjoys doing arts and crafts and it really gives me some ideas that are easy for his age.