

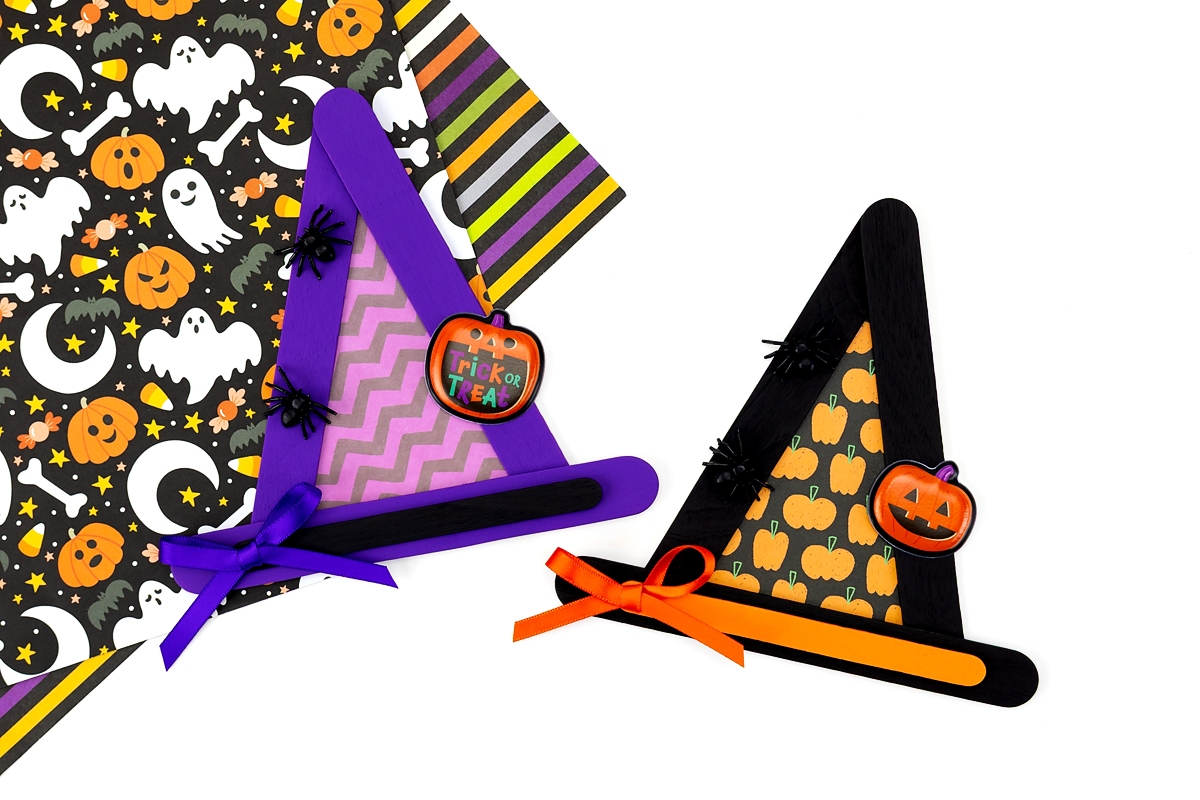
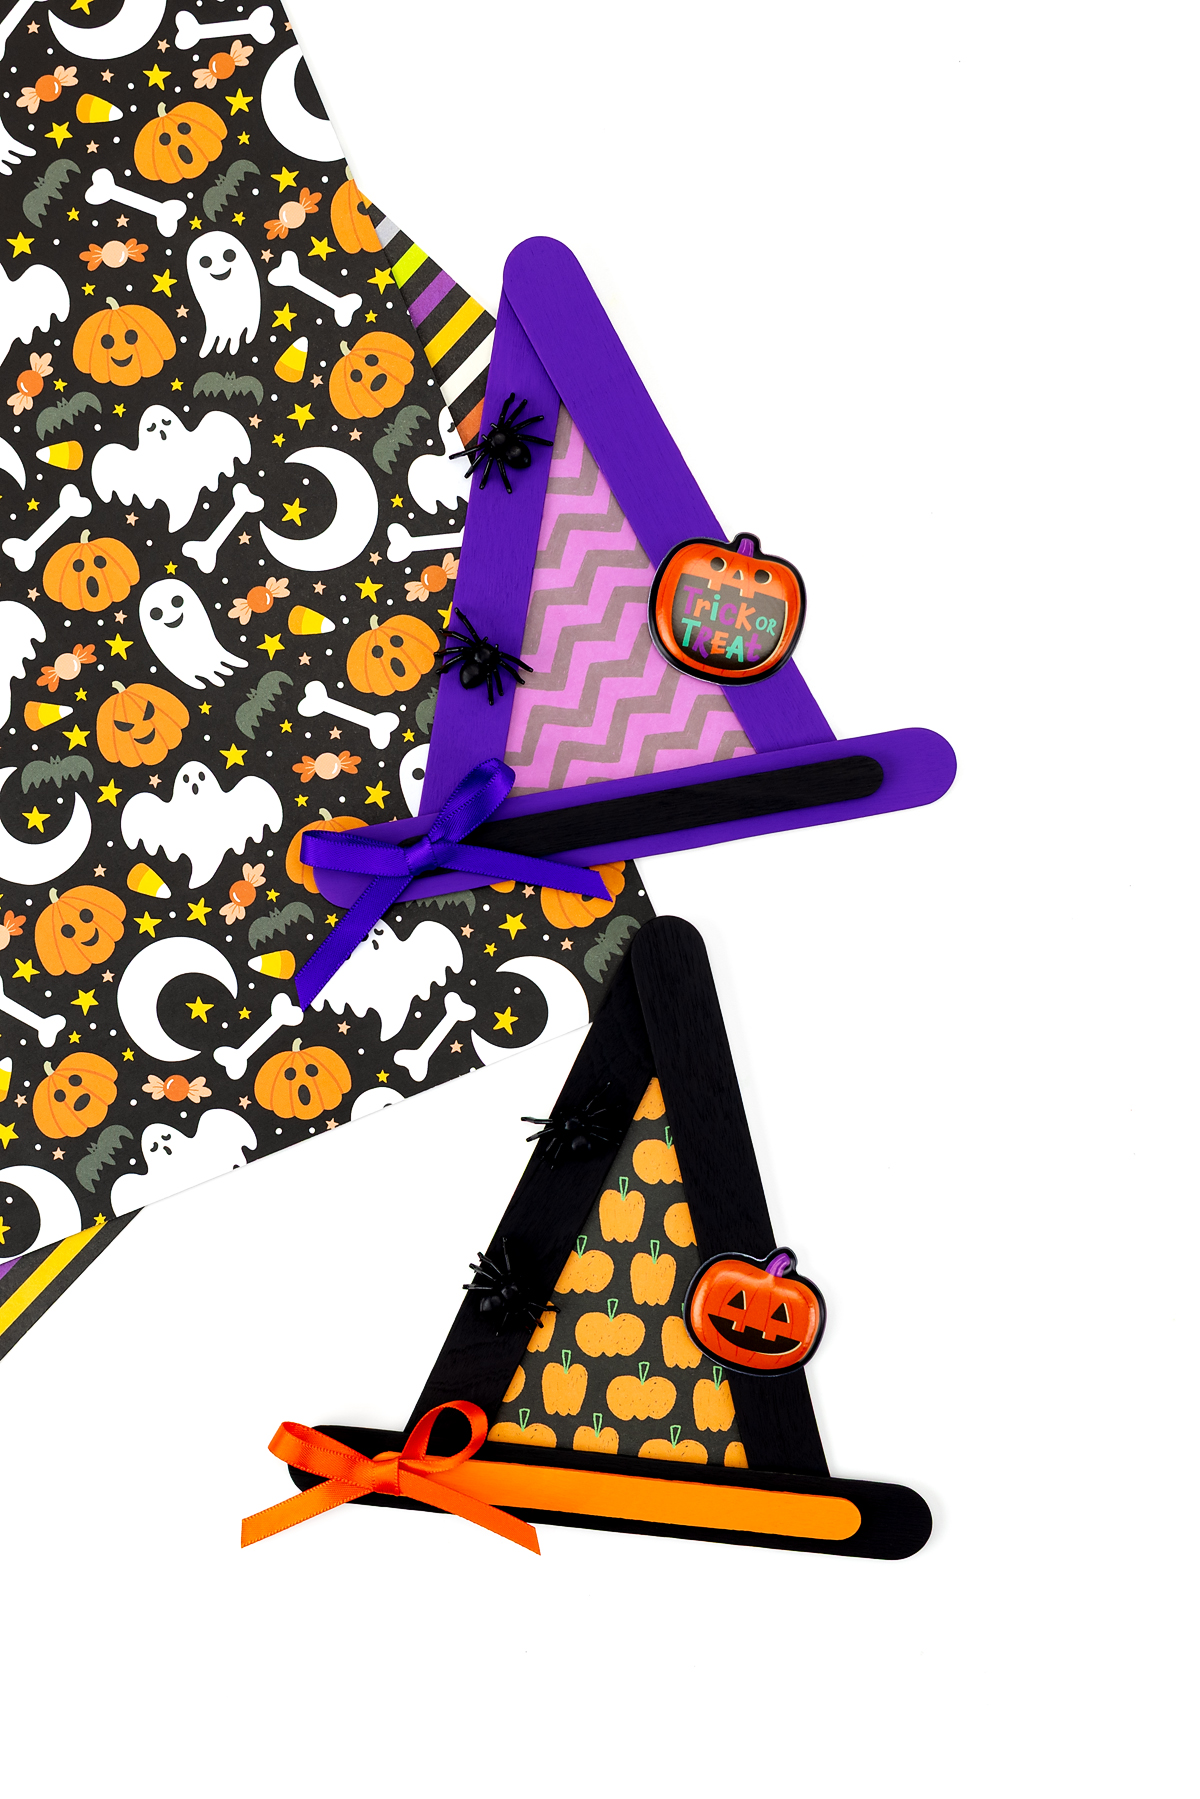
Need a Halloween craft that comes together quickly with supplies you probably already have in your craft bin? This popsicle stick witch hat is just the thing! Grab a few craft sticks, a scrap of Halloween scrapbook paper, and some ribbon, and you’ll have a cute little witch hat ready to hang. Make one for a fun afternoon craft with the kids, or create a few to decorate a Halloween tree, wall, or doorway.
Why You’ll Love This Craft
These little craft stick Halloween hats are quick to put together and give kids plenty of room to get creative. They also make a cute Halloween decoration when you’re finished.
- Just a few supplies – You only need four craft sticks, some paper, and a handful of simple embellishments.
- A fun project for kids – The basic hat shape is easy to assemble, and kids can take over the decorating once the pieces are glued together.
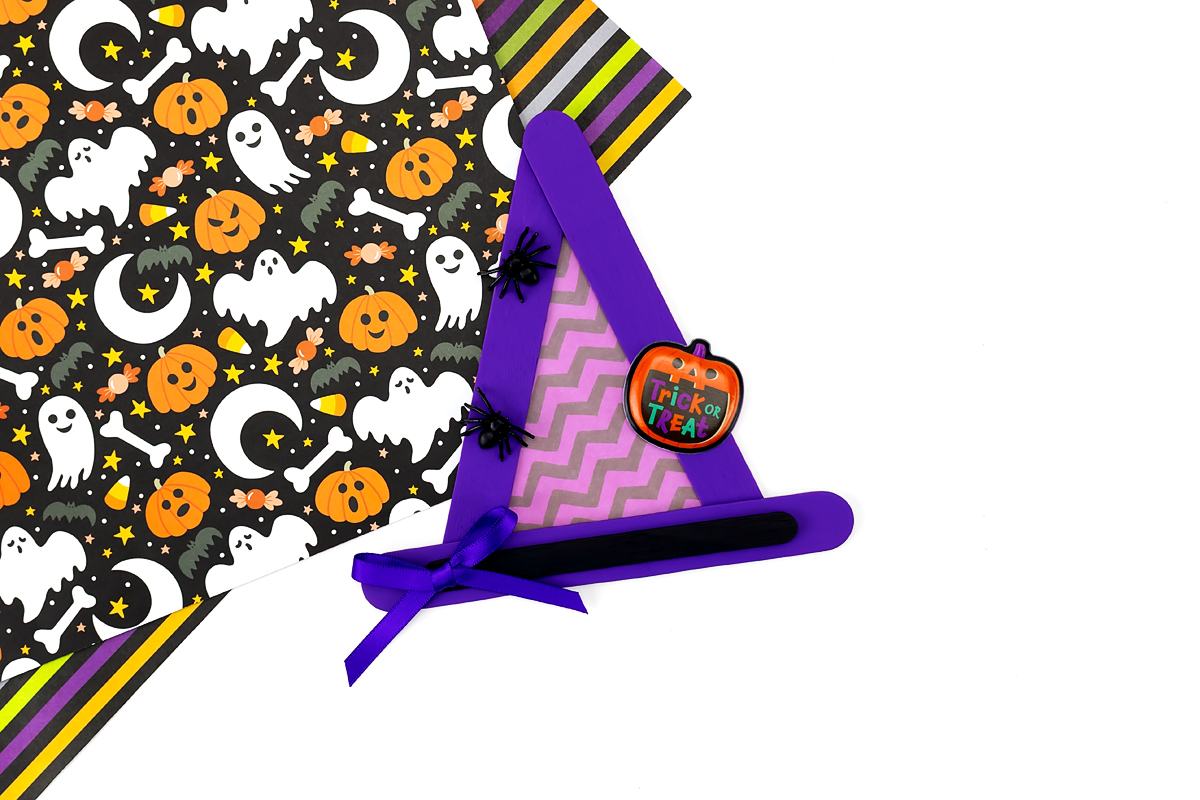
- Lots of ways to decorate – Change the paper, ribbon, colors, or embellishments to create a witch hat, a silly Halloween hat, or anything else you can imagine.
- Easy to display – Set the finished hats on a mantel, bookshelf, classroom table, or other small space for a festive Halloween touch.
What You Will Need
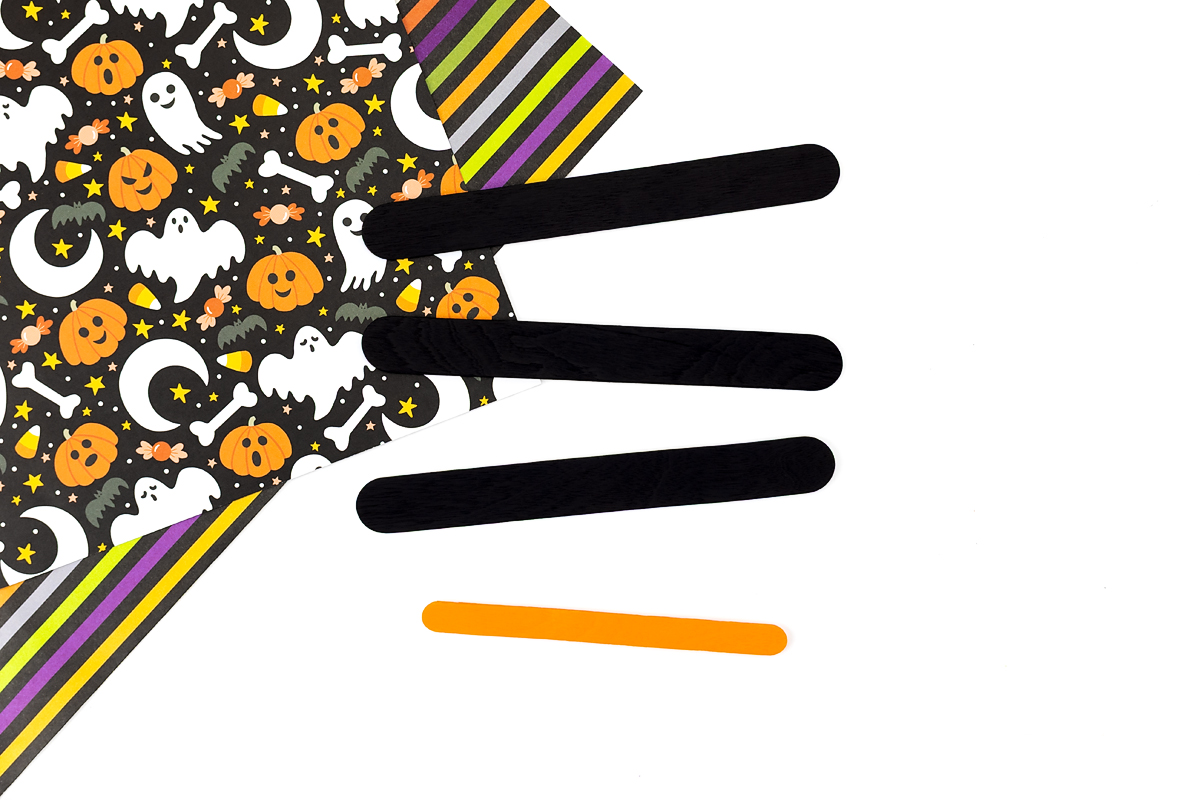
- 3 jumbo craft sticks per hat, painted black or purple
- 1 standard-size popsicle stick per hat, painted a contrasting color, for the brim
- Halloween-themed scrapbook paper, such as ghosts, pumpkins, or candy corn
- Small plastic spiders
- Puffy pumpkin stickers
- 1/4-inch satin ribbon in a coordinating color
- Tacky craft glue or a hot glue gun
- Scissors
No printable or template is needed for this craft. Just trace the craft stick triangle onto your scrapbook paper and trim it to fit. You can use whatever Halloween paper you already have on hand.
Step-by-Step Instructions
Follow these simple steps to assemble and decorate your popsicle stick witch hat.
STEP 1: Paint your craft sticks. Paint 3 jumbo craft sticks in your hat color (black or purple) and 1 standard-size popsicle stick in a contrasting color for the brim. Let them dry completely before you start gluing.
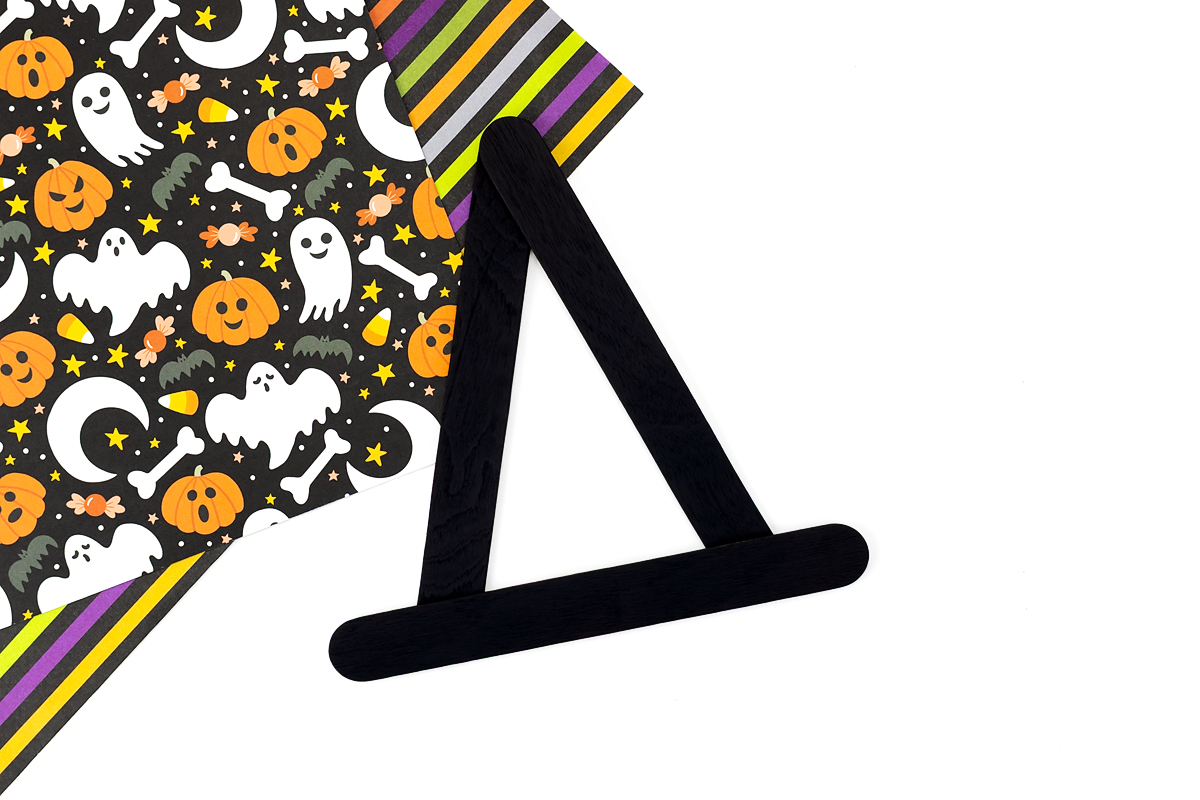
STEP 2: Glue 3 sticks into a triangle. Arrange the 3 painted jumbo popsicle sticks to form a triangle, with the two bottom corners slightly overlapping and the top ends meeting. Glue the sticks together where they meet. This triangle will become the cone of the witch hat.
STEP 3: Add a patterned paper backing. Lay your triangle on top of your Halloween scrapbook paper, trace around it, and cut the paper just a bit smaller than your traced line. Glue it behind the triangle so the pattern peeks through.
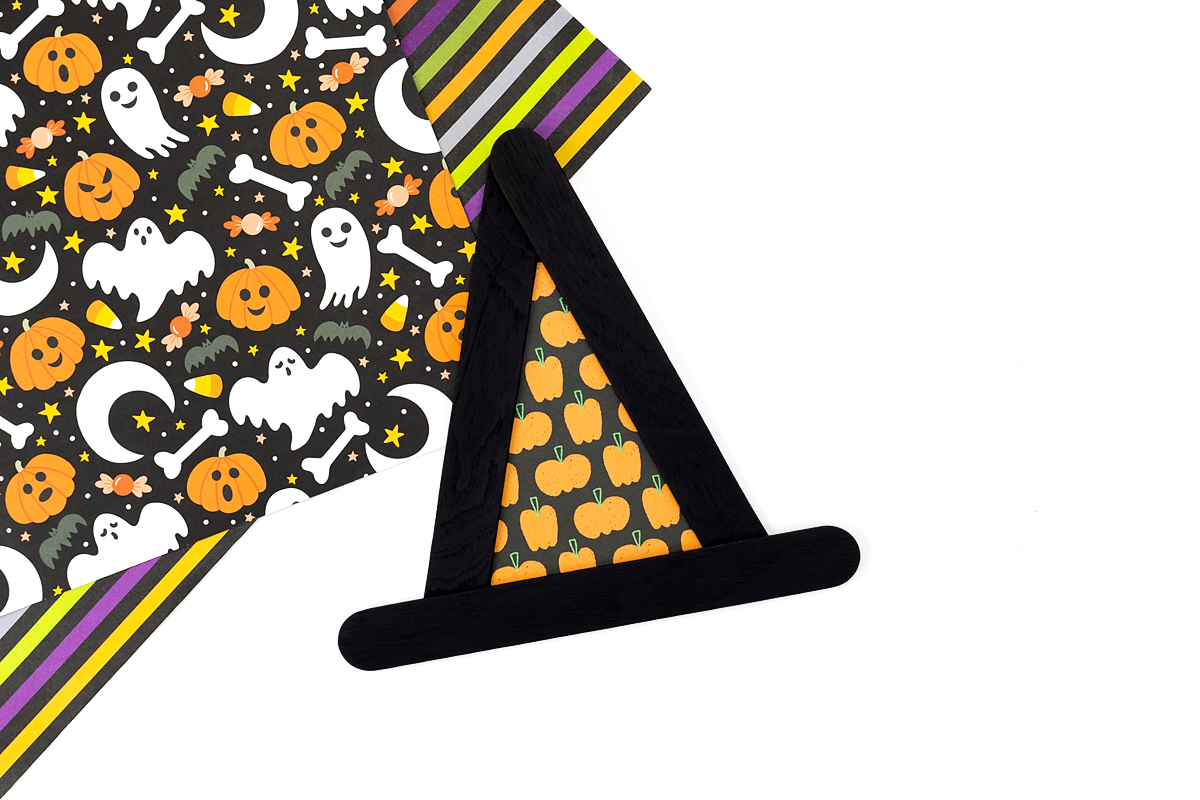
STEP 4: Glue on the brim. Glue your standard-size popsicle stick horizontally across the bottom of the triangle to make the hat’s brim.
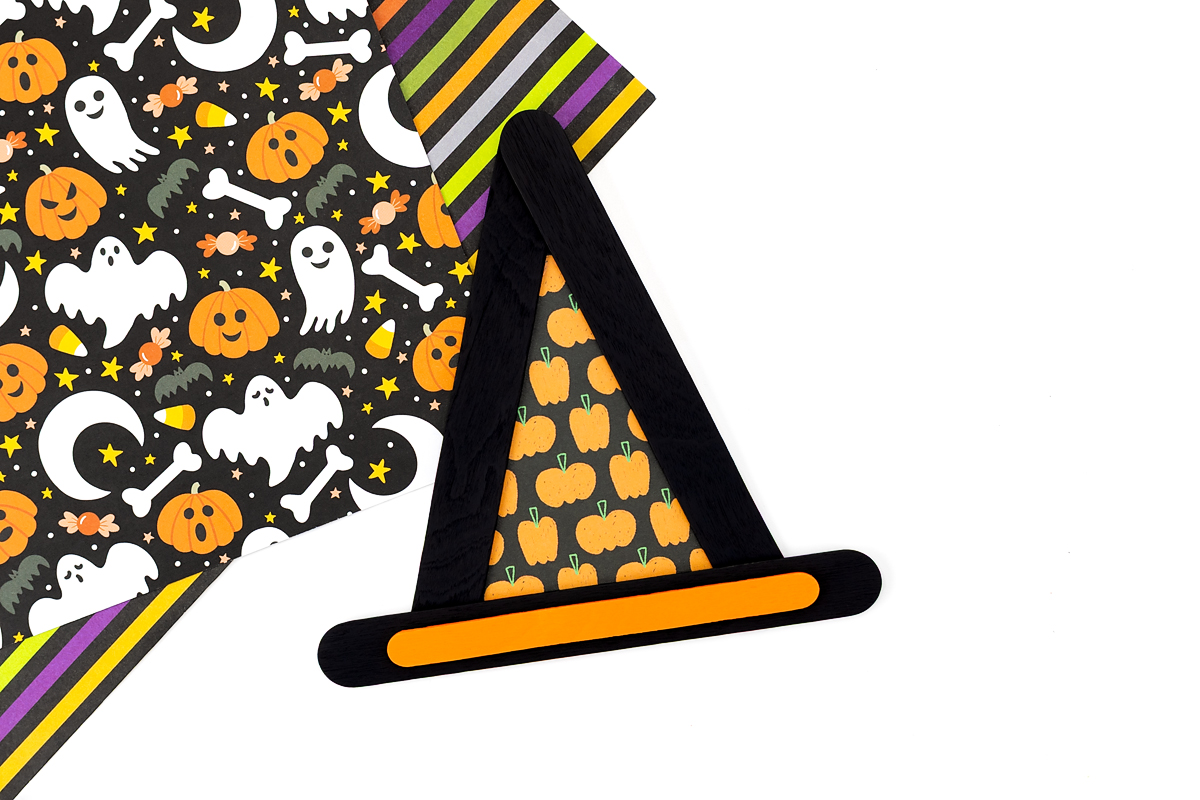
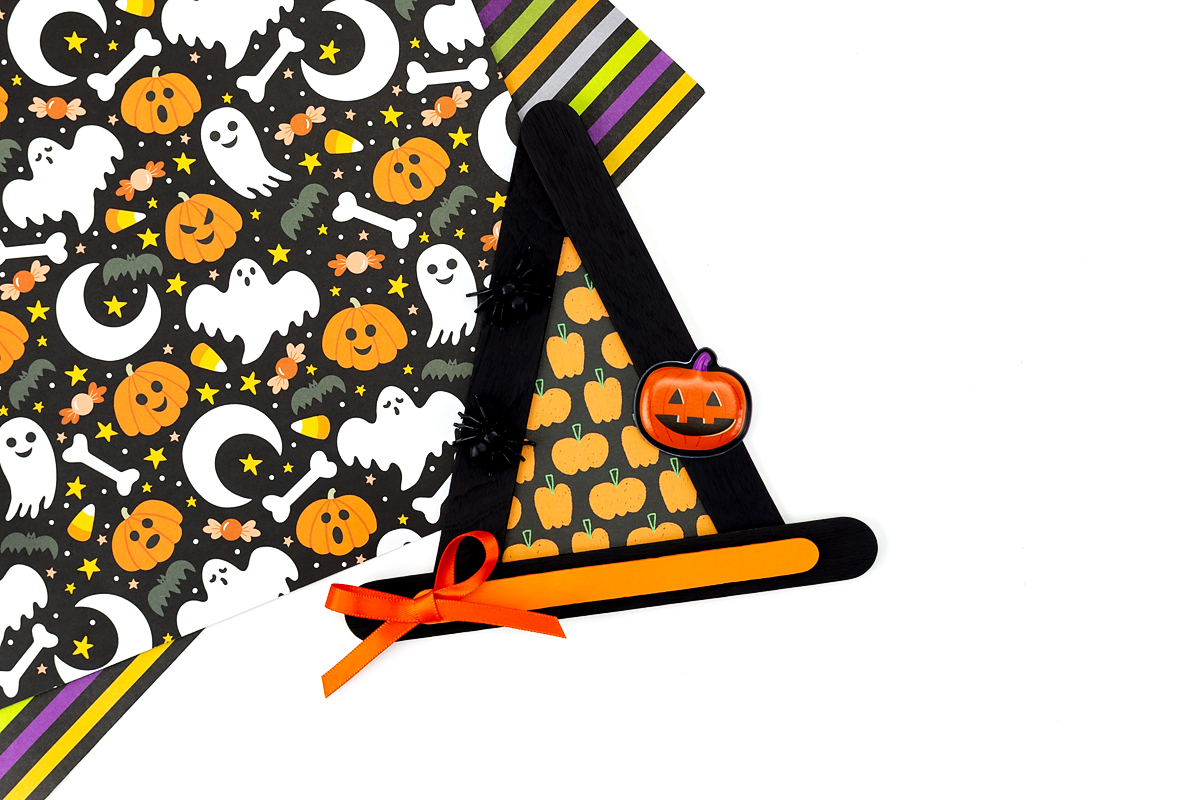
STEP 5: Add the finishing touches. Press a puffy pumpkin sticker onto the front of the hat, near the base of the triangle. Glue 2 or 3 small plastic spiders crawling up one side, then glue a small ribbon bow onto the brim at the base of the triangle.
Tips
A few simple tips will help your witch hats come together neatly and stay sturdy.
- Let each layer dry completely. Give each layer plenty of time to dry before adding the next one. Rushing this step is the most common reason the hats come apart.
- Choose the glue that works best for you. A hot glue gun makes assembly faster when an adult is doing the gluing. If kids are helping, regular craft glue works well too. Use a clothespin to hold pieces in place while the glue dries.
- Turn it into a hanging decoration. Once the hat is completely dry, glue a loop of ornament string to the back so you can hang it as a Halloween decoration.
Extension Ideas
This simple witch hat can easily become part of a larger Halloween activity, storytime, or pretend-play invitation.
- Pair it with a Halloween book. Read a favorite witch-themed picture book, then invite children to make their own witch hats. Room on the Broom is a natural pairing, or choose another favorite Halloween story that features witches.
- Design a hat for a character. Ask children to imagine what kind of witch might wear their hat. They can choose the colors, scrapbook paper, ribbon, and decorations to create a hat that matches their character’s personality.
- Set up a pretend-play invitation. Add the finished hats to a dramatic-play area or sensory bin with a broom, cauldron, play food, and other Halloween props. Children can use them as part of their own witchy adventures.
- Create a Halloween display. Make several hats in different colors and patterns, then arrange them together on a shelf, mantel, classroom bulletin board, or Halloween party table.
Frequently Asked Questions
Jumbo craft sticks, which are about 6 inches long, make a nice-sized witch hat. You can also use regular-size craft sticks to make a smaller version.
No. A hot glue gun makes assembly quicker, but tacky glue or regular craft glue works well too. Just give the glue extra time to dry before moving on to the next step.
Loop a piece of ornament string around the back of the hat and secure it with glue. Once the glue is completely dry, hang it from a Halloween tree, doorknob, wall hook, or anywhere you’d like a little Halloween decoration.
Yes! Younger children can help paint the craft sticks and add the stickers, spiders, and ribbon. An adult should handle the gluing, especially when assembling the triangle and attaching the brim.
More Halloween Crafts for Kids
Looking for more Halloween crafts to make with kids? Try these easy projects next:
- Popsicle Stick Frankenstein Craft
- Halloween Suncatchers
- Cotton Swab Skeleton
- Monster Painting
- Paper Haunted House Template
Save This Craft
Save this popsicle stick witch hat on Pinterest for your next Halloween craft! It uses simple craft supplies and makes a cute little hanging decoration for Halloween. Make one with the kids or save the idea for a Halloween party or classroom activity.


Want even more?
Make sure to follow on Facebook, Pinterest, and Instagram for more easy crafts, activities, recipes, and parenting tips. And don’t forget to subscribe to our emails.