

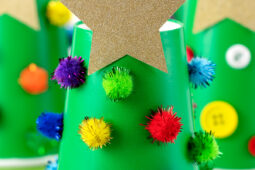
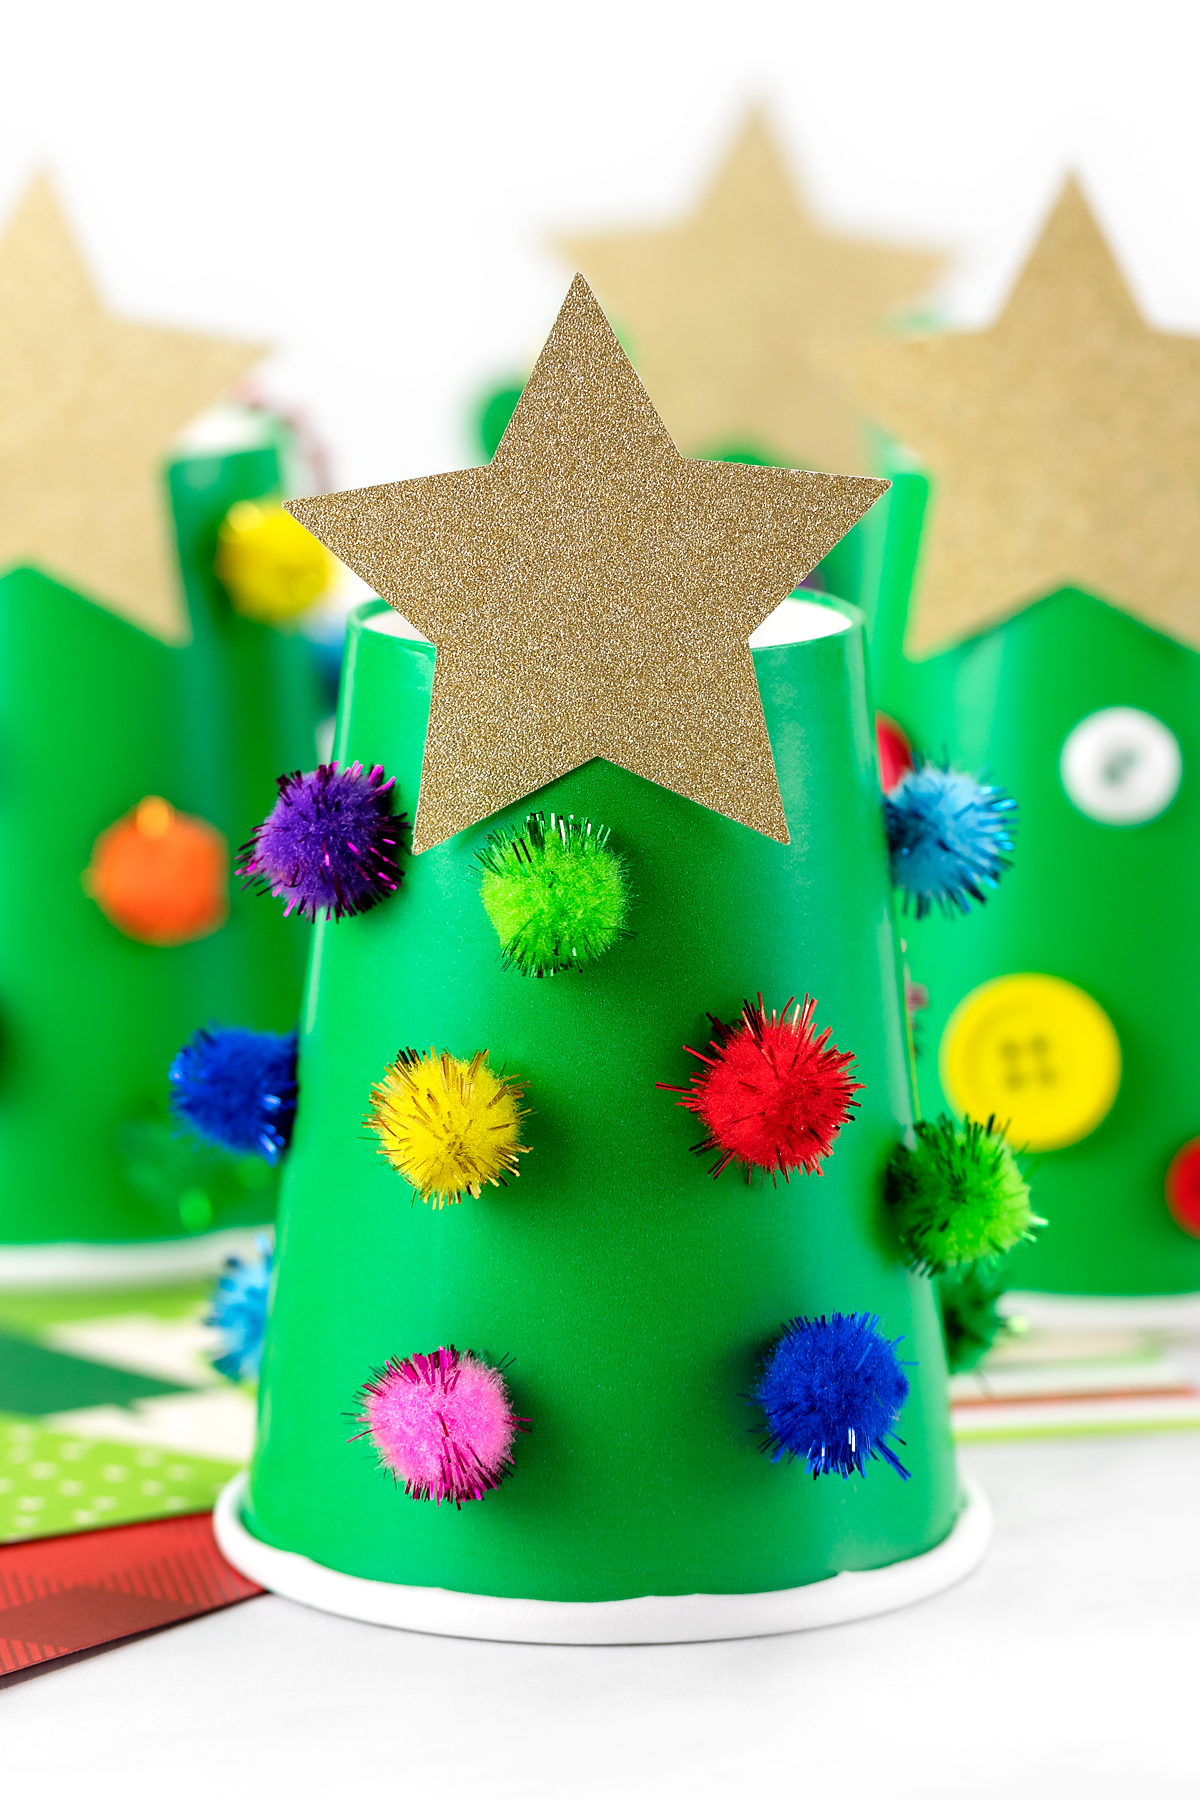
This paper cup Christmas tree is an inexpensive, mess-free, and easy Christmas craft for kids. It’s simple enough for toddlers and preschoolers, yet fun for kindergartners and even tweens. With just a few basic supplies, kids can make a sweet handmade ornament for the home, classroom, library, or community holiday programs.
So grab your paper cups, pom-poms, and glue, then follow the step-by-step directions and watch the video tutorial below. Your kids will be crafting in no time!
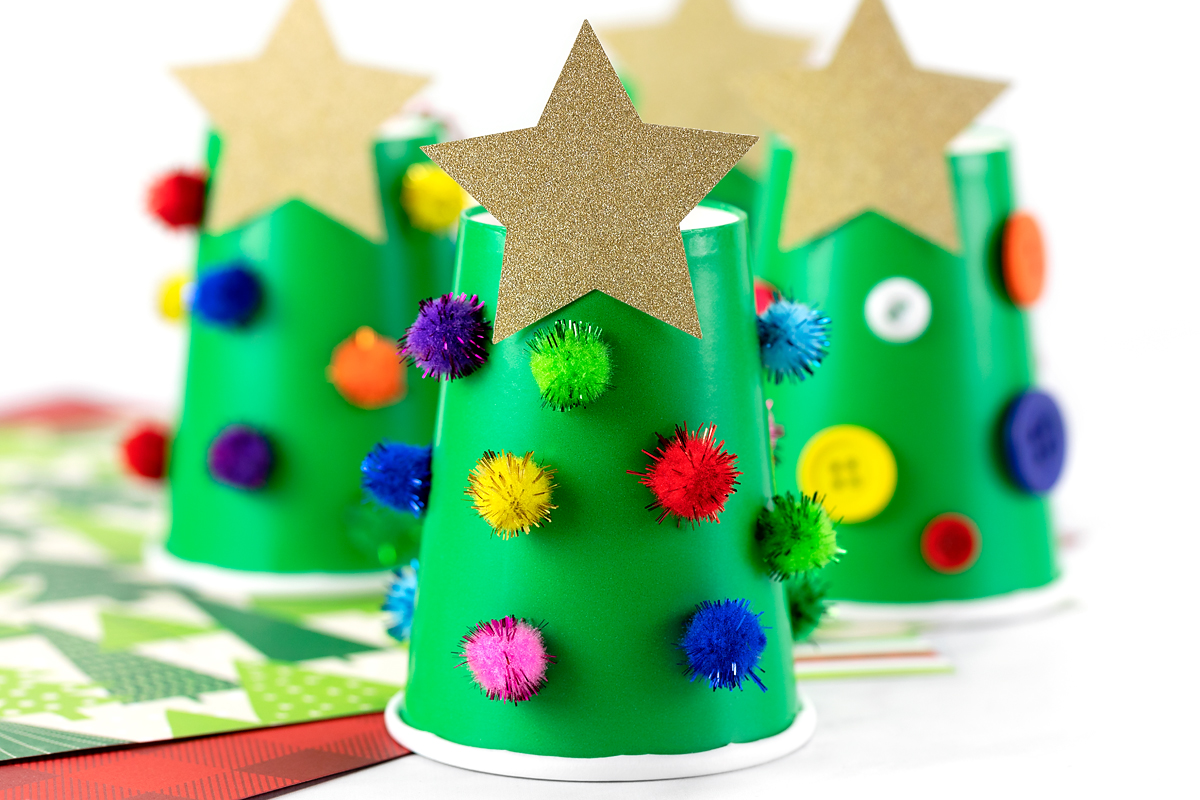
An Easy Paper Cup Christmas Tree Craft for Busy Weeks
I’m so over fussy crafts. I have a couple of more challenging popsicle stick ornaments planned for this holiday season, but those are for me! When it comes to crafting with kids, we’re just too busy with work, sports, and holiday travel this time of year to bring out the paints.
This little tree looks adorable hanging on a real Christmas tree, and it’s ridiculously easy to prep.
Why You’ll Love This Paper Cup Christmas Tree Craft
Here is what makes this craft a winner.
- Mess-free. No paint, no glitter spills, and very little cleanup.
- Budget-friendly. A sleeve of paper cups from the dollar store and a few basic supplies will cover a whole group.
- Easy to prepare. No printable or template to cut out, so you can get everything ready in minutes.
- Great for a range of ages. Toddlers can stick on pom-poms or buttons while older kids tie on the bell and add their own details.
- Builds fine motor skills. Picking up and gluing pom-poms and attaching small decorations helps kids practice hand-eye coordination and finger control.
- Perfect for groups. This craft works just as well for a whole classroom as it does for one child at the kitchen table.
- A keepsake to treasure. Add a name and year to create a handmade ornament families can enjoy for years to come!
What You Will Need
You only need a few simple supplies, and many of them may already be in your craft stash.
- Green paper cups
- Gold glitter cardstock
- Star paper punch
- Buttons or pom-poms
- Tacky craft glue or hot glue
- Ornament string
- Thumbtack or knitting needle to make the hole
- Jingle bells
Watch the Paper Cup Christmas Tree Craft Video
Watch the video below to see how to turn a simple paper cup into a cute Christmas tree ornament. Follow along as we decorate the cup, add a gold star, and attach the ornament string and jingle bell.
How to Make a Paper Cup Christmas Tree
These six steps take just a few minutes, and the paper cup turns upside down to become a Christmas tree.
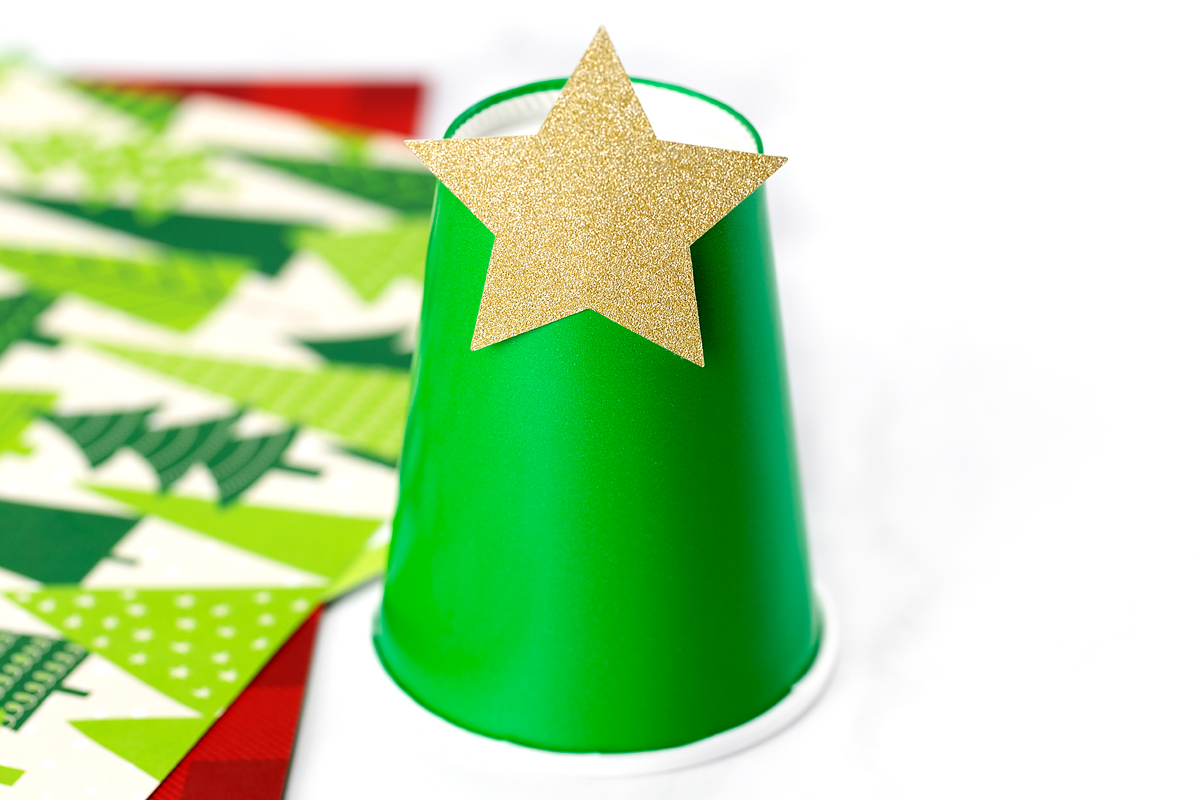
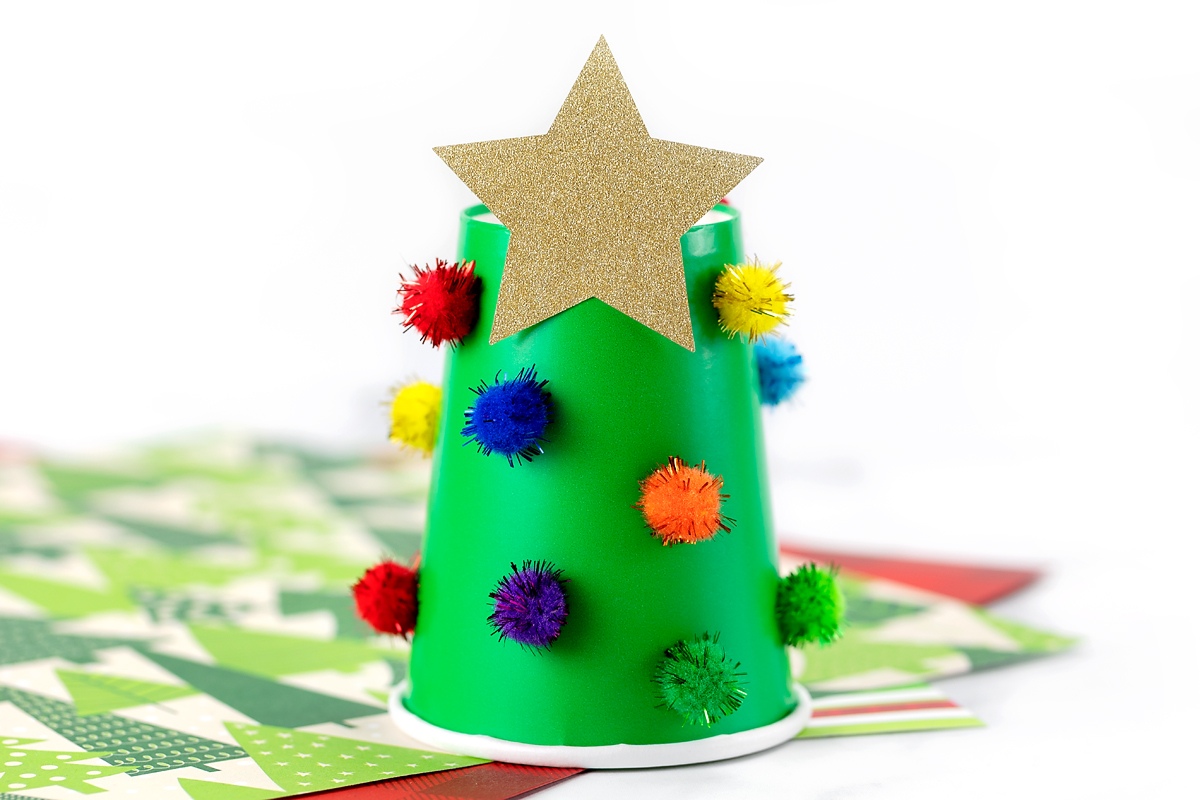
STEP 1: Make the star. Use a star-shaped paper punch and gold glitter cardstock to punch out a star for the top of the tree. Glue it to the bottom of the cup, which becomes the top of the tree when you turn the cup upside down. We used Glue Dots.
You can use plain yellow paper, but I recommend glitter cardstock! Look for it in the scrapbook section of your local craft store. It sparkles under Christmas lights and looks lovely!
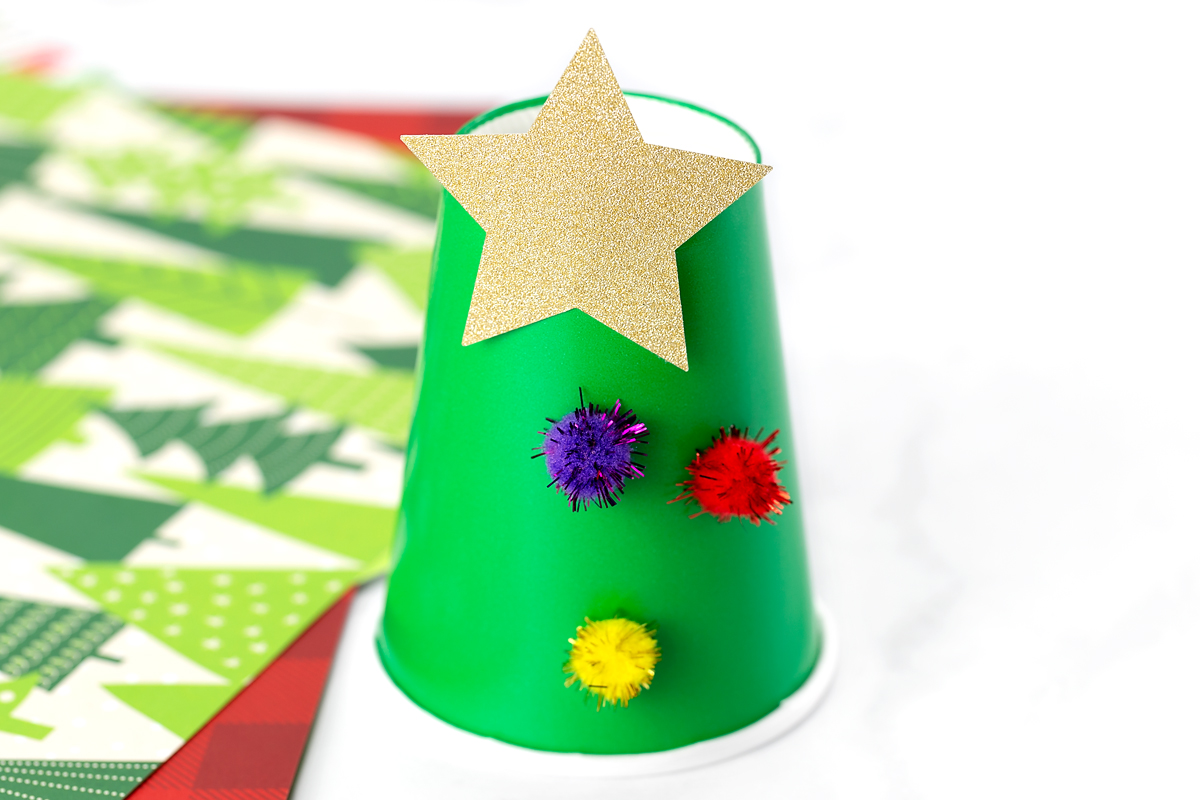
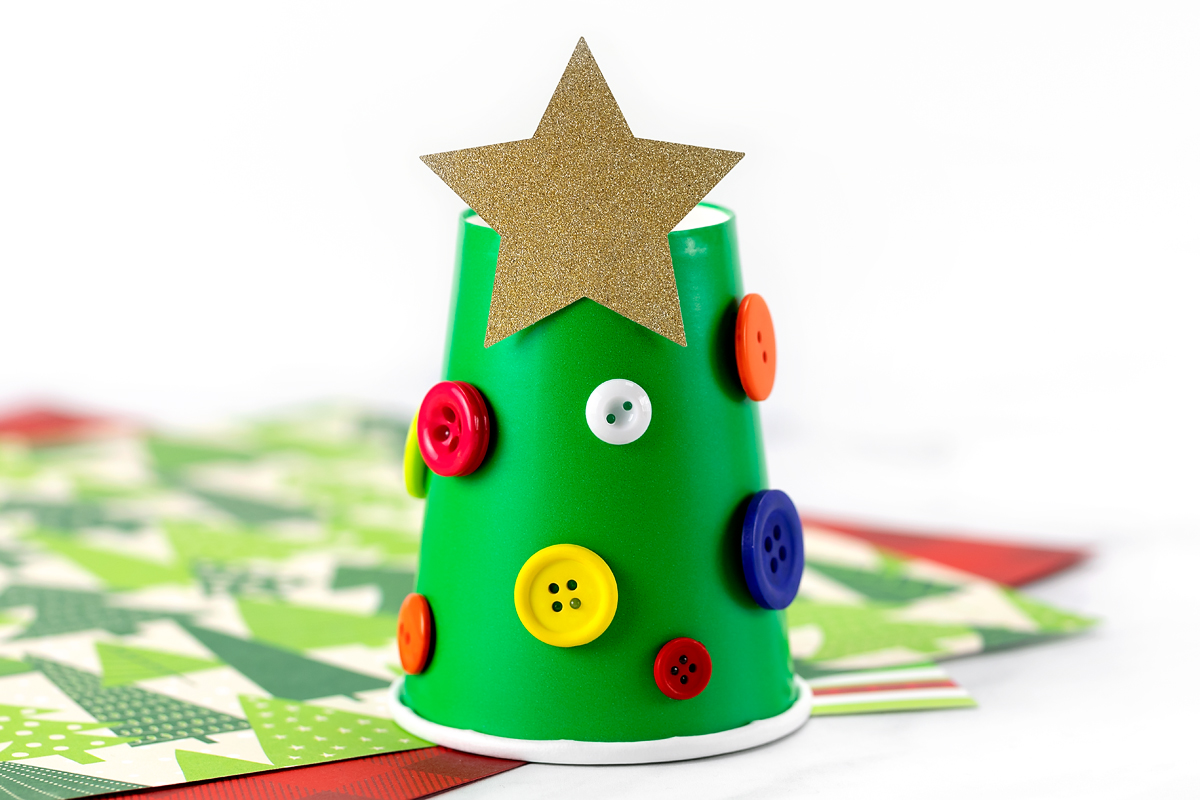
STEP 2: Decorate the tree. Glue buttons, pom-poms, beads, or sequins all over the cup. You can also use paper circles or stickers, or let kids decorate their tree with Sharpie markers.
STEP 3: Poke a hole in the top. Use a thumbtack to make a small hole through the top of the cup, next to the star. I used a size 5 knitting needle to widen the hole, but a sharp pencil works too. An adult should handle this step for younger children.
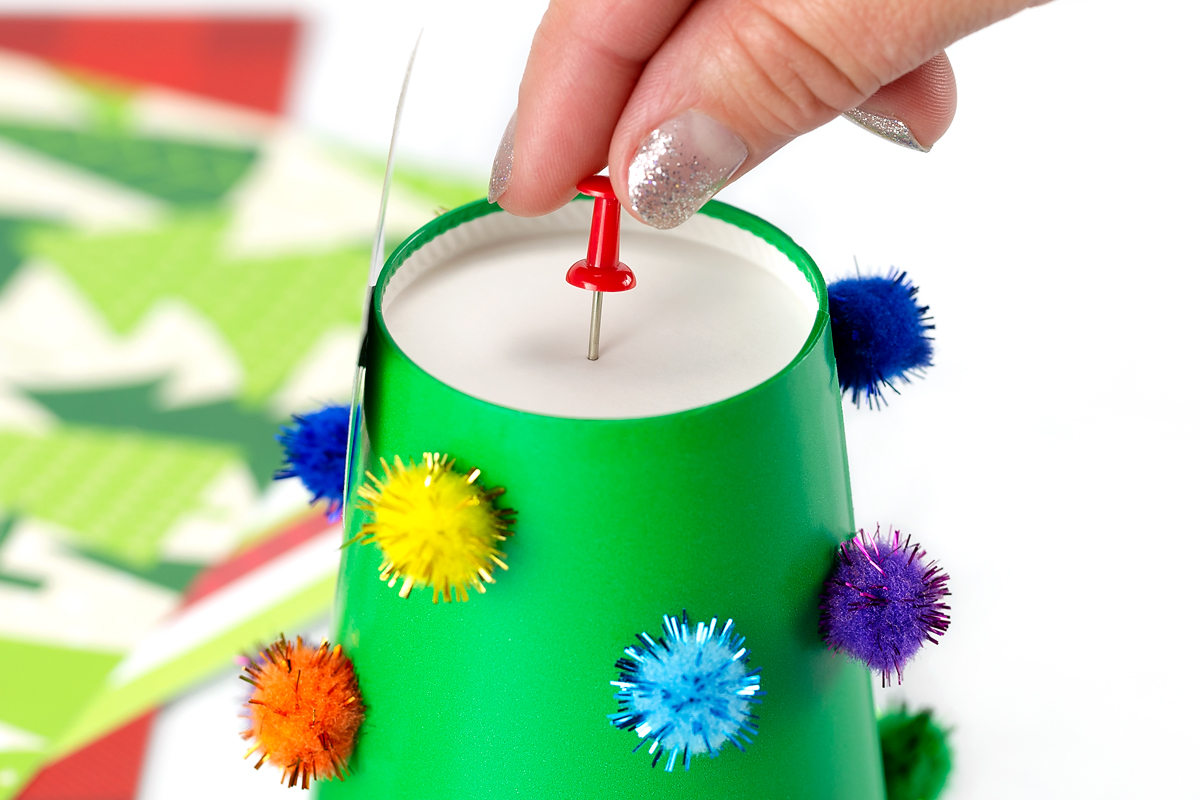
STEP 4: Thread the string and add the bell. Push both ends of an 8-inch piece of ornament string through the hole. Tie a medium jingle bell to the ends inside the cup so the tree jingles when it moves.
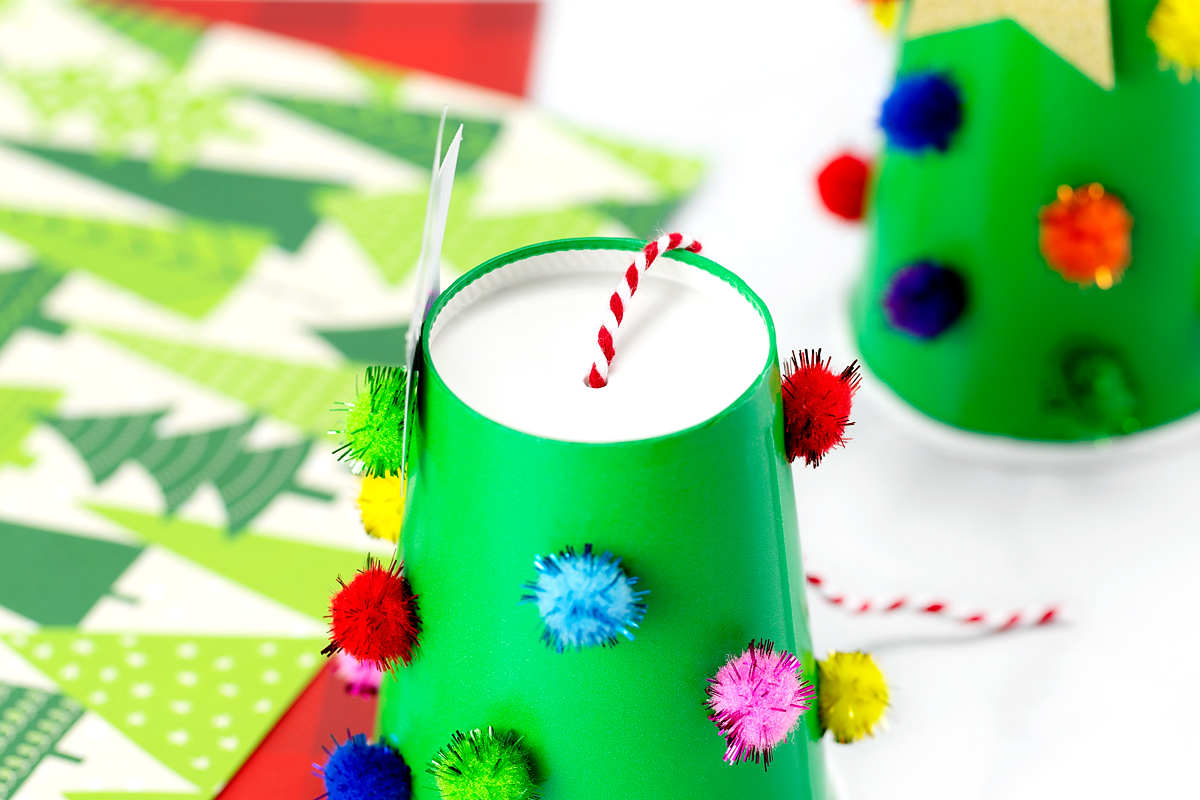
STEP 5: Pull the string snug. Gently pull the string up through the hole until the bell rests against the inside of the cup.
STEP 6: Hang it up. Your paper cup Christmas tree is complete and ready to hang on the Christmas tree! If you’d like, write your child’s name and the year on the cup with a gold Sharpie marker.
Tips for Making Paper Cup Christmas Trees with a Group
A few simple choices can make this craft easier to manage with a classroom or a large group.
- Make kits. Place the star, pom-poms or buttons, bell, and ornament string inside each cup. Show a finished sample, pass out the cups, and let everyone get crafting.
- Choose Glue Dots for classrooms. They stick instantly, so there’s no waiting for glue to dry and less mess on tables.
- Prep the holes and string ahead of time. Punch the holes and cut the ornament string into 8-inch pieces before the activity to keep things moving.
- Consider the age group. Pom-poms, buttons, and small bells can pose choking hazards for young children. For children under 3, use larger decorations or dot stickers and adult-approved alternatives, and supervise closely.
- Plan a Christmas craft day. Pair this project with our Paper Cup Santa Craft and Paper Cup Elf Craft for more easy holiday activities.
Extension Ideas
Once the trees are finished, here are a few easy ways to extend the activity into a longer program or learning opportunity.
- Pair it with a story. Read a favorite Christmas picture book during story time, then invite kids to make their own trees.
- Practice fine motor skills. Have kids pick up pom-poms with tweezers or tongs to work on hand strength and coordination.
- Count and sort. Ask children to decorate their trees with a specific number of pom-poms or sort the decorations by color before gluing them on.
- Create a paper cup forest. Skip the ornament string and stand several trees together to make a festive table centerpiece.
- Use them as gift toppers. Tie a finished tree to a wrapped present with ribbon, or give one to a teacher as a handmade gift.
Frequently Asked Questions
Here are answers to a few common questions about making paper cup Christmas trees.
This craft works well for children ages 2 and up with age-appropriate supplies and adult supervision. Toddlers and preschoolers can decorate their trees with help, while older kids and tweens can handle more of the steps independently.
No. This craft doesn’t require a printable or template. You’ll just need a paper cup and a few basic supplies. A star-shaped paper punch makes the star easy to create, but you can also cut one out by hand.
Glue Dots are a convenient choice for classrooms and parties because they stick instantly. Tacky craft glue works well at home, while hot glue is a quick option for adults to use.
Yes! Plain paper cups work just as well. Kids can color them green with markers or paint, or wrap them in green construction paper before adding the decorations.
Prepare a kit for each child with a cup, star, decorations, bell, and pre-cut piece of ornament string. Show a finished sample and let everyone get started. Pre-punching the holes ahead of time saves even more time during this activity.
More Christmas Tree Crafts for Kids
Looking for more ways to make Christmas trees with kids? Try these easy Christmas tree crafts made with paper, natural materials, and scrap ribbon.
Save This Paper Cup Christmas Tree Craft
Save this easy paper cup Christmas tree craft to Pinterest so you can find it when you’re ready for a simple, mess-free Christmas activity for kids.


Want even more?
Make sure to follow on Facebook, Pinterest, and Instagram for more easy crafts, activities, recipes, and parenting tips. And don’t forget to subscribe to our emails.