

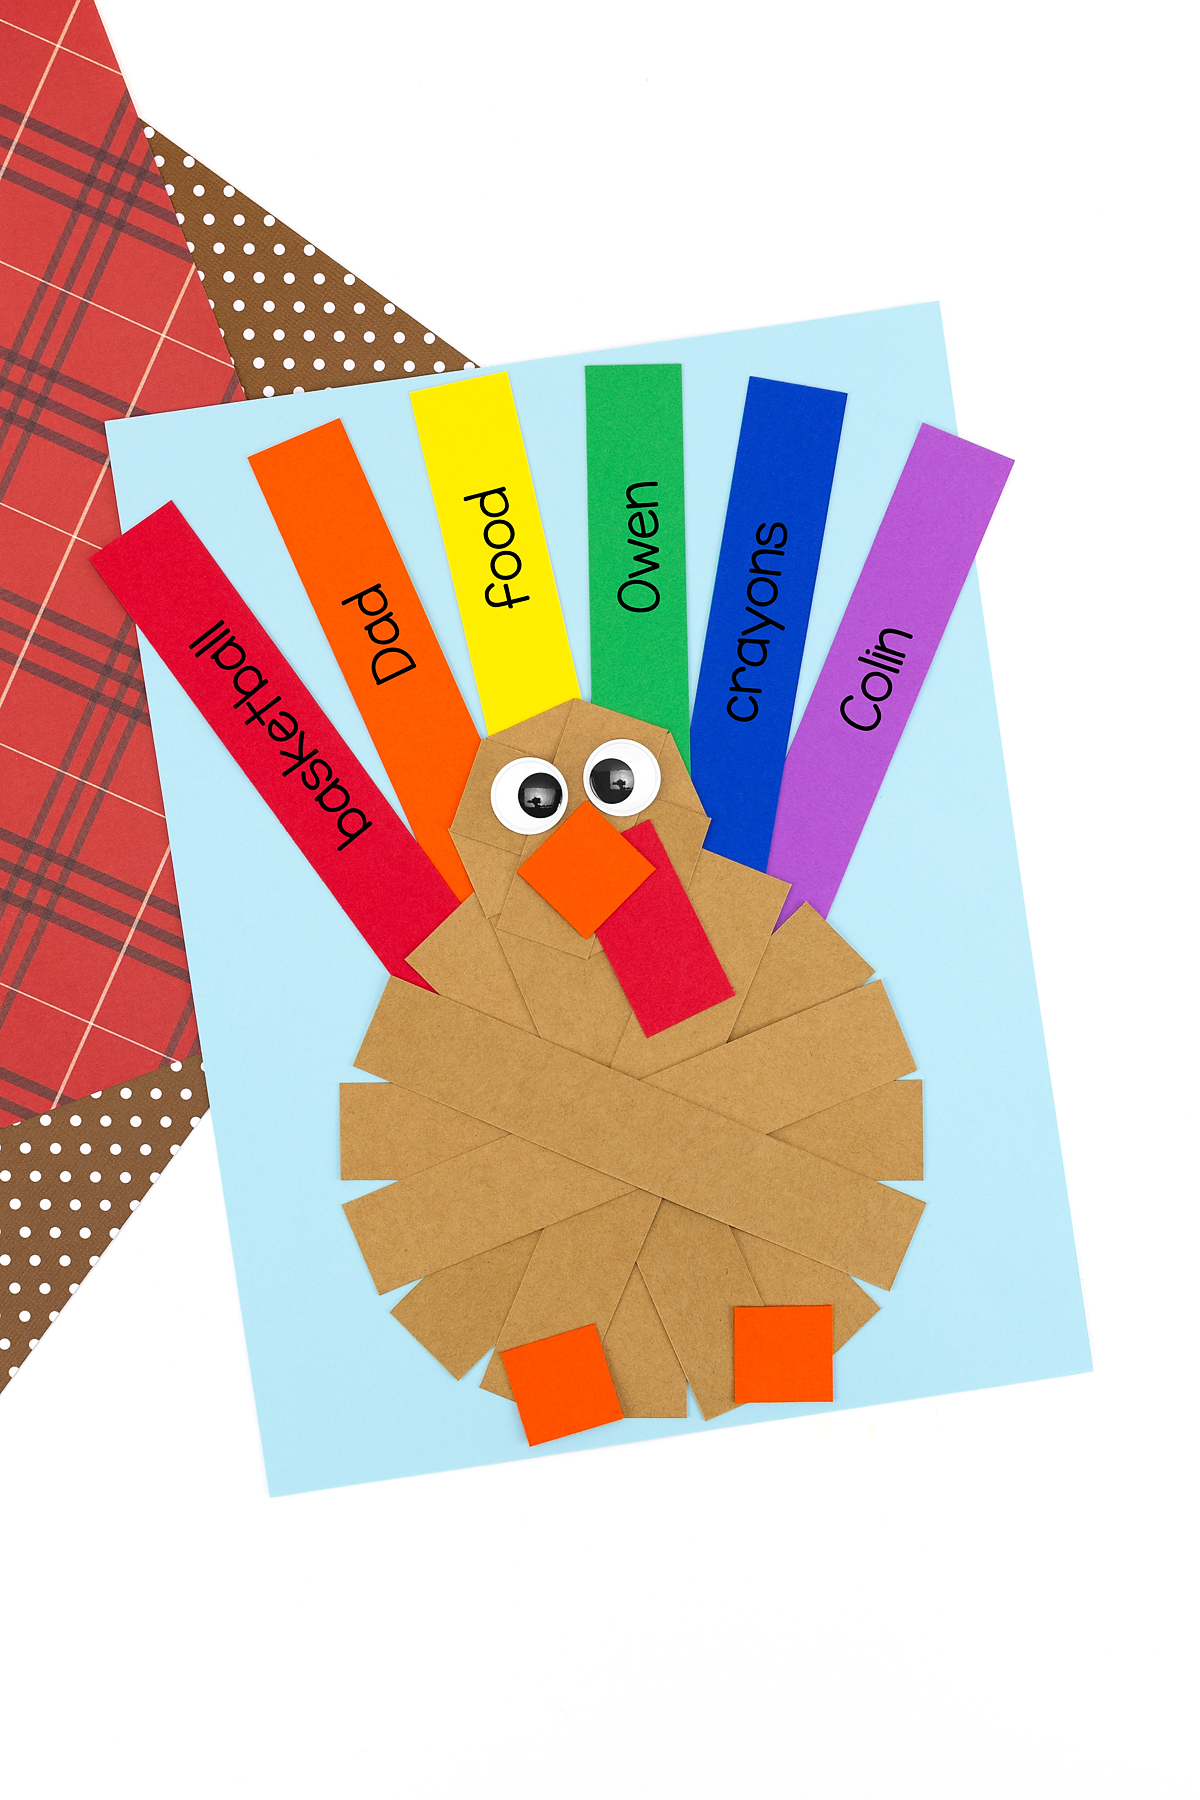
This paper strip turkey craft is a simple Thanksgiving activity that turns 1-inch strips of paper into a colorful gratitude turkey. It is easy to prep, fun to build, and a thoughtful way for kids to share what they are thankful for.
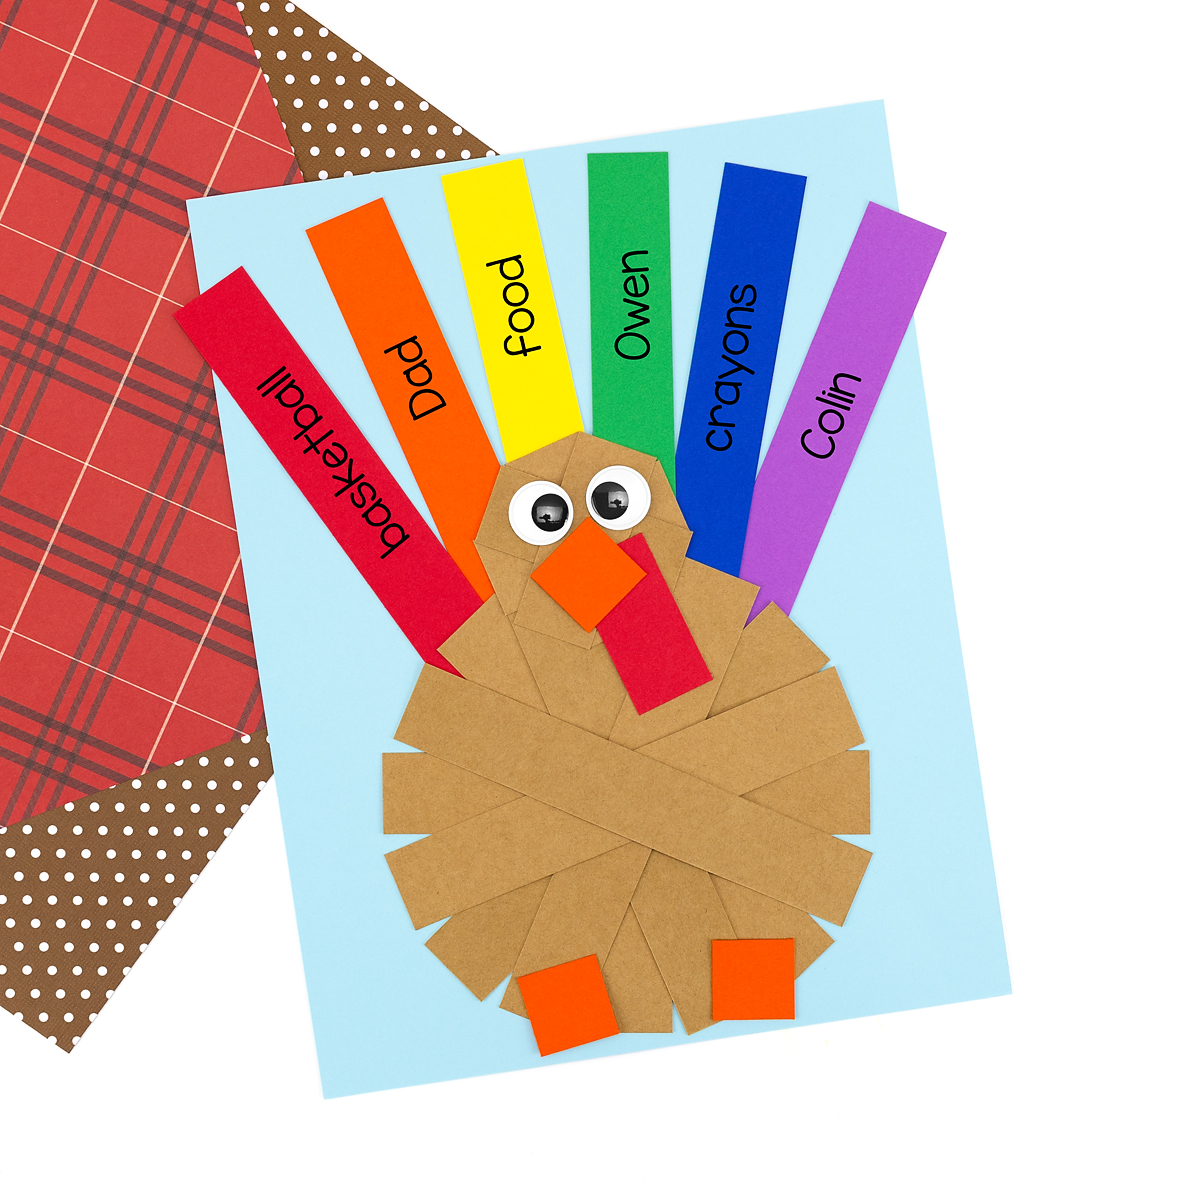
Simple Paper Strip Turkey Craft for Thanksgiving
When my kids were in preschool, we spent many afternoons at the kitchen table surrounded by paper scraps, glue, and giggles. Projects like this one were always my favorite because they sparked conversation. This turkey brings that same spirit of gratitude and creativity to classrooms and homes today.
Why You’ll Love This Paper Turkey Craft
This easy Thanksgiving craft combines art, writing, and reflection in one project.
- Festive decor: The finished turkeys look bright on a November bulletin board or a Thanksgiving table.
- Fine motor practice: Cutting, gluing, and arranging paper strips strengthens small hand muscles.
- Encourages gratitude: Kids think about what they are thankful for as they build their turkeys.
- Simple prep: It uses basic supplies that most teachers and parents already have.
- Great for groups: It is easy to manage in classrooms, after-school programs, and family gatherings.
Craft Supplies Needed for Easy Turkey Craft
To make this turkey craft for kids, you’ll need:
- Colored cardstock or construction paper
- Paper slicer
- Tacky craft glue
- Wiggly eyes (15 mm)
- Black permanent marker
How to Make a Paper Turkey Craft
This craft comes together quickly and is easy for kids of all ages. Follow the directions below to make your own.
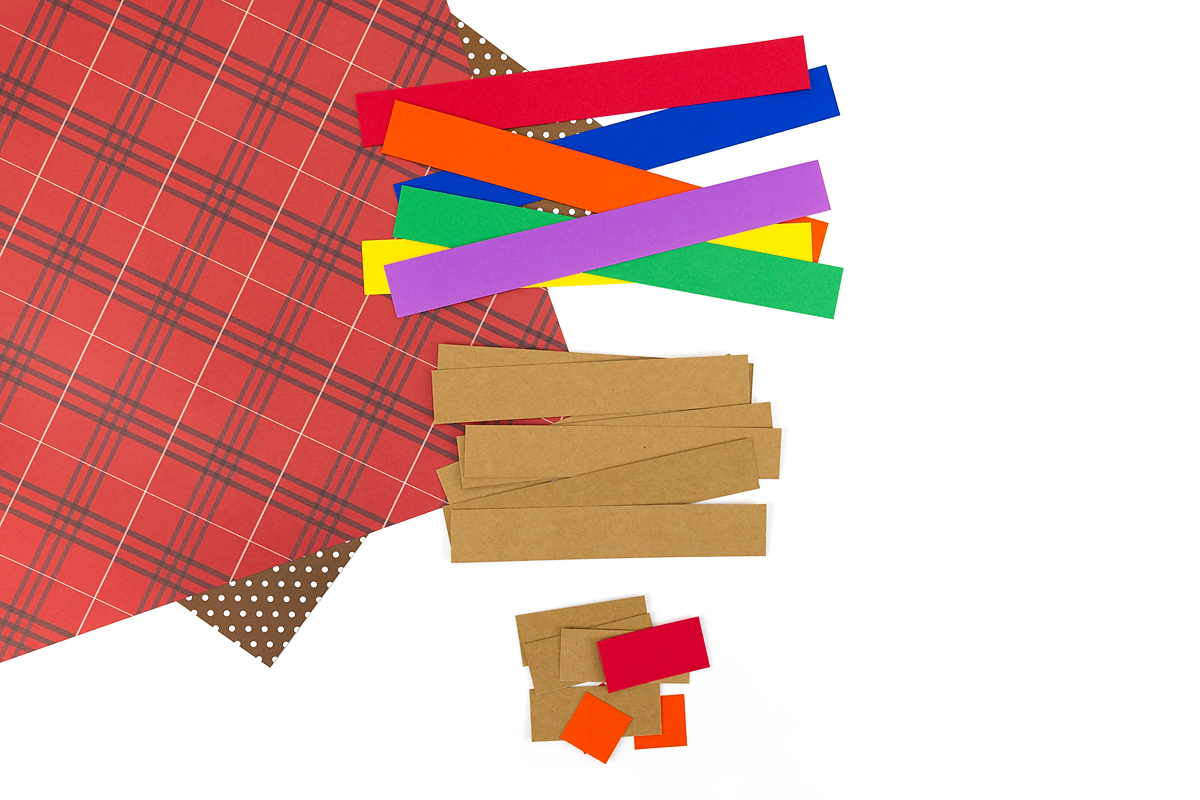
STEP 1: Cut the paper strips. Prep the paper pieces by cutting the following strips:
- 8 brown strips, 6 inches x 1 inch
- 4 brown strips, 2½ inches x 1 inch
- 3 orange squares, 1 inch x 1 inch
- 1 red strip, 2 inches x 1 inch
- 6 colorful strips (red, orange, yellow, green, blue, and purple), 8½ inches x 1 inch
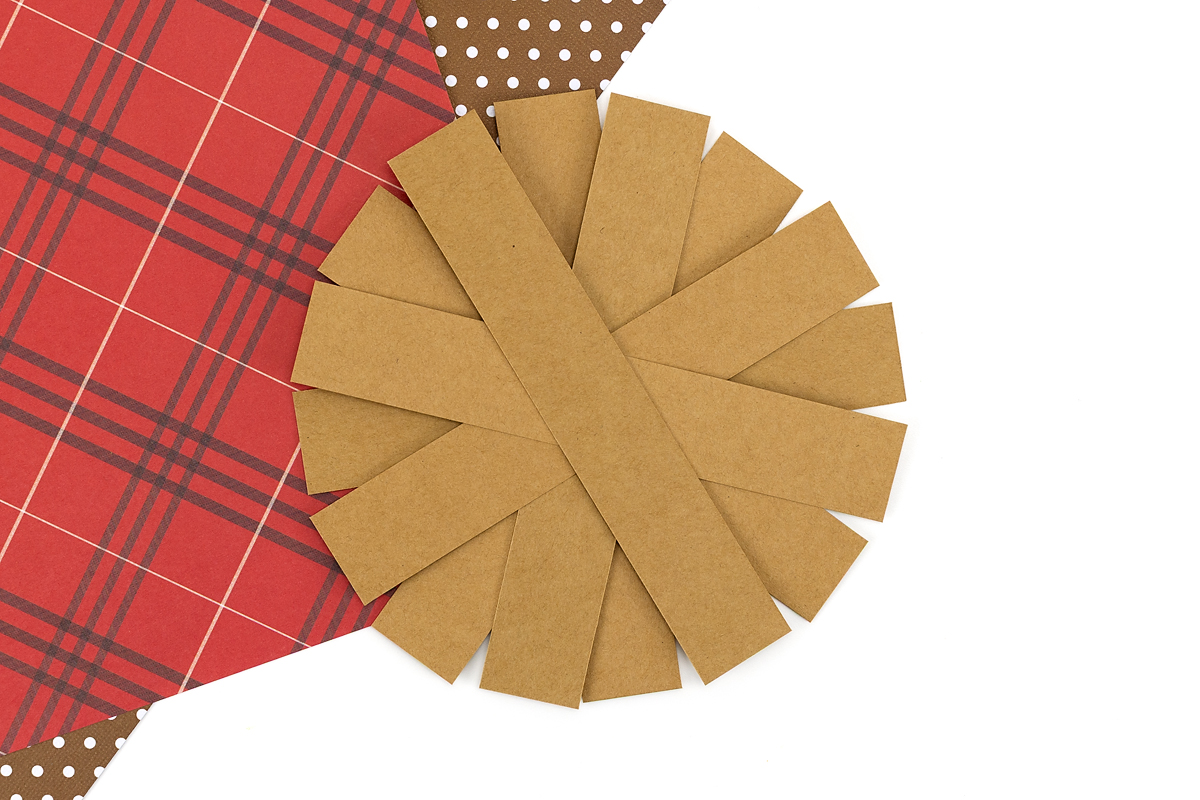
STEP 2: Build the body. Arrange the 8 long brown strips into a circle. Overlap the ends slightly and glue them.
STEP 3: Make the head. Form the 4 short brown strips into a smaller circle and glue the ends together.
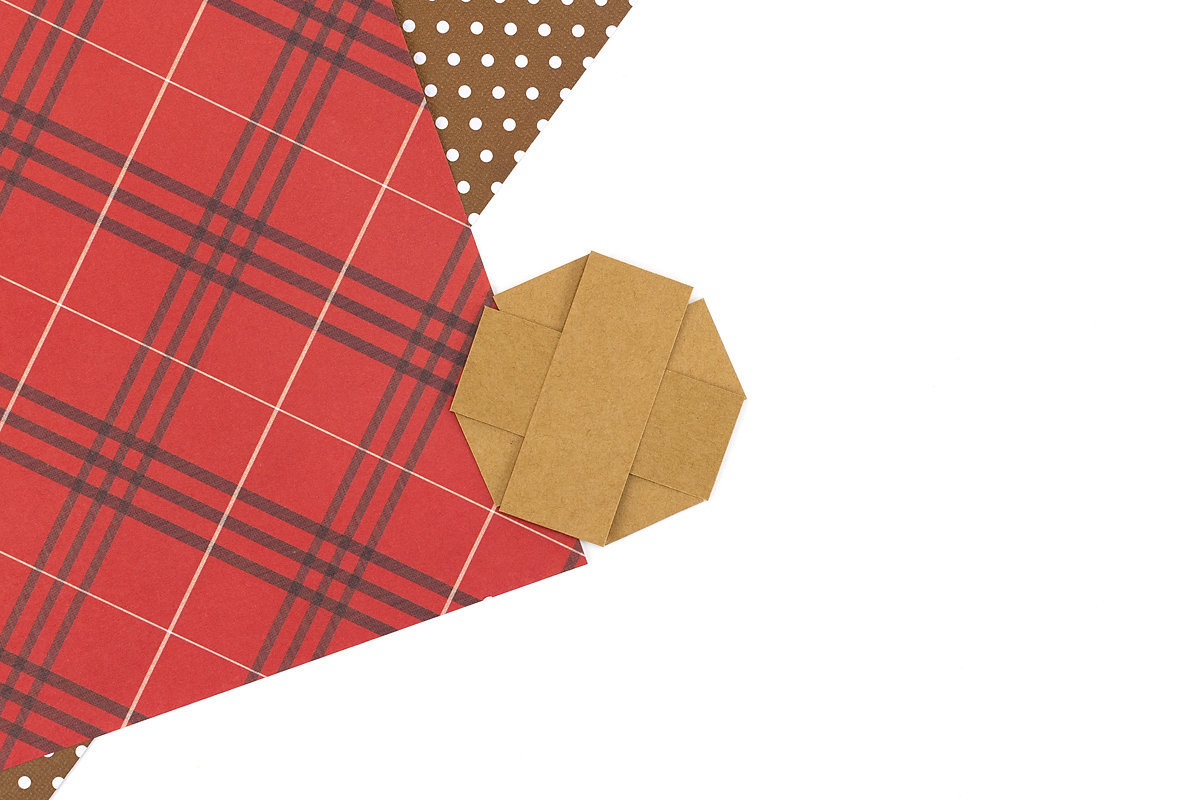
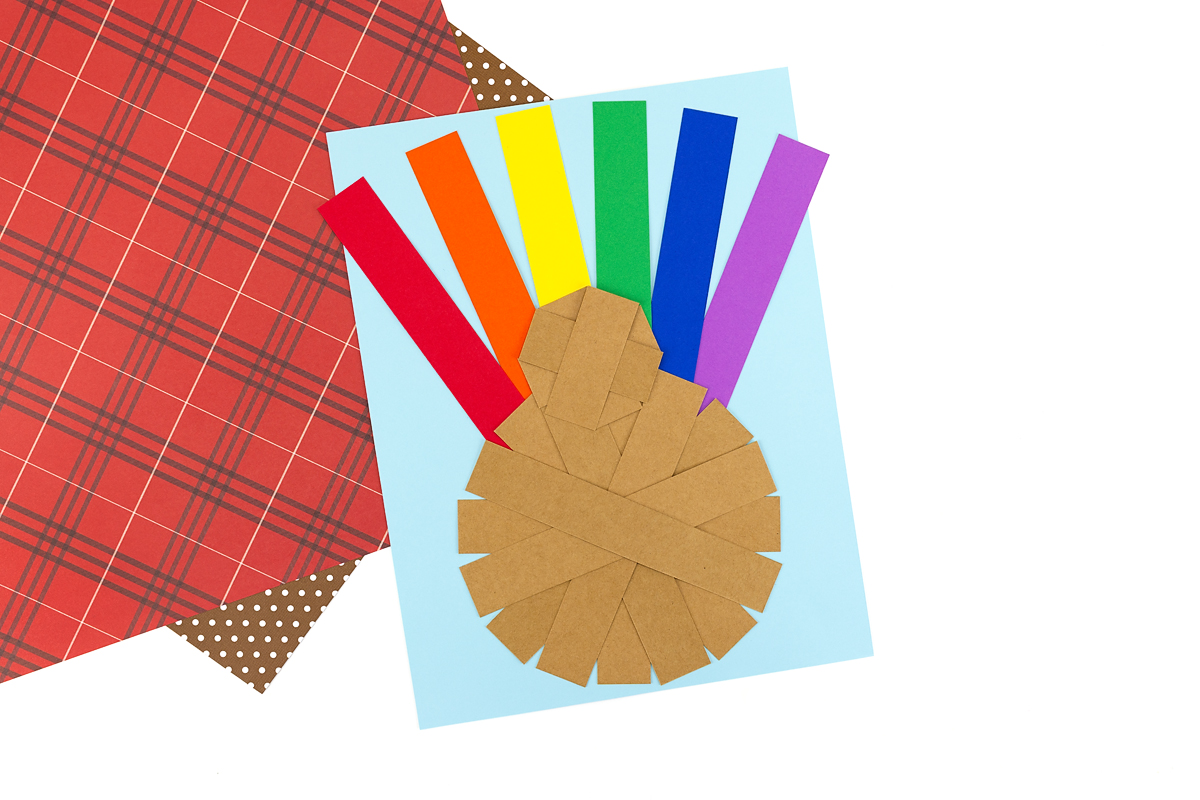
STEP 4: Add the feathers. Place the 6 colorful strips behind the body in a fan shape and glue each one. Then glue the body and feathers onto a sheet of light blue or white paper.
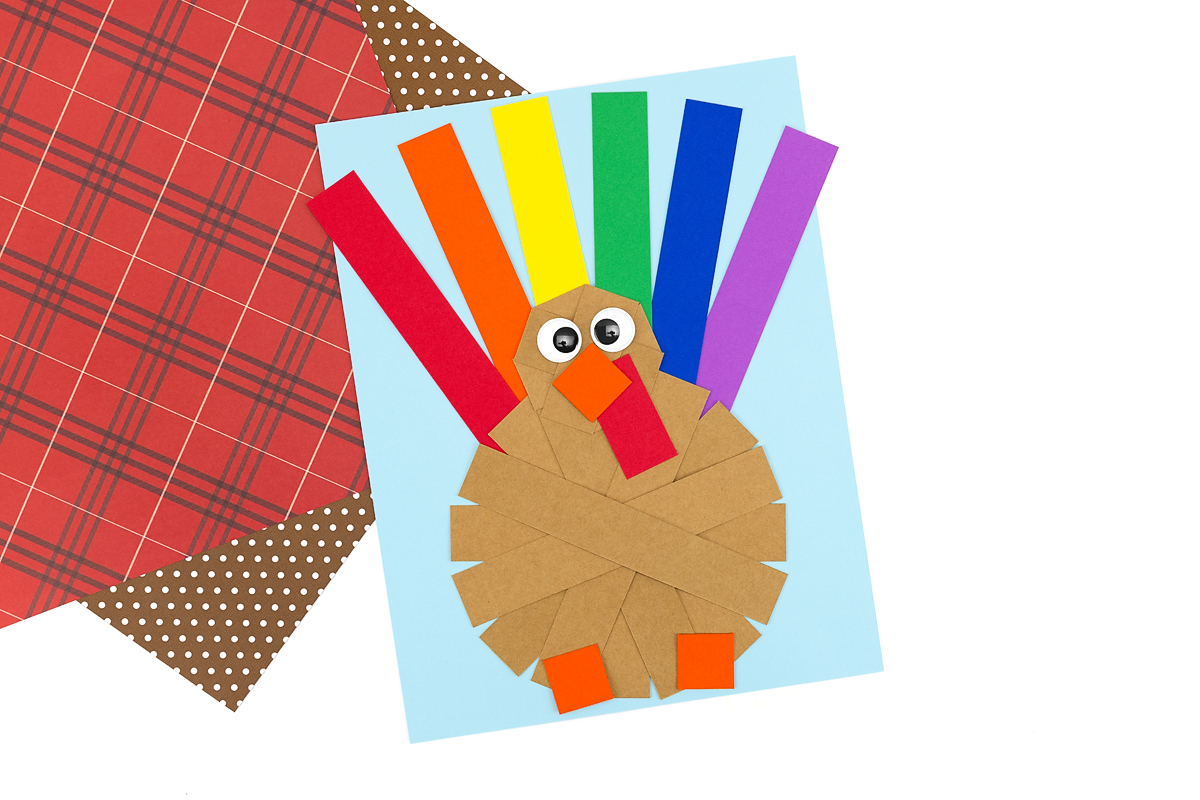
STEP 5: Add the face and feet. Glue on the wiggly eyes, the red gobbler, the orange beak, and the orange feet.
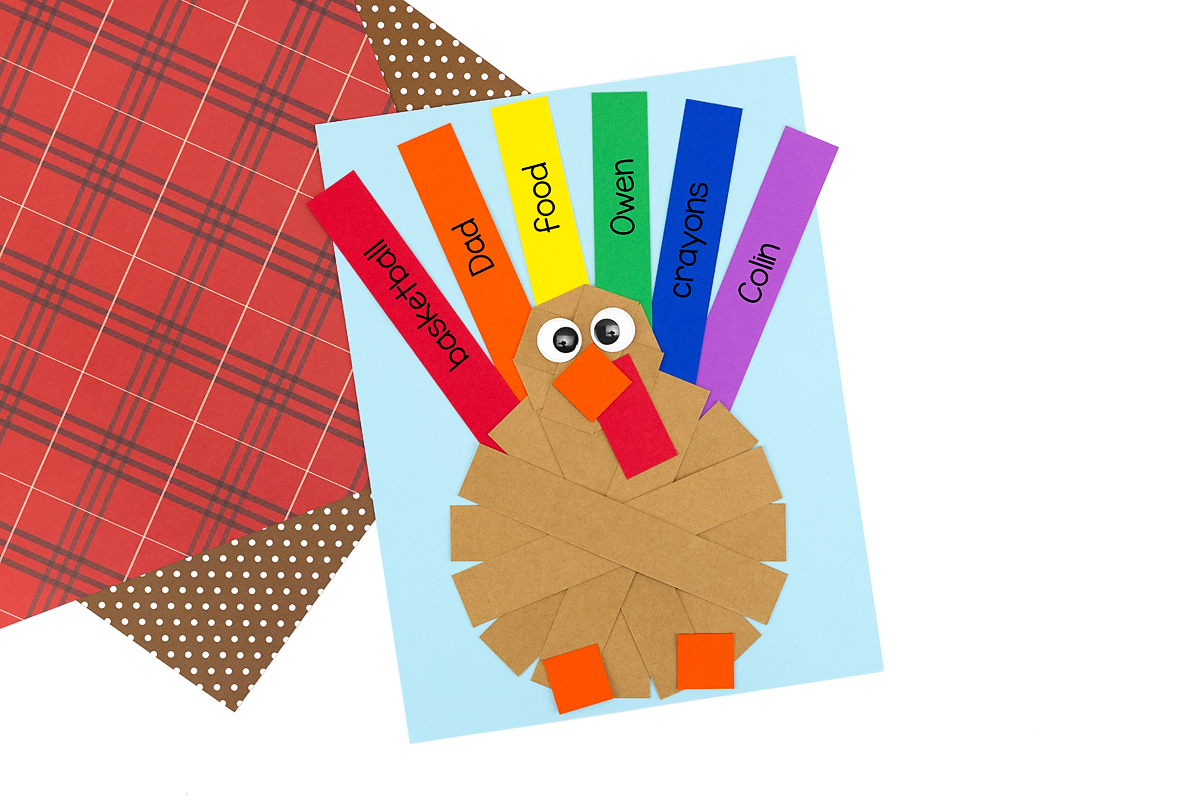
STEP 6: Write messages of gratitude. Have kids write one thing they are thankful for on each feather. Let the turkeys dry completely before displaying or taking them home.
Helping Kids Choose What to Write
If kids aren’t sure what to write on their turkey feathers, give them a few ideas. They might choose a family member, friend, pet, favorite place, or something fun they did this year.
You can also ask, “What made you happy this week?” Their answer might be the perfect thing to add to a feather!
Tips for Parents and Teachers
- Pre-cut the strips. Prepping paper ahead makes this much easier for groups and younger kids.
- Sort by color. Put each color in its own pile or cup so kids can grab what they need.
- Use cardstock for feathers. Sturdier paper holds up better when kids write on it.
- Let glue dry flat. Tacky glue sets faster and holds better when the turkey rests on a table.
Extension Ideas
- Add texture and sparkle: Decorate the feathers with glitter, pom-poms, stickers, or patterned paper.
- Write a story: Have kids write a short story about their turkey and combine them into a class book.
- Make a bulletin board: Arrange the turkeys under a “Thankful Turkeys” banner.
- Pair it with a book: Read Turkey Trouble or Bear Says Thanks and let the story inspire each turkey.
- Make place cards: Use small turkeys as place cards at the Thanksgiving table.
- Build a group turkey: Let pairs or small groups make one large turkey with oversized feathers.
- Plan ahead for December: If you like this style, try our Paper Reindeer Craft.
Want to explore more thankful turkey crafts? Try our Popsicle Stick Turkey Craft or our Paper Plate Turkey Puppet next.
More Thanksgiving Crafts for Kids
Looking for more ways to keep little ones busy and creative this Thanksgiving? Try these fun craft ideas:
- Thanksgiving Suncatchers – Brighten your windows with tissue paper and contact paper.
- Gratitude Tree Craft – Build a small tree and add leaves that name what kids are thankful for.
- Gratitude Stones – Paint small stones with hearts to hold on to thankful thoughts.
- Turkey Disguise Project – Turn a paper turkey into a funny character with this free printable.
- Santa Turkey Disguise – Dress a turkey like Santa Claus in this fun coloring project.
- Design Your Own Turkey Craft – Let kids use popsicle sticks, paper, paint, and leaves to invent their own turkey.
- Cupcake Turkey Disguise – Hide a turkey in plain sight by disguising him as a chocolate cupcake.
Frequently Asked Questions
It works well for ages 4 and up. Younger kids can glue pre-cut strips with help, and older kids can cut their own strips and write longer gratitude messages on each feather.
Glue 8 brown strips into a circle for the body and 4 shorter strips into a smaller circle for the head. Fan six colorful strips behind the body as feathers, then add eyes, a beak, a gobbler, and feet.
Have each child write one thing they are thankful for on every feather. Prompts such as family, friends, pets, and favorite places help. Talking through each answer makes the activity more meaningful.
Plan on 20 to 30 minutes if the strips are pre-cut. Cutting the strips first adds another 10 to 15 minutes, so prep them ahead when you are working with a group.
Save This Craft
This paper strip turkey craft is simple, colorful, and full of meaning. It gives kids a chance to slow down, build something with their hands, and say what they are grateful for. Save it on Pinterest so you can find it again next November!


Want even more?
Make sure to follow on Facebook, Pinterest, and Instagram for more easy crafts, activities, recipes, and parenting tips. And don’t forget to subscribe to our emails.