

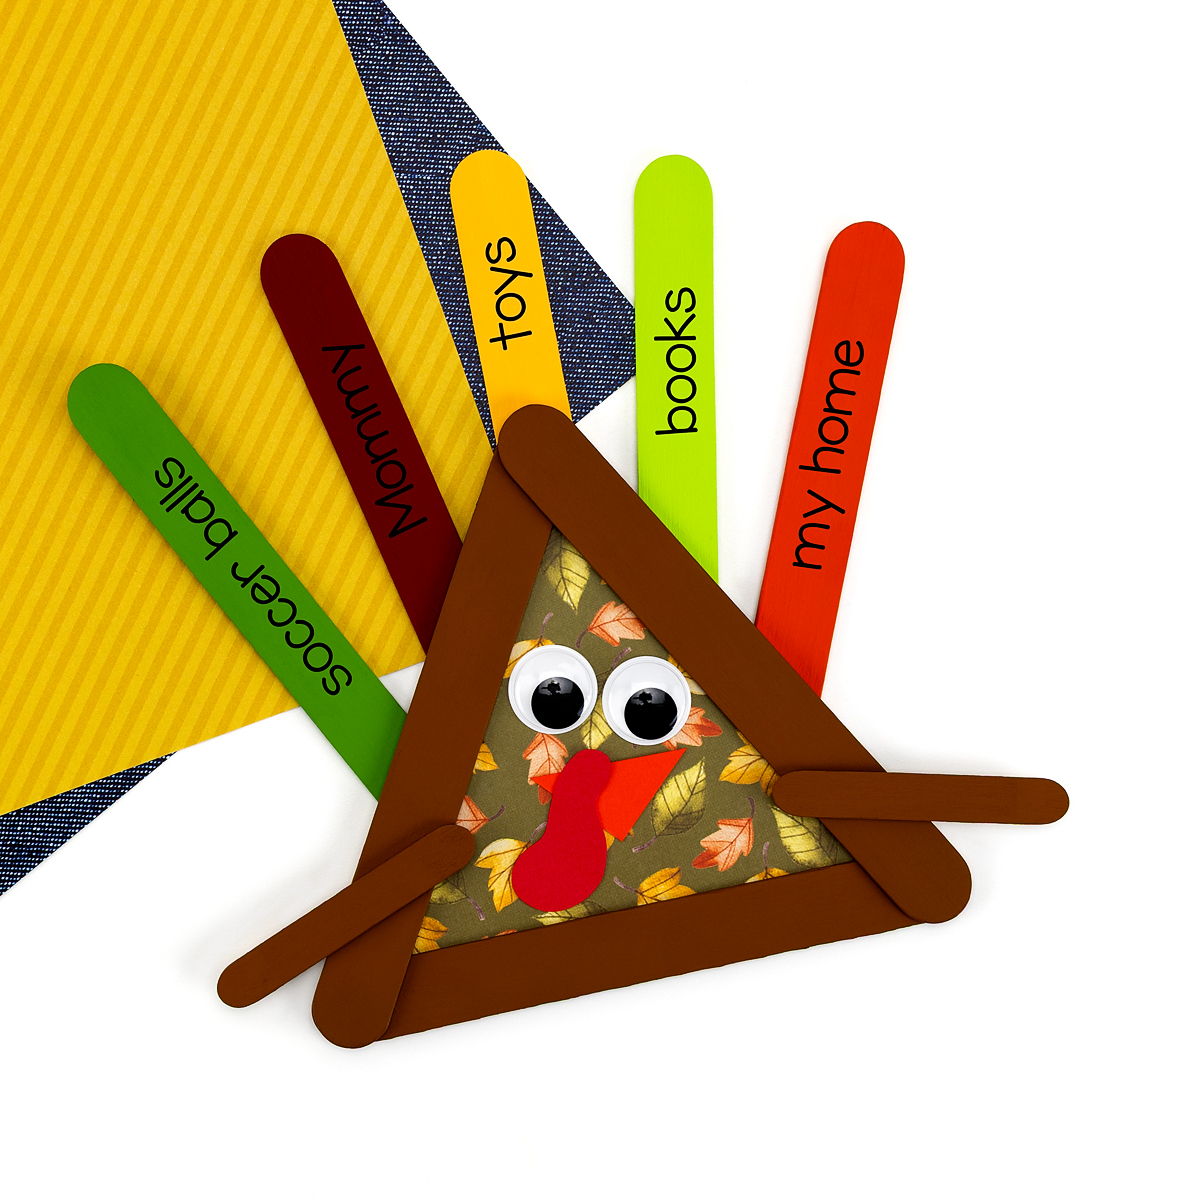
This popsicle stick turkey craft turns jumbo craft sticks, paint, and scrapbook paper into a colorful turkey decorated with things kids are thankful for. It is an easy Thanksgiving craft for home, classrooms, or library programs, and every turkey ends up looking a little different.
When my kids were little, this was one of our Thanksgiving favorites. We spread out craft sticks, paint, and glue, turned on some music, and got to work. Each turkey had bright feathers, a funny face, and patterned paper inside the triangle body. I still remember how proud they were to write what they were thankful for on the feathers.
Why You’ll Love This Craft
This popsicle stick turkey is colorful, simple, and meaningful, which makes it ideal for a quick Thanksgiving activity at home or in the classroom.
- Simple supplies. You only need craft sticks, paint, paper, and glue.
- Easy for all ages. Each child can make their turkey as simple or as detailed as they like.
- Fine motor practice. Painting, cutting, gluing, and arranging the feathers all build hand strength and control.
- No template needed. There is nothing to print, so setup is quick and stress-free.
- A gratitude activity built in. Kids write what they are thankful for on the feathers, so the craft starts a conversation about thankfulness.
- Great for groups. The materials are budget-friendly and the steps are easy to set up for a class, a library program, or a family Thanksgiving table.
What You Will Need
Gather these craft supplies before you start:
- Jumbo popsicle sticks (8)
- Mini popsicle sticks (2)
- Hot glue and hot glue gun
- Acrylic craft paint
- Paintbrushes
- Scrapbook paper
- Colored cardstock
- Googly eyes – 24 mm
- Scissors
- Tacky craft glue
- Paint marker
How to Make a Popsicle Stick Turkey Craft
Follow these seven steps to make your popsicle stick turkey.
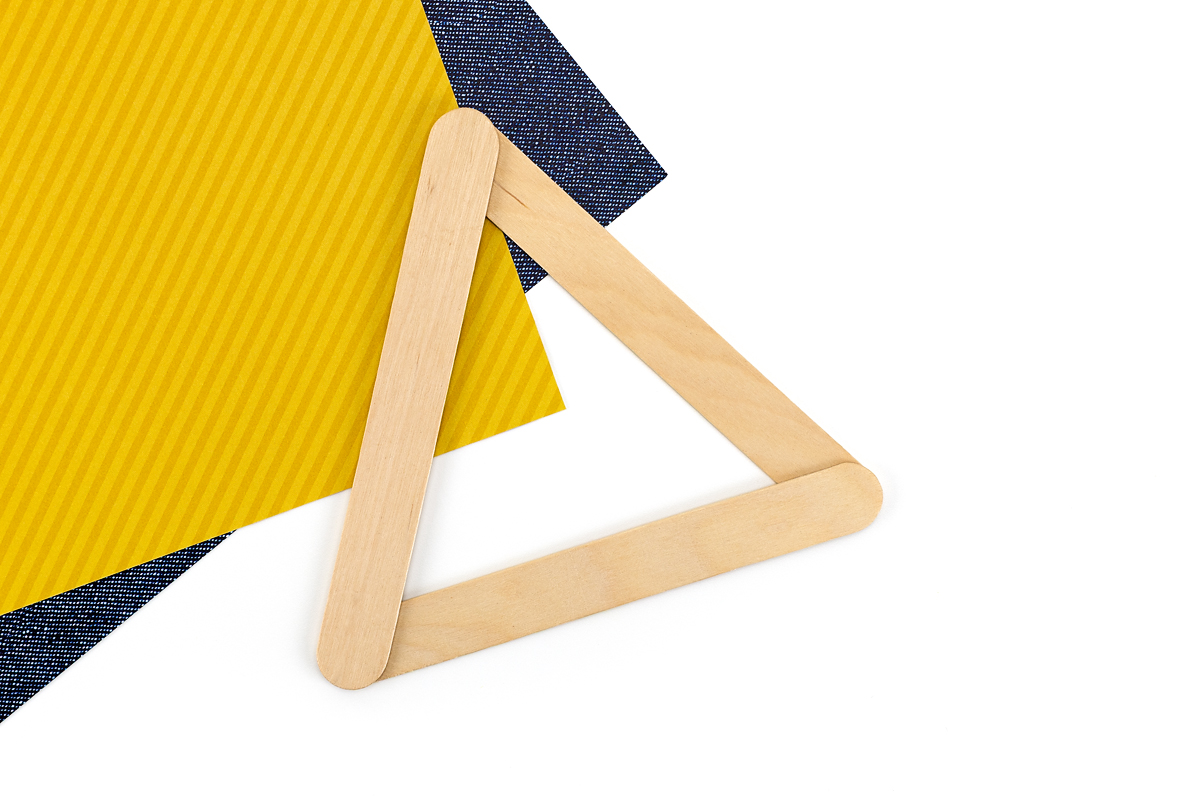
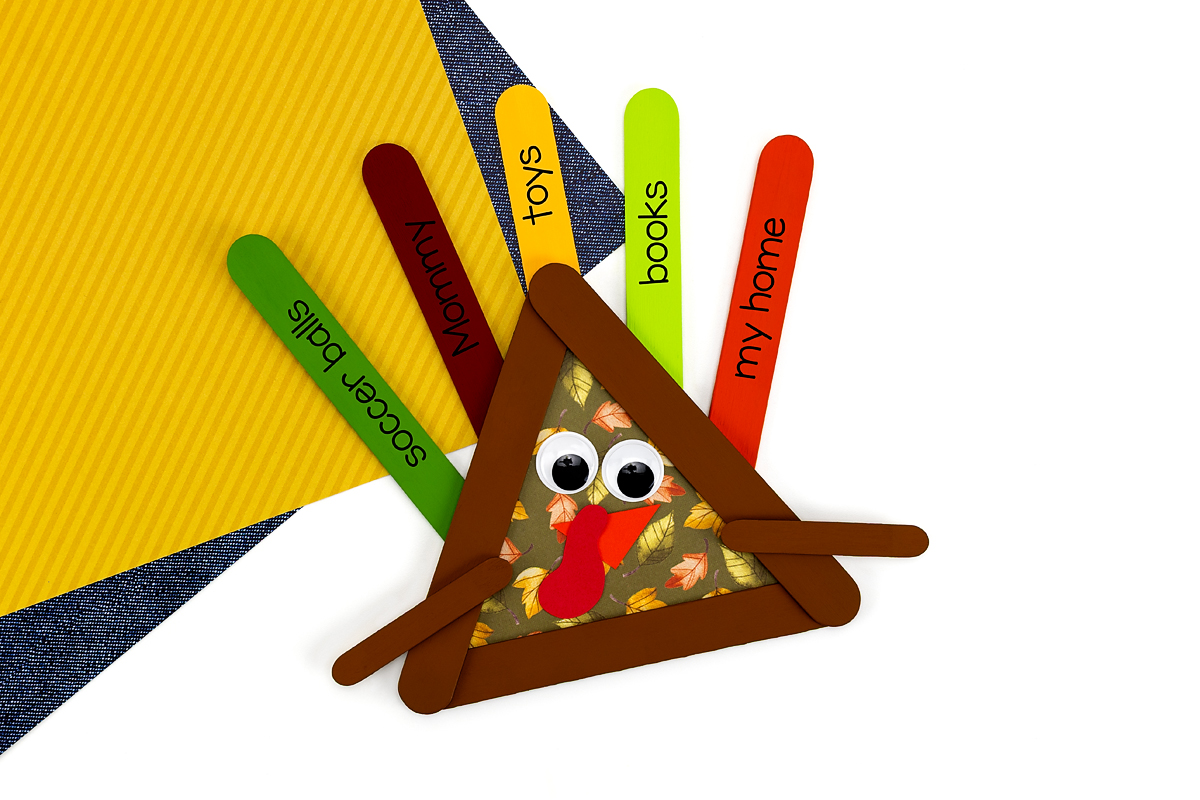
STEP 1: Build the turkey body. Arrange three jumbo craft sticks into a triangle and hot glue the corners together. Let the glue set for a minute.
STEP 2: Paint the feathers. Paint five jumbo craft sticks in fall colors like red, orange, yellow, brown, and gold. Try matching the colors to your patterned scrapbook paper for a coordinated look. Set the sticks aside to dry completely before attaching them to the turkey.

STEP 3: Paint the body and wings. Paint the triangle body and the two mini craft sticks (the wings) brown. Let everything dry completely before you add the face and feathers.
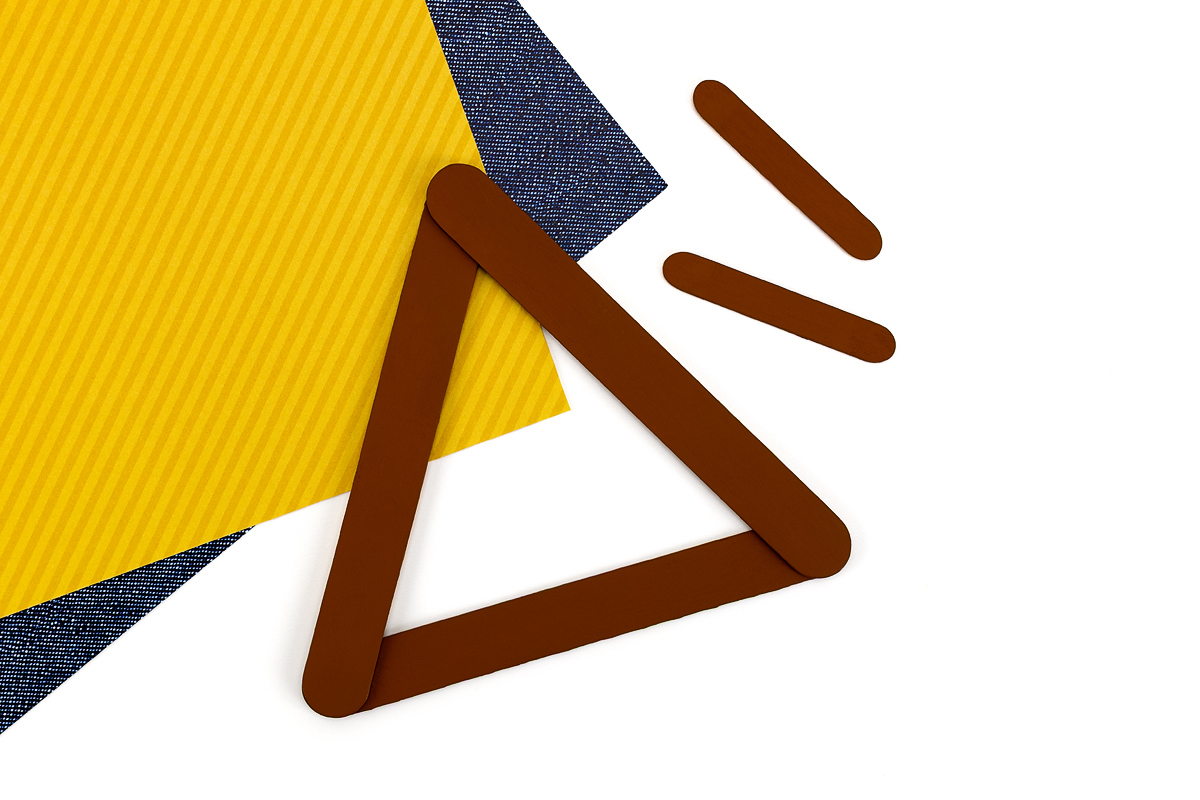
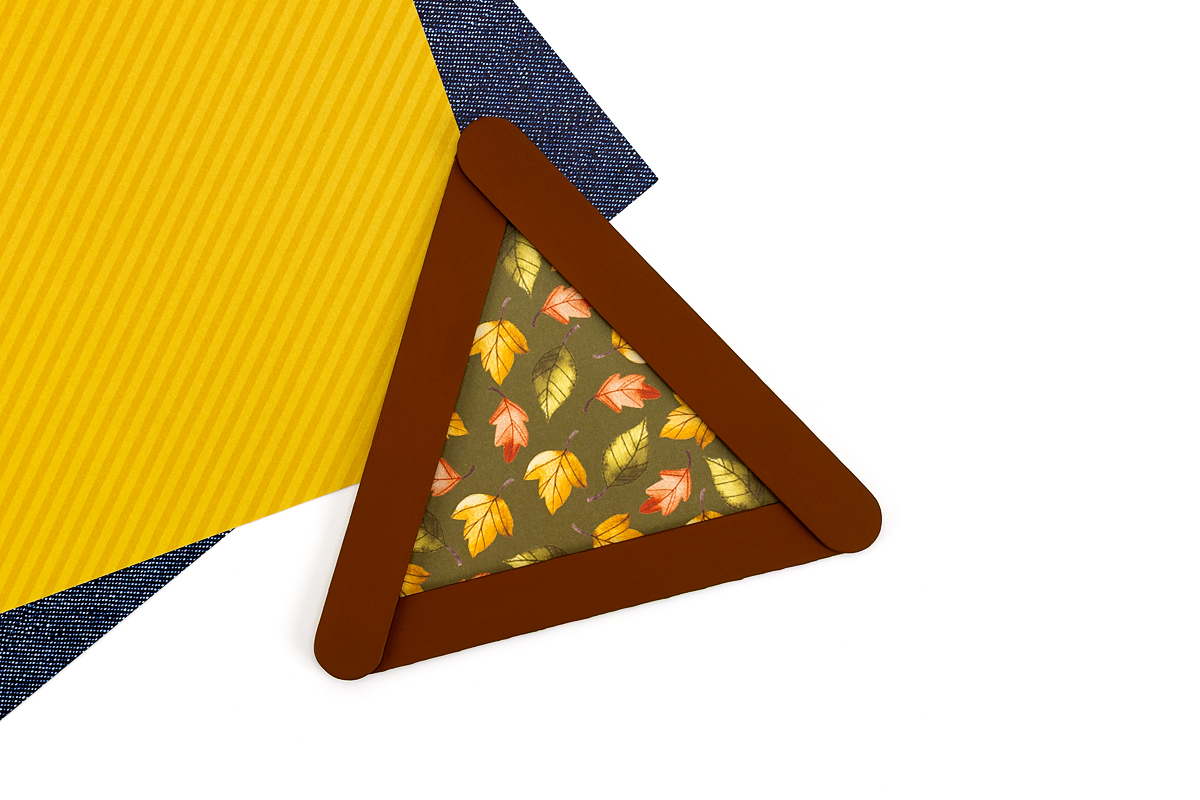
STEP 4: Add the scrapbook paper. Cut a piece of patterned scrapbook paper to fit inside the triangle. Glue it in place with tacky craft glue to create a colorful background that coordinates with the feathers.
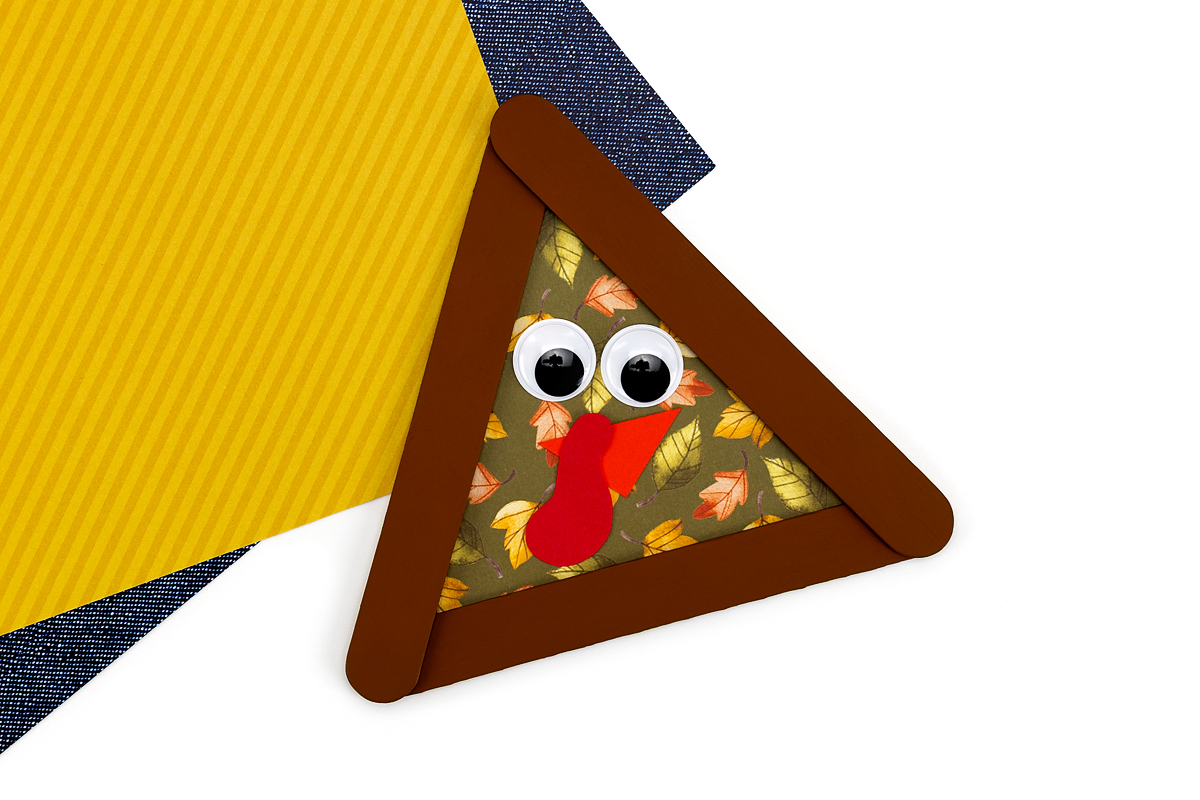
STEP 5: Add the face details. Cut a small orange beak and a red wattle (the gobbler) from cardstock. Glue on the wiggly eyes, beak, and wattle to give your turkey a friendly face.
STEP 6: Attach the wings and feathers. Use tacky craft glue to attach the two mini craft stick wings to the sides of the body. Then glue the five painted feathers to the back in a fan shape so they peek out evenly behind the turkey.
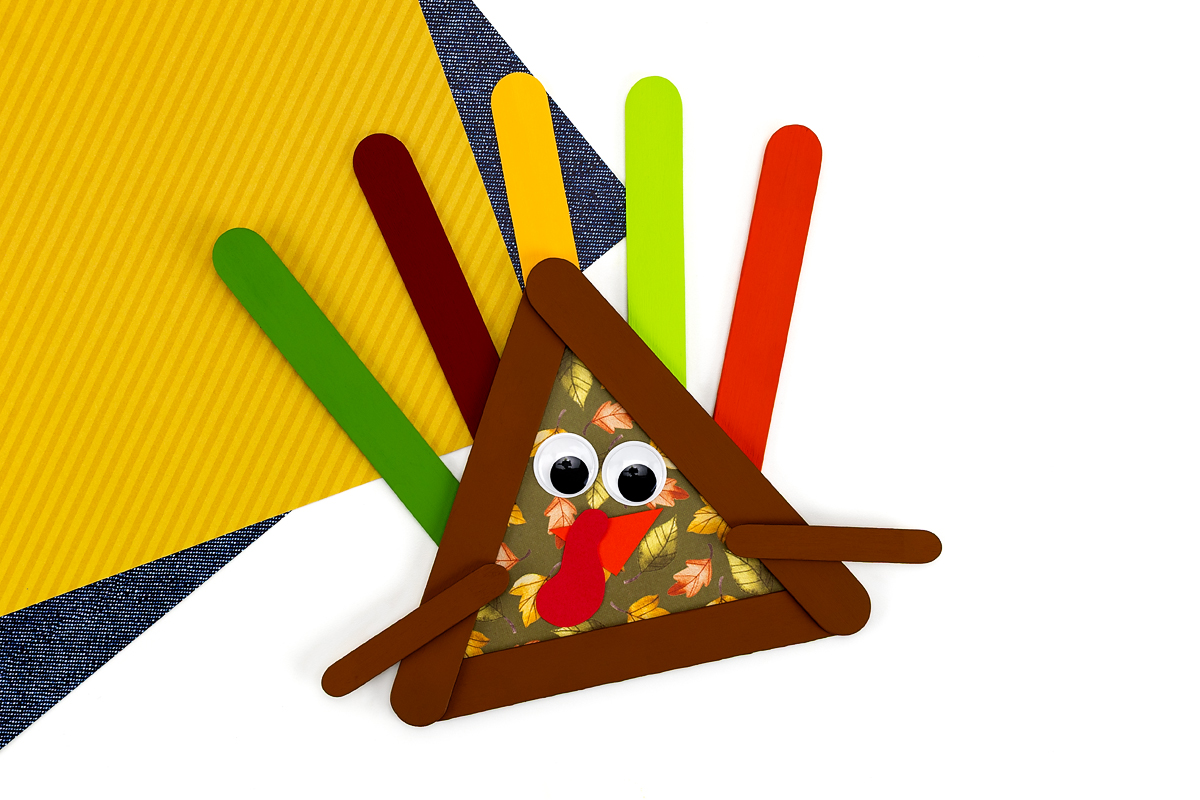
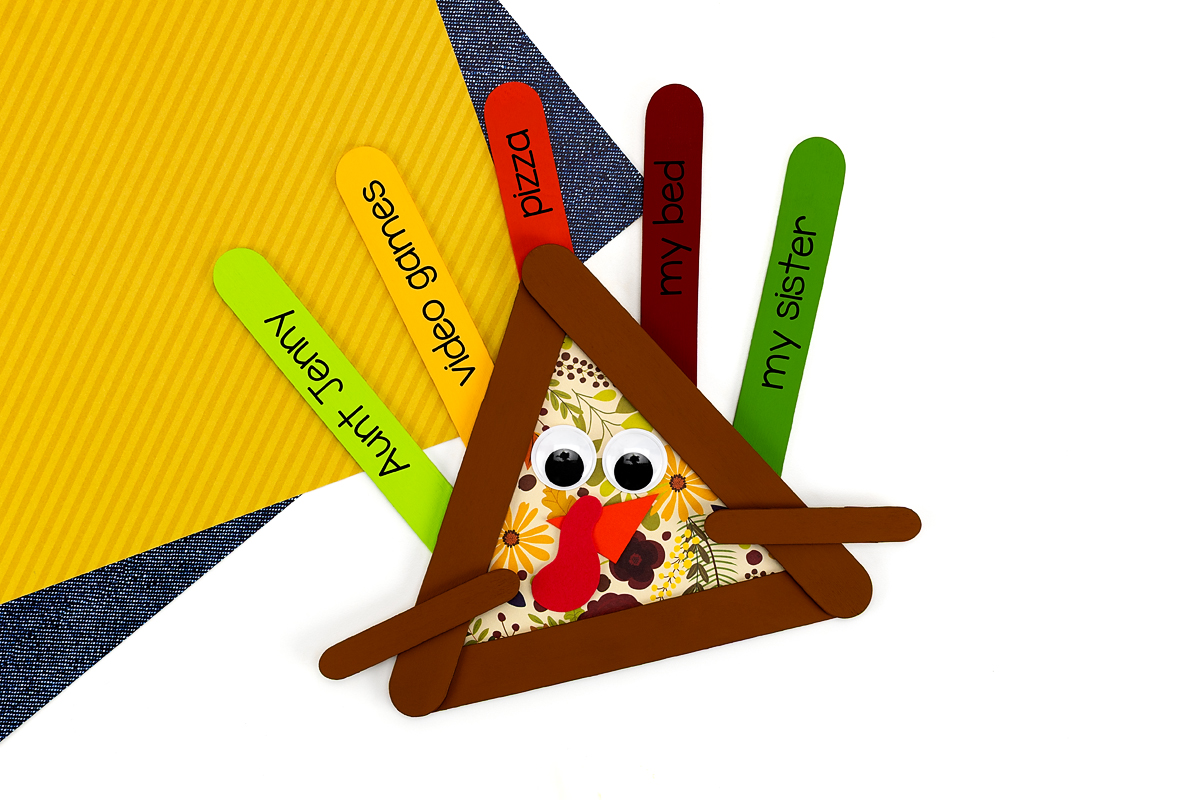
STEP 7: Add gratitude. Use a paint marker to write what each child is thankful for on the feathers. This is the step that makes each turkey personal.
Tips for Making Popsicle Stick Turkeys
- Paint everything at once. Lay all the sticks on a paper plate or sheet of parchment and paint them in one batch so they dry together.
- Write on dry paint only. A paint marker skips and smears on wet paint. Dark markers show up best on light feathers like yellow and gold.
- Trace, then trim. Trace the inside of the triangle onto the back of your scrapbook paper and cut just inside the lines for a clean fit.
- Plan for hot glue safety. Have an adult handle the hot glue gun and let kids do the painting, paper, and decorating.
- Prep ahead for groups. Cut the paper, beaks, and wattles in advance so kids can focus on painting and assembling.
What to Write on the Feathers
If some kids need help thinking of what they are thankful for, try these prompts. One word or a short phrase per feather works well.
- Family members
- Favorite foods or treats
- Friends and classmates
- Favorite activities or hobbies
- Special places
- Fun experiences from the past year
- Favorite books or movies
- Pets or animals they love
- Things in nature they enjoy
- School subjects or teachers they like
Extension Ideas
Turn this turkey craft into a bigger Thanksgiving activity with one of these ideas:
- Pair with books: Read I Am Thankful: A Thanksgiving Book for Kids by Sheri Wall or Thanks for Thanksgiving by Julie Markes while you craft.
- Create a gratitude wall: Display all the turkeys together on a bulletin board or wall.
- Write thank-you notes: Have kids write a short note to the person they are most thankful for and give it with the turkey.
- Add math: Count, sort, or pattern the feathers by color.
- Make it stand: Prop the turkey on a table or shelf using a mini easel.
- Turn it into a puppet: Glue a craft stick handle to the back for a Thanksgiving puppet.
- Make it magnetic: Attach a magnet to the back to display it on the fridge.
- Gift it: Give the turkey to a family member, neighbor, or friend as a homemade gift.
- Create craft kits: Bundle the materials for this craft into kits to give away before Thanksgiving.
Frequently Asked Questions
Glue three jumbo craft sticks into a triangle for the body. Paint five more jumbo sticks for feathers and two mini sticks for wings. Glue scrapbook paper inside the triangle, add wiggly eyes, a beak, and a wattle, then glue the wings and fan-shaped feathers in place. Finish by writing something thankful on each feather.
Hot glue is the fastest way to join the triangle corners because it sets in seconds. Tacky craft glue works well for paper, eyes, and feathers but needs a few minutes to dry. For kids working without an adult, use tacky glue and hold the pieces together for a minute.
Acrylic craft paint covers craft sticks in one or two coats and dries quickly. Washable tempera paint also works and is easier to clean up, but it can look chalky and may rub off more easily once dry.
Kids around age 4 and up can enjoy this craft with help from an adult, especially for hot glue and cutting. Elementary age kids can usually make the whole turkey on their own.
Plan on about 30 minutes of hands-on time plus time for the paint to dry. For a classroom or library program, paint the sticks the day before so kids can start assembling right away.
Kids can write short things they are thankful for, such as family, friends, pets, favorite foods, favorite places, or favorite books. One word or a short phrase per feather works best.
Yes. Use tacky craft glue for every step and let the triangle dry before painting. Clothespins or binder clips can hold the corners together while the glue sets.
More Thanksgiving Crafts for Kids
Looking for even more fun Thanksgiving crafts to keep kids busy and creative?
- Thanksgiving Suncatchers – Use colorful tissue paper and contact paper to create bright, festive window decorations for Thanksgiving.
- Paper Turkey Craft – Another easy turkey craft using simple paper supplies.
- Gratitude Tree Craft – Make a small tree with branches and add leaves where kids can write what they’re thankful for.
- Gratitude Stones – Paint small stones with words or images that represent things kids are grateful for.
- Turkey Disguise Template – Help a paper turkey escape the Thanksgiving table by giving it a creative disguise.
- Santa Turkey Disguise – Combine holiday fun with Thanksgiving by dressing a turkey like Santa Claus.
- Design Your Own Turkey Craft – Let kids create their own unique turkey using popsicle sticks, paper, paint, and any craft supplies they like.
- Cupcake Turkey Disguise – Disguise a turkey as a cupcake with this fun craft.
Save This Craft
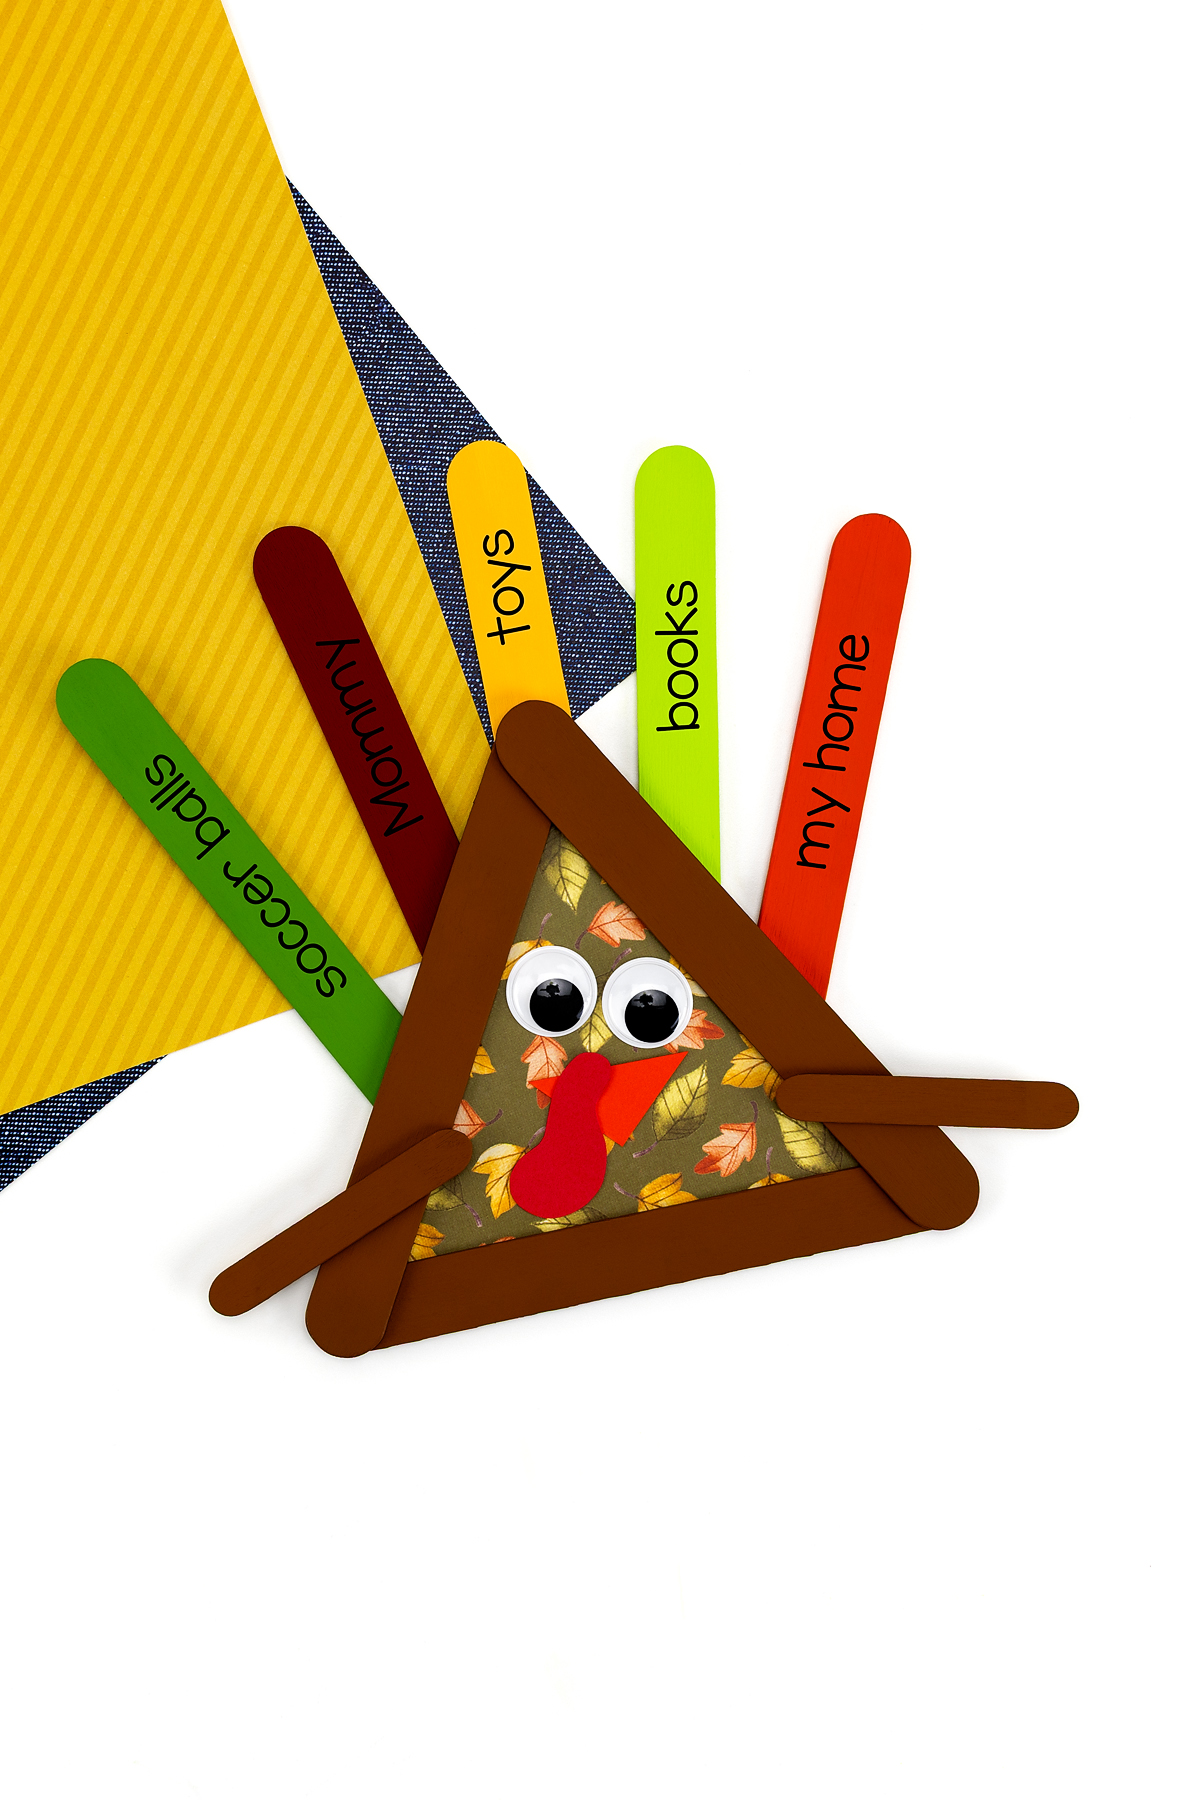
I hope your family or classroom enjoys making this popsicle stick turkey craft as much as we did. Save it on Pinterest using the image below so you can find it when Thanksgiving planning starts, and subscribe to our craft newsletter for more easy holiday crafts.


Want even more?
Make sure to follow on Facebook, Pinterest, and Instagram for more easy crafts, activities, recipes, and parenting tips. And don’t forget to subscribe to our emails.