

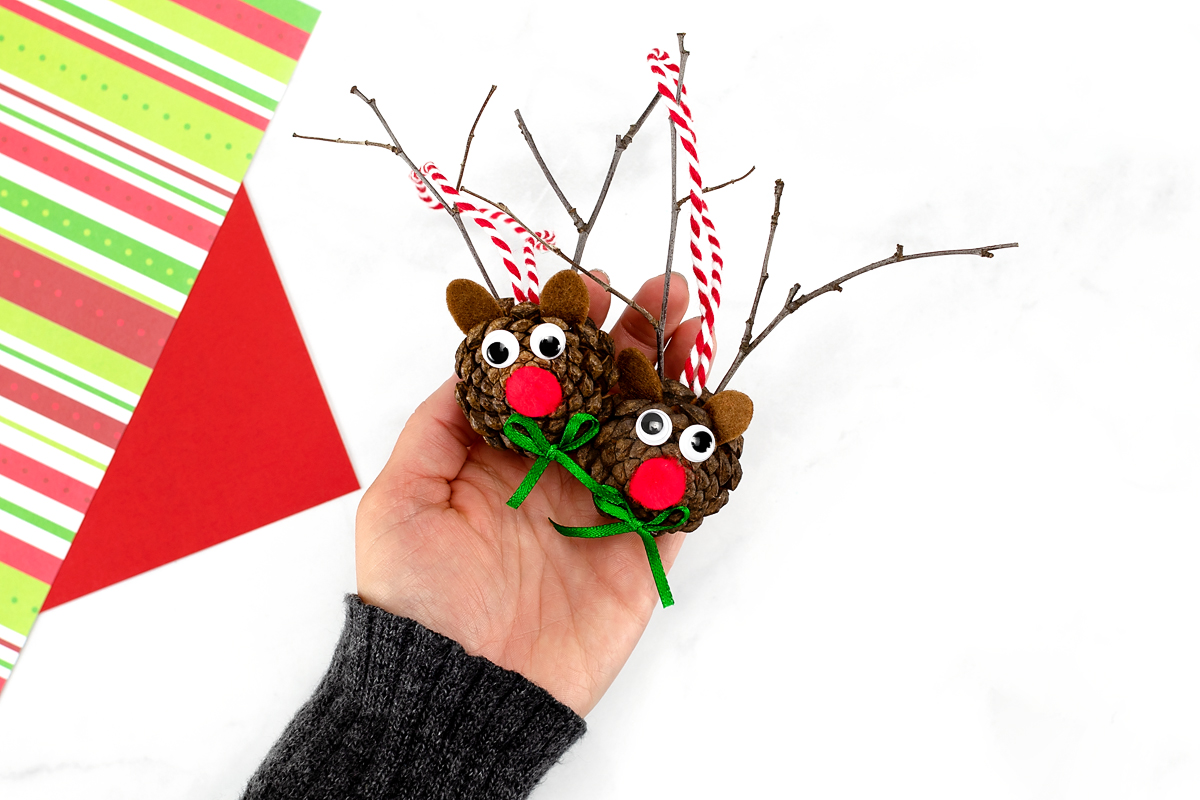
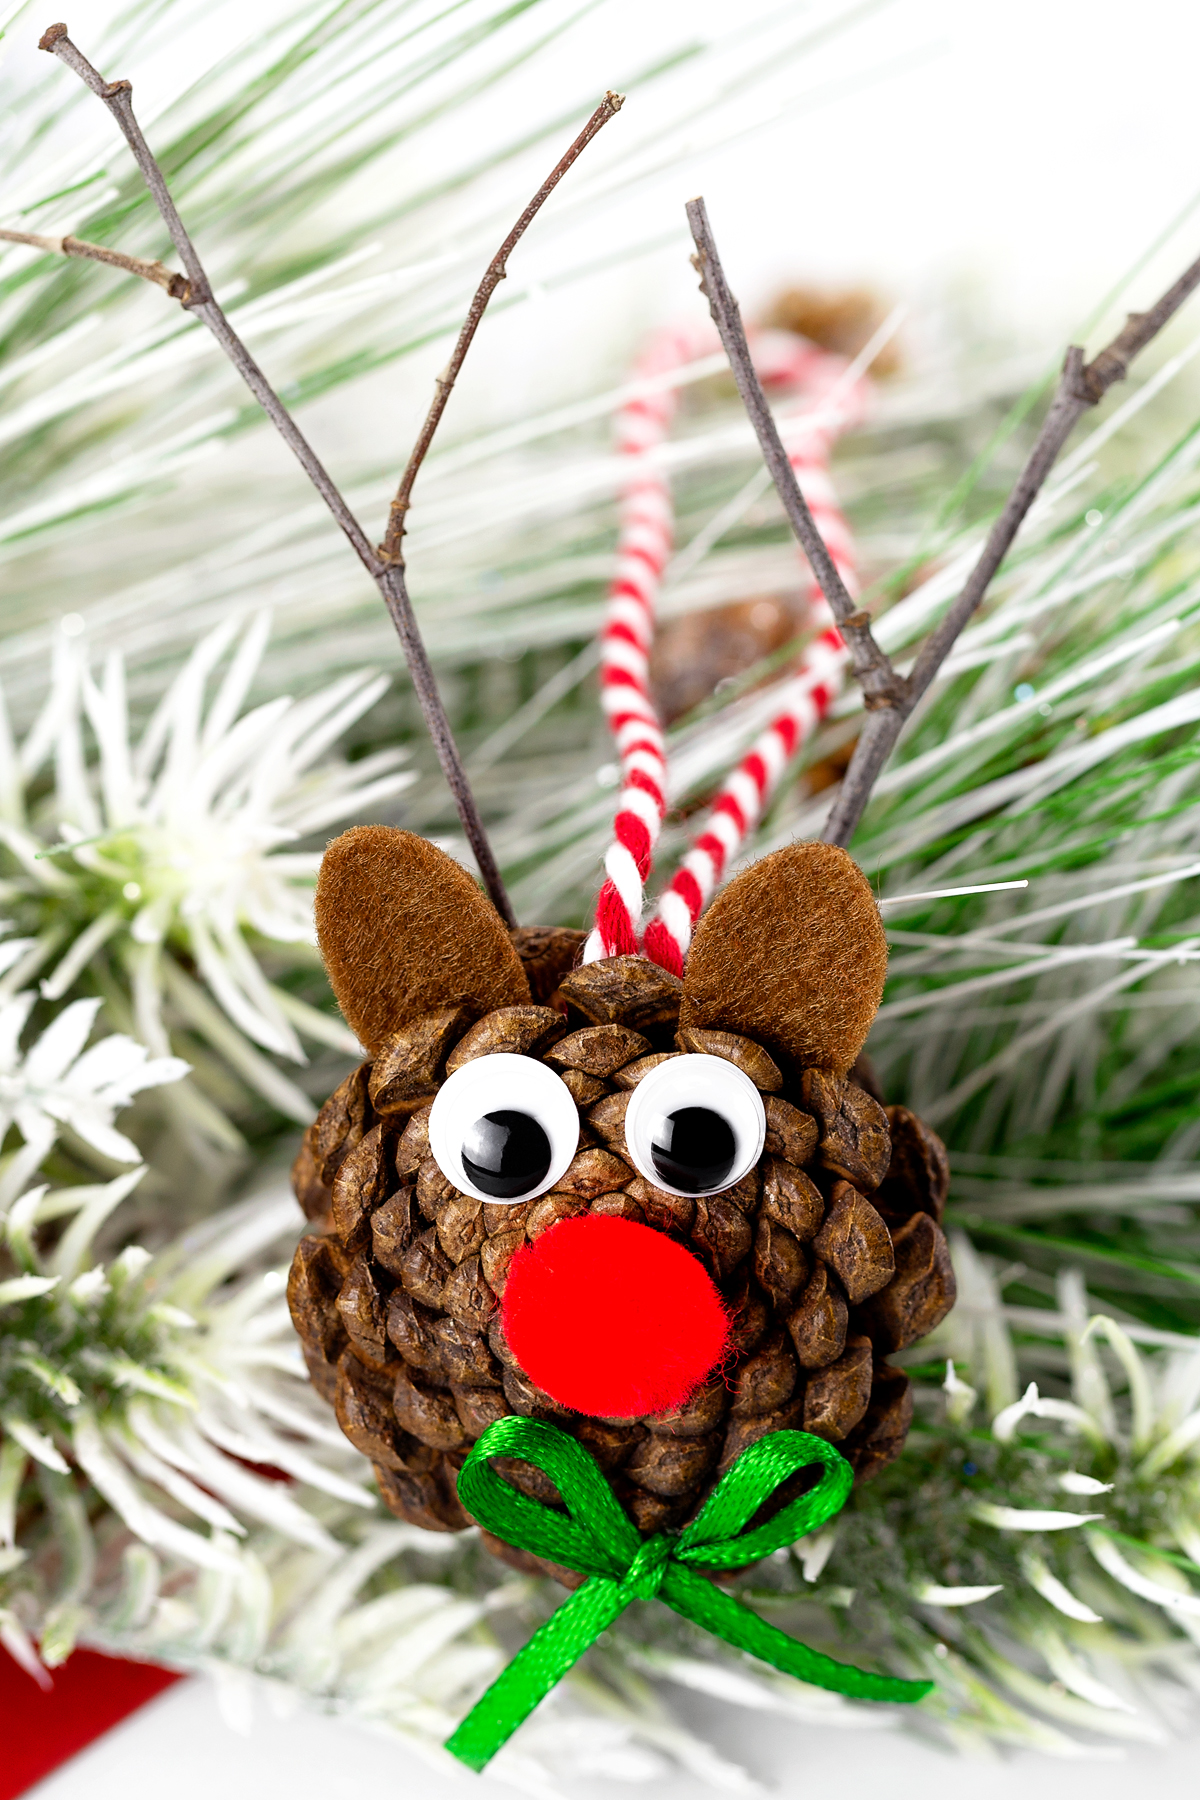
Pine cone reindeer ornaments are a fun holiday nature craft for kids! Made with pine cones, felt, twigs, and wiggly eyes, these ornaments look beautiful hanging from the Christmas tree or tied to gifts. Keep reading for step-by-step directions and a helpful video tutorial!
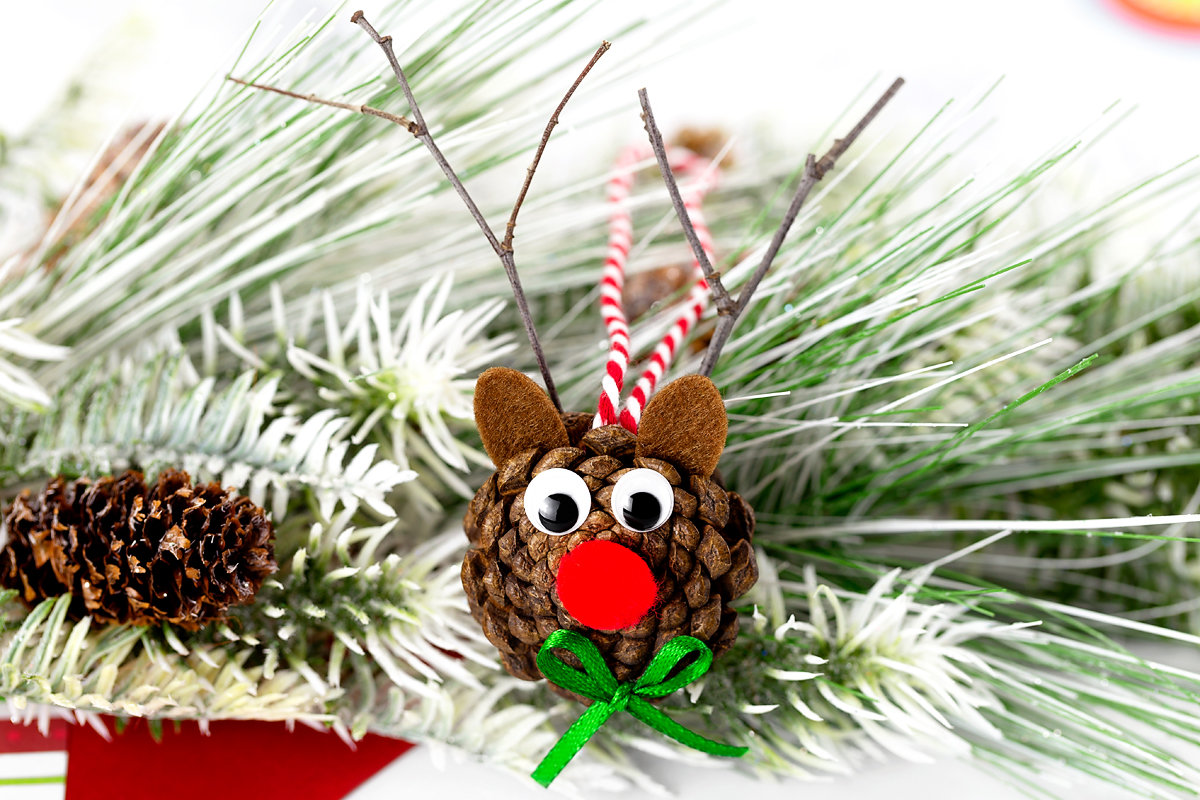
Read Rudolph, Then Make a Reindeer
I purchased the book Rudolph the Red-Nosed Reindeer by Robert L. May several years ago to enrich my bullying prevention curriculum at school. Rhyming couplets and beautiful illustrations bring Rudolph’s well-known story to life. As we read together, my students and I discussed teasing, helping others, and treating people the way we would like to be treated.
Fun fact! Robert L. May created the original Rudolph story in the late 1930s while working as a copywriter for Montgomery Ward & Co. in Chicago. His employer asked him to write a Christmas story for a store-wide giveaway, and millions of children received a copy.
You know Dasher and Dancer, but do you recall Rudolph the pine cone reindeer? My kids loved making these ornaments after reading the story.
Why You’ll Love This Craft
These little reindeer are easy to make and bring a bit of nature to your Christmas tree.
- Natural materials. Gather pine cones from your backyard or on a nature walk, then use basic craft supplies to bring your reindeer to life.
- Fine motor practice. Gluing on the eyes, pom-pom nose, and antlers helps children practice fine motor skills and hand-eye coordination.
- Ages and stages. Younger children can help attach the eyes and nose, while older kids can cut the felt ears and shape the antlers.
- A fun story-time activity. Read Rudolph the Red-Nose Reindeer, them make your own pine cone reindeer.
- Great for groups. The simple steps work well at home, in classrooms, and at library or community programs.
What You Will Need for Pine Cone Reindeer Ornaments
Gather the following supplies before getting started.
- Pine cones
- Brown pipe cleaners or twigs for antlers
- Wiggly eyes
- Tacky craft glue or hot glue
- Brown felt for ears
- Scissors
- Red pom-poms for noses
- Twine for the hanging loop
- Ribbon
Watch the Pine Cone Reindeer Craft Video
Watch the video below to see how to turn a simple pine cone into an adorable reindeer ornament using a few basic craft supplies.
How to Make Pine Cone Reindeer Ornaments
Follow these simple steps to turn pine cones into adorable reindeer ornaments.
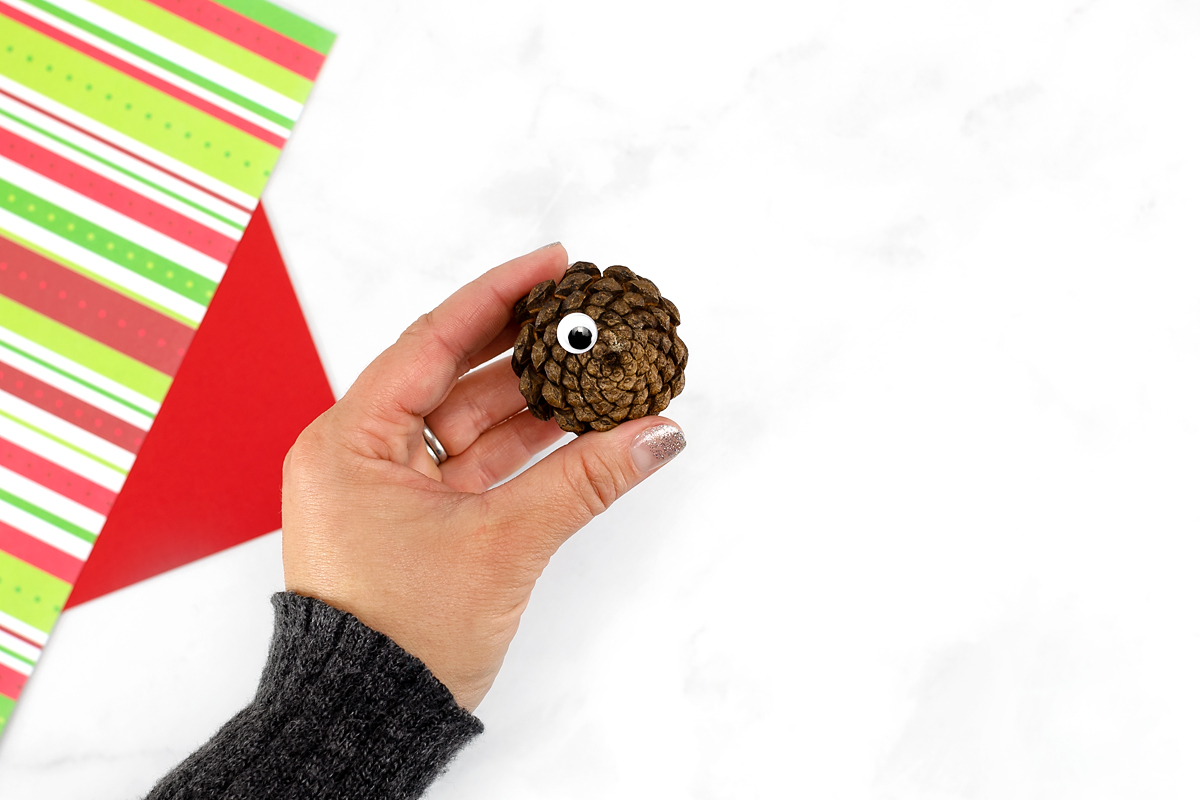
STEP 1: Add the face. Glue wiggly eyes and a red pom-pom nose to the bottom of the pine cone. We used hot glue, but tacky craft glue works too.
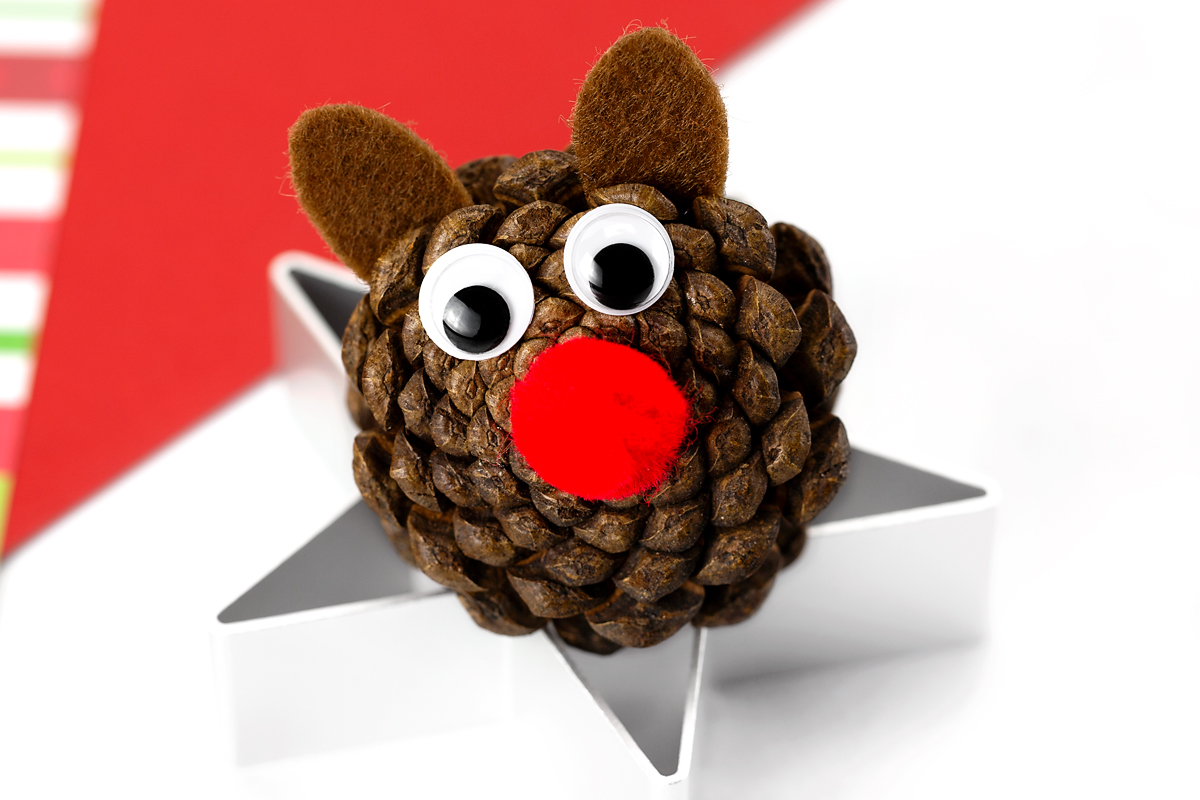
STEP 2: Add the ears. Cut two small ears from brown felt and glue them near the top of the pine cone. To keep the pine cone from rolling around while you work, try resting it on a cookie cutter.
STEP 3: Add the antlers. Glue two small twigs into the top of the pine cone, or make antlers from brown pipe cleaners. To make them, bend a brown pipe clean in half and cut it at the fold. Fold one piece, about 6 inches long, into a V shape. Cut the other piece into 3- to 4-inch lengths to make the smaller branches. Wrap the smaller pieces around the V, shape the antlers, and glue them into the top of the pine cone.
STEP 4: Add the bow and hanging loop. Glue a small ribbon bow to the bottom of the pine cone. Then, glue a loop of twine or ornament string to the top so you can hang your reindeer on the Christmas tree.
STEP 5: Let it dry. Allow the glue to dry completely before hanging your finished ornament on the tree.
Tips for Making Pine Cone Reindeer
A few simple tips will help your reindeer ornaments come together and hold up well on the Christmas tree.
- Try natural alternatives. Use fuzzy magnolia buds for the ears and a cranberry for the nose for a more natural look.
- Choose open pine cones. The gaps between the scales provide convenient places to tuck in and secure the ears and antlers.
- Clean and dry outdoor pine cones. Pine cones gathered outside may contain insects, debris, or sap. Brush away loose debris and let them dry thoroughly before crafting. If you choose to dry them in the oven, use a low temperature, follow a reliable pine cone preparation guide, and supervise them closely.
Take It Further
Extend the fun with these simple ways to build on your pine cone reindeer craft.
- Make a whole herd. Use pine cones in different sizes and name each reindeer after one of Santa’s reindeer.
- Create a reindeer garland. Attach several finished reindeer to a length of twine to make a woodland-inspired Christmas decoration.
- Add a jingle bell. Tie a small bell into each reindeer’s bow for a festive finishing touch.
- Go on a nature walk. Collect pine cones and twigs together before crafting, keeping an eye out for interesting shapes and sizes.
- Continue the story. After reading Rudolph the Red-Nosed Reindeer, talk about how Rudolph’s friends treated him and how they could have been kinder.
Frequently Asked Questions
Here are answers to common questions about making pine cone reindeer ornaments.
Glue wiggly eyes and a red pom-pom nose to the bottom of a pine cone. Add felt ears and twig or pipe cleaner antlers near the top. Finish with a small bow and a twine loop for hanging, then let the glue dry completely.
Hot glue creates a quick, strong bond, making it useful for attaching the antlers and hanging loop. Tacky craft glue is a good alternative for children, but it takes longer to dry. An adult should handle the hot glue gun.
You can use small twigs or brown pipe cleaners to make the antlers. For pipe cleaner antlers, bend a brown pipe cleaner in half and cut it at the fold. Shape one piece into a V, then wrap shorter pieces around it to create the smaller branches.
No, making is optional. If you collect pine cone outdoors, brush away loose debris and allow them to dry thoroughly before crafting. Some crafters use a low oven to help dry the cones and encourage them to open, but oven drying requires close supervision. Avoid leaving pine cone unattended in the oven.
Yes! For a more natural look, use magnolia tree buds for the ears and a cranberry for the nose. You can still use twigs for the antlers and twine for the hanging loop.
This craft can be adapted for different ages. Younger children can help attach the eyes and nose with tacky craft glue, while older children can cut the felt ears and shape the pipe cleaner antlers. Younger children may need help positioning the pieces, and an adult should handle the hot glue.
More Christmas Crafts for Kids
If you enjoyed making these pine cone reindeer ornaments, try these other Christmas crafts for kids!
- Pine Cone Christmas Tree – Turn a pine cone into a festive little Christmas tree with this nature-inspired craft.
- Pine Cone Angel Ornaments – Make sweet angel ornaments using a pine cone and simple craft supplies.
- Reindeer Crafts for Kids – Find more fun reindeer crafts to make at home or in the classroom.
Save This Craft
Save this pine cone reindeer ornament craft to Pinterest so you can find it when you’re ready to make these cute nature-inspired Christmas decorations with kids.


Ashley says
Very cute Reindeer!
Victoria says
This is so cute!!
Samantha @ Stir the Wonder says
I just love these reindeer ornaments! So create & Too cute!
CS Calkins says
We used to make similar in the ’60s…very nice to see again!
Mihaela says
Such a lovely Rudolph craft!