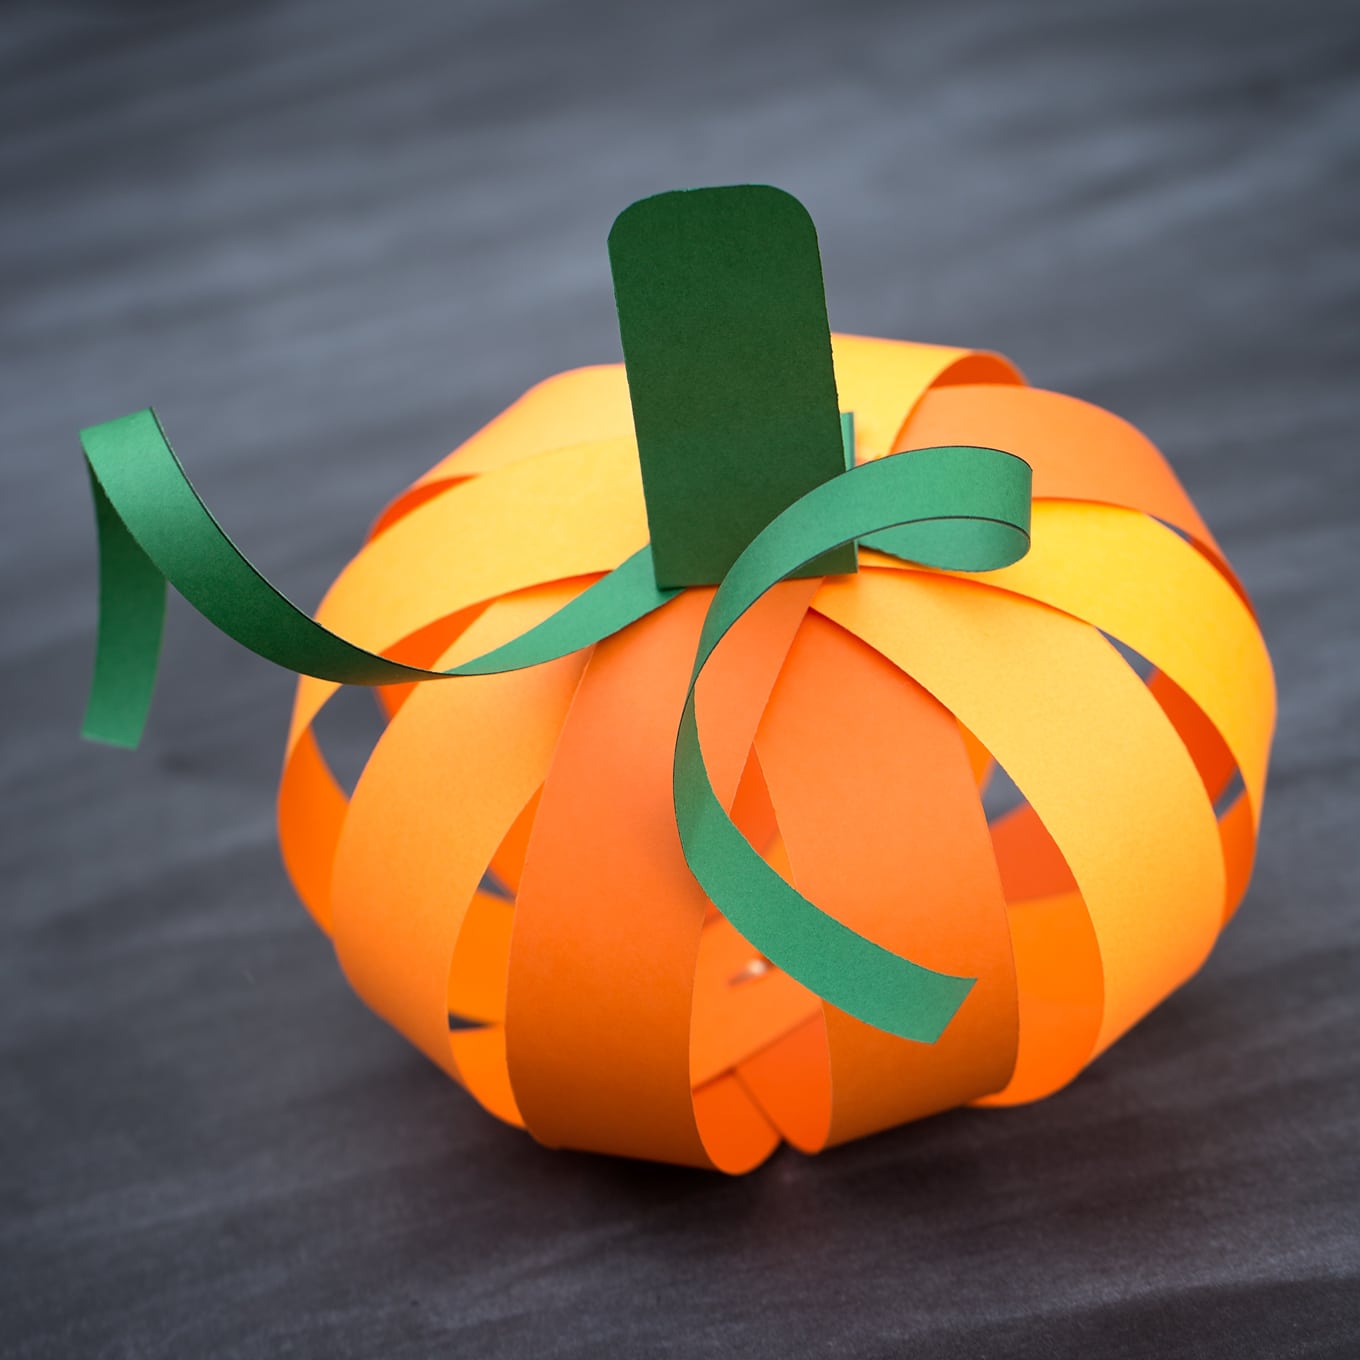
Inside: Just in time for fall, kids of all ages will love this easy paper strip pumpkin craft. This simple craft includes a free printable template, making it perfect for home or school.
October is the perfect month for pumpkin crafts! Whether kids are learning about pumpkins, visiting a pumpkin patch, or just enjoying a crisp afternoon at home, this easy craft will bring on the smiles.

Paper Strip Pumpkin Craft
Last weekend I took my boys to a pumpkin farm. We had an amazing afternoon filled with corn mazes, hay rides, pumpkin donuts and cider, and best of all…pumpkin picking! When we returned home, my kids wanted to make a pumpkin craft.
Inspired by our Paper Strip Apple Craft, we pulled out the orange paper, scissors, and hole punch and made paper strip pumpkins!
To Make This Craft You Will Need
- paper strip pumpkin template
- orange and green cardstock
- scissors
- single hole punch
- 2 brass fasteners/pumpkin
Directions
1. Download and print the paper strip pumpkin template. We printed the templates on several shades of orange and green colored cardstock, but you can also print them on white paper and invite kids to color in their pumpkins, stems, and vines with crayons or markers.
2. Next, cut out the templates. We used 9 rectangular strips, 2 vines, and 1 stem/pumpkin. If you want your pumpkin to have more solid coverage, simply use more paper strips.
If your child is young and practicing counting, you could write numbers on the paper strips and invite your child to stack them in order.
Tip: When you are printing this template, be sure to have “actual size” checked in your printer menu.
3. Invite kids to punch a hole on both ends of the paper strips with the single hole punch. They should also punch 1 hole at the end of every vine and on the flat end of the pumpkin stem.
4. Fold the pumpkin stem so that it will pop up from the pumpkin.
Stack 9 paper strips with the ink side facing down. Place 2 vines on top of the orange strips, then the pumpkin’s stem on top of the vines. Push a brass fastener through each end. Secure the fasteners.
5. Use a dowel rod or pencil to curl the vines of the pumpkin.
6. Gently bend the stack of papers and separate each strip to form a sphere.
7. Carefully tug the paper strips until you are satisfied with their appearance.
Aren’t they gorgeous? We enjoyed using a variety of colors to create our pumpkins!
For easy transport, simply remove the bottom fastener and push all the paper strips back into a stack. My son brought one of the pumpkins to school to share with his teacher, and that is exactly how he fit it in his backpack without squishing it!
Kid-Made Sample
The pumpkin shared below was created by my son. He wanted to color it in with crayons instead of having it printed on orange paper. He experienced little difficulty putting it together but did get tired of cutting.
If you choose to do this craft with a large group of kids, I recommend using small group instruction or stations.
Save This Craft
More Pumpkin Crafts for Kids
Click the images below to view more easy and fun pumpkin crafts for kids.


Want even more?
Make sure to follow on Facebook, Pinterest, and Instagram for more easy crafts, activities, recipes, and parenting tips. And don’t forget to subscribe to our emails.