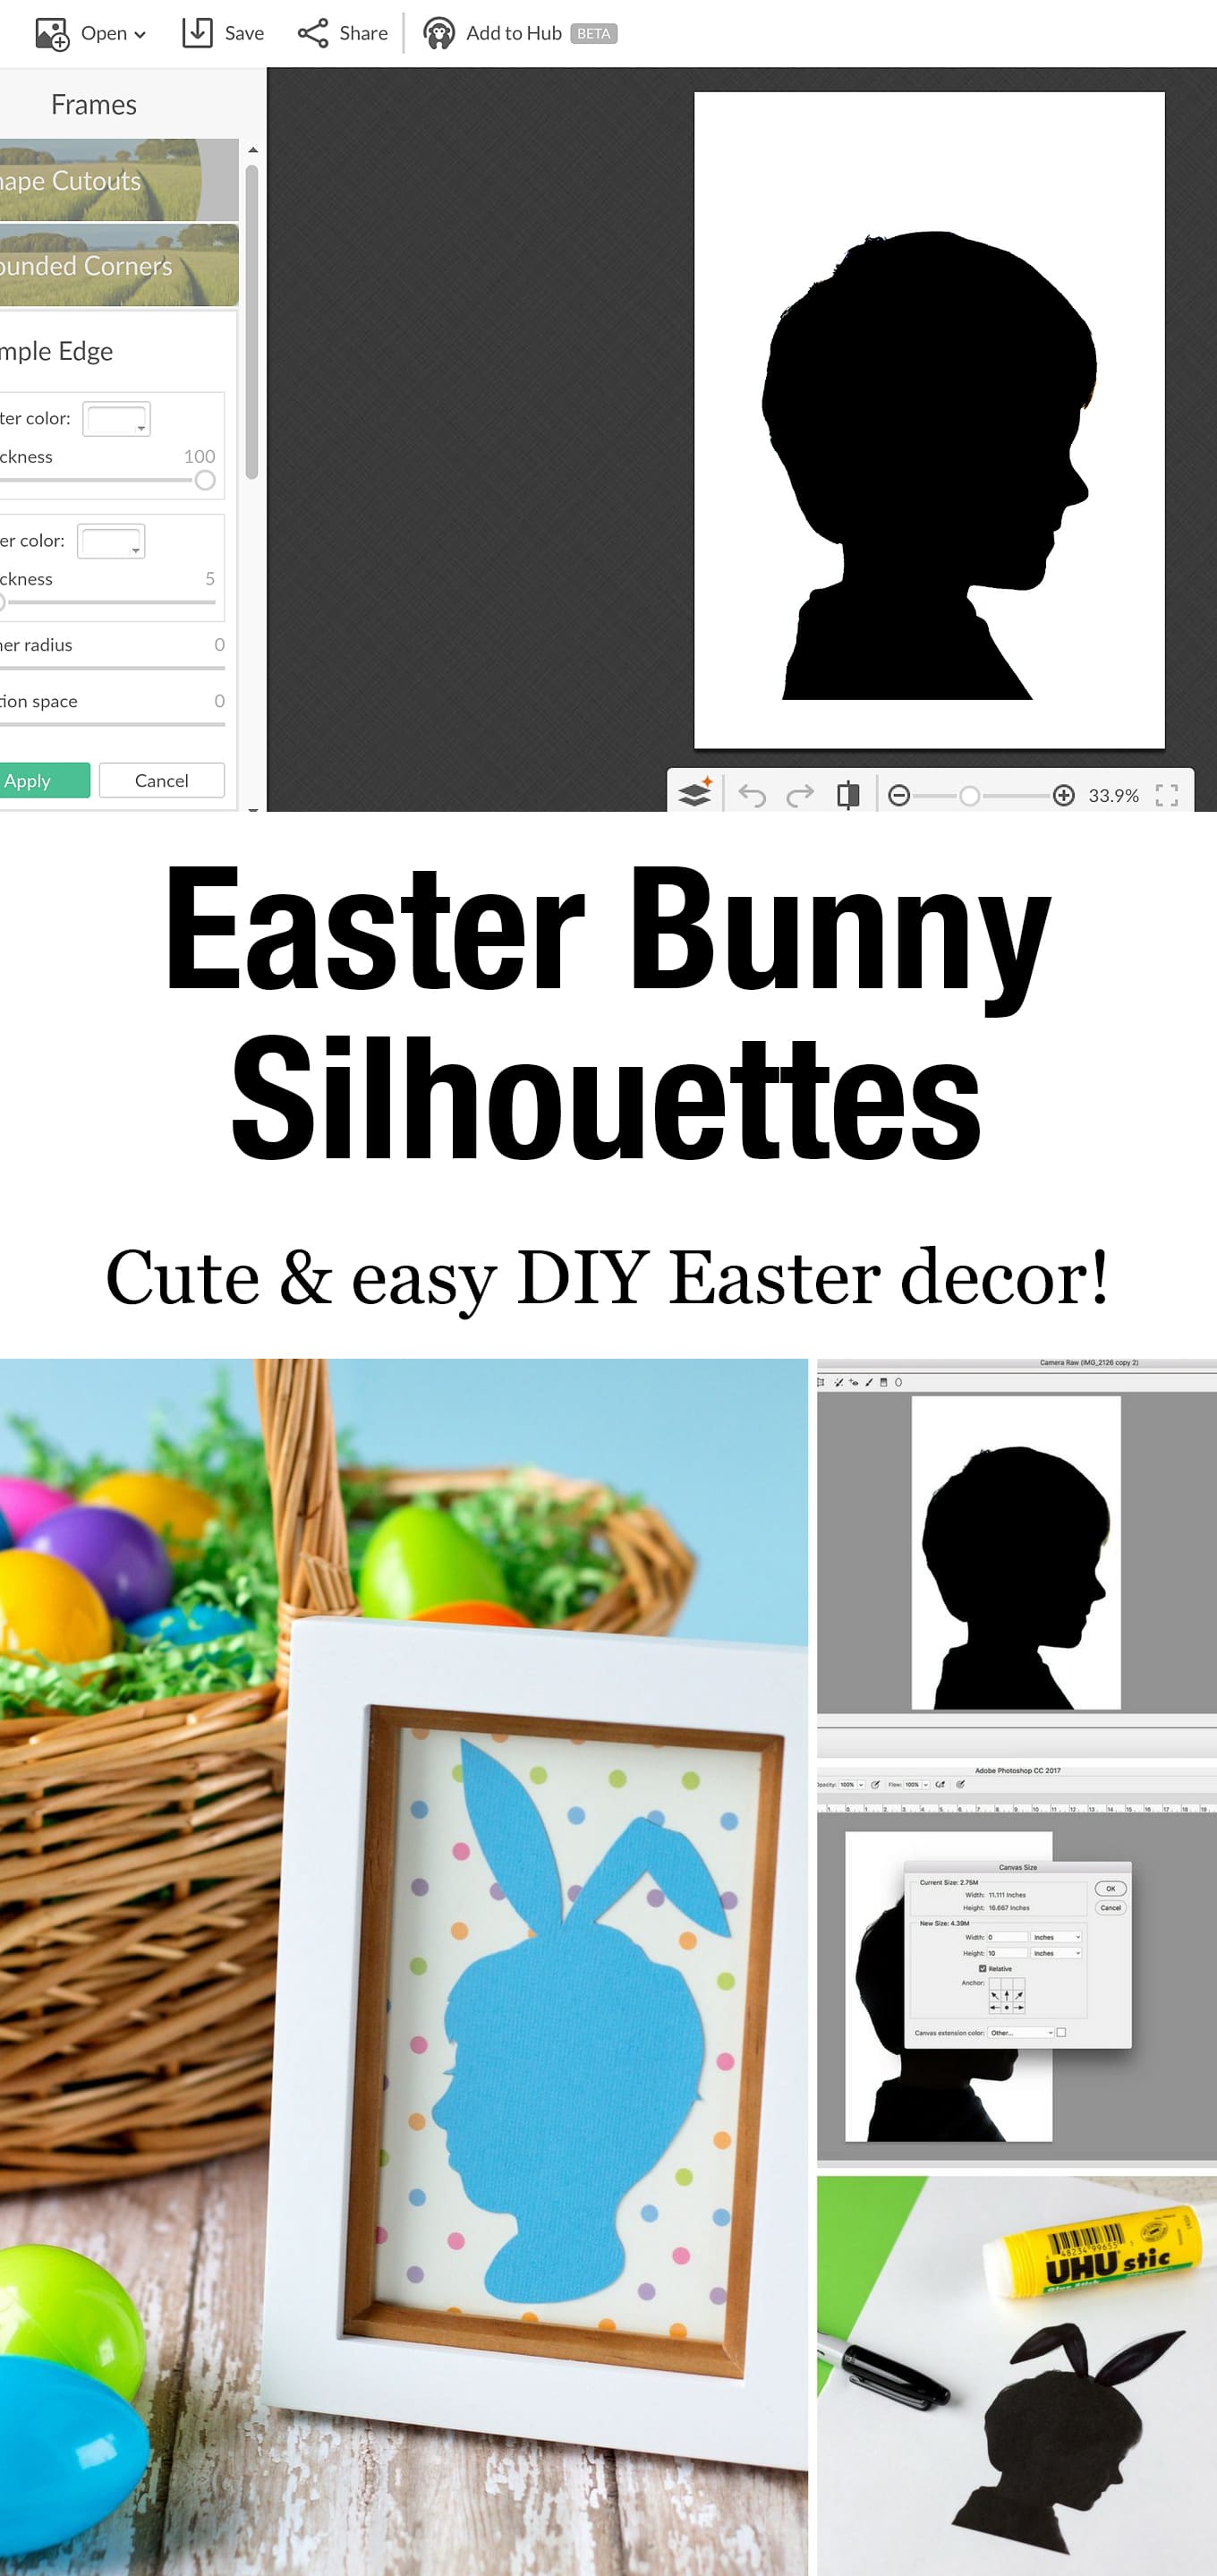
Inside: Easter Silhouette Portraits are an easy and fun Easter keepsake craft to make with your kids and enjoy year after year. It also makes a great gift!
Add a whimsical flash of cheerful color to your spring decor with adorable and easy Easter Silhouette Portraits of your kids. Ours make me smile every time I walk by!
Related: Pumpkin Keepsake Craft

How to Make Easter Silhouette Portraits
This Easter keepsake craft may seem intimidating, but I promise it’s super easy. Our Easter silhouette portraits are a great conversation starter!
Related: Snowglobe Keepsake Craft
To Make This Easter Keepsake Craft You Will Need
- 1 picture of your child (4×6)
- Scrapbook paper (1 solid, 1 patterned)
- Scissors
- PicMonkey (a free image editing program) or Adobe Photoshop
- 4×6 photo frame
Directions
1. Take a 4×6 profile picture of your child. I snapped a picture in front of our living room window. The photograph was exposed for the bright background and naturally turned the portrait into a silhouette.
2. I made a few adjustments to the portrait in Photoshop. This step isn’t absolutely necessary, but the strong contrast will help later when you need to cut out the silhouette.
Similar results can be replicated in PicMonkey, a free photo editing program.
3. I soon realized that I didn’t leave enough canvas space for the bunny ears, so I added some.
I added about 10 inches of canvas space to the top of the image, then cropped and resized.
Again, you can manage something similar in PicMonkey by manipulating Simple Edge, found in Frames. (You may have to run it 2–3 times).
4. After you’ve created enough canvas space, you’ll need to crop the photo and resize it.
Or, simply skip this step by leaving enough space at the top of the photograph when you are taking it! Doesn’t that sound easier!?
Are you still with me? Good! We are about to get crafty!
5. Next, you will need to print your photograph. Use a pencil and a permanent marker to draw bunny ears on your child’s portrait. (Invite him to watch or participate in this step—he will get a kick out of it!)
6. Glue a piece of colored cardstock to the back of your photograph.
7. Slowly and carefully cut out the silhouette. In my experience, the best scissors for detailed cutting are these ones.
8. When you are finished cutting out the silhouette, flip it over. You should have something similar—colored paper on one side, black ink on the other.
9. Glue the silhouette to the center of a 4×6 piece of scrapbook paper. Again, I cheated and traced the glass insert of a 4×6 frame onto my paper, then cut it out.
10. Assemble the frame, complete with the silhouette portrait inside.
You now have a cute Easter keepsake to enjoy year after year!
Save This Craft
Don’t forget to save this craft on Pinterest for later! Be sure you are following along with Fireflies and Mud Pies here.
More Easter Crafts for Kids
Click the images below to view more creative Easter crafts for kids.


Lee says
Adorable and clever! I’ll have to try it in picmonkey!
~Lee
Shannon says
What a fun idea!! Thank you so much for letting me share in my Easter Roundup 🙂